
Contents
Safe driving requires that your headlights are in good working condition. If the bulb is out, you should replace it immediately. But what can be done when visibility is diminished because of added moisture in the headlights?
Replacing the bulb isn’t going to change the situation. Instead, you need to remove the condensation in the headlights for a clearer view.
What Causes Condensation in Headlights?
Foggy headlights occur because of moisture and temperature. Halogen bulbs, in particular, generate an excessive amount of heat.
In a functioning headlight assembly, the air around it heats up when the bulb is turned on. The air cools down once you turn the bulb off, but condensation can form.
Modern vehicles have vents in the headlight assembly that act as an escape passage for excess heat and moisture.
Typically, if the headlights become foggy because of condensation, it’s for one of three reasons.
- Cracked/torn seal. Moisture can infiltrate the housing and build up on the lens when the seals fail. Even a tiny defect in the seal is enough to let moisture in.
- Blocked vents. Moisture can no longer escape the headlight assembly when the vents become blocked. Dirt, insects, dust, and other contaminants can block these small vents.
- Broken headlight assembly. If there is damage to the assembly, moisture builds up on the lens.
How Does Moisture Affect the Headlights?
The most apparent problem with excessive condensation is inhibited visibility. Too much moisture can be as troublesome as foggy or dirty headlight lenses. The moisture prevents the light beam from shining as brightly as it should, and you could have blind spots.
At worst, the headlights could cause an accident if you cannot see part of the road.
Sadly, that’s not all that you have to worry about. Over time, moisture also damages the headlight filaments, causing them to burn out prematurely.
Condensation vs. Water Ingress
Understanding the distinctions between normal headlight condensation and water ingress is essential. Condensation occurs naturally and doesn’t usually cause any issues. The misting and fogging happen because of heat and air temperature. Most people can’t tell that there is moisture on the lens because it doesn’t cause trouble. When the headlight assembly works as intended, the moisture evaporates and doesn’t cause damage.
On the other hand, when the moisture can’t escape or there’s an excessive amount of water in the assembly, you should take steps to fix the issue. Water infiltration can become bad enough that moisture pools around the bulb. In this case, the moisture can’t evaporate fast enough, reducing visibility and possible damage.
How Do You Get Condensation Out of Headlights?
The key to removing condensation and moisture from the headlights is to determine the severity of the problem. Minor condensation can be resolved quickly and easily, while more severe cases require extra effort and tools.
We recommend starting with the most straightforward fixes to see if they work before taking more extreme measures. For example, you don’t want to break the headlight seal unless there are no other options. If you break the seal, you must reseal it, which can be complicated.

- Compressed air. Remove the bulbs and connectors. Spray some air into the housing to see if you can remove the moisture. You can also use compressed air to clean out the vents if they are blocked.
- Desiccant packets. Place a few moisture packets in the housing and give them time to soak the moisture. Once the moisture is gone, remove the packets and dispose of the desiccant packets.
- Hair dryer. Using the dryer’s low-heat setting, blow warm air into the housing to remove moisture.
Ways to Fix Major Headlight Condensation
To perform this fix, you will need to remove the headlight unit. You may also have to break the seal. Check the service manual for more vehicle-specific instructions.
- Remove the sealer. You should be able to get the seal off with a heat gun. You may also need hand tools depending on how the headlight assembly is secured.
- Wipe the moisture out with a clean cloth. This step removes most of the moisture but won’t fix the problem.
- Reseal the headlights with new sealant. Sealing your vehicle’s headlights isn’t a complicated procedure. The main thing is to ensure you get the appropriate sealing material for your headlight.
- Replace the bulbs. If moisture and water infiltrate the headlight assembly, you may choose to swap out the bulbs while you are at it. The bulb life may be compromised and not last as long as you hoped.
- Replace the headlight assembly. If there’s damage to the actual assembly itself, it needs to be replaced.
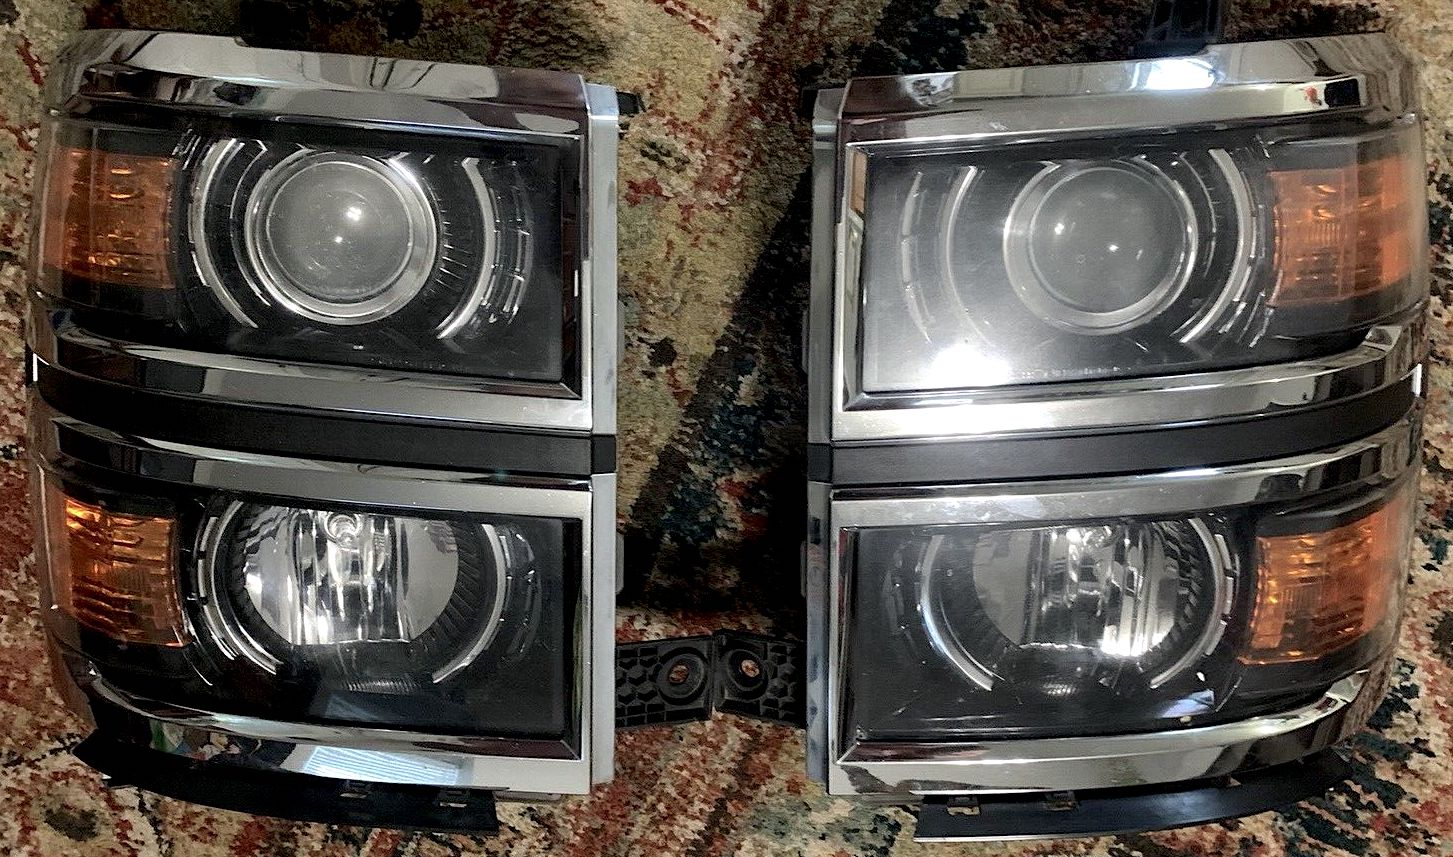
In many cases, replacing the entire headlight assembly is more manageable than removing the condensation and resealing the assembly. Additionally, resealing a headlight can lead to further leaks, putting you back to square one.
How Do You Prevent Condensation From Forming in Headlights?
The only way to keep moisture from getting into the headlights is to ensure the seal is strong. You also want to keep the vents clear so that the moisture can escape.
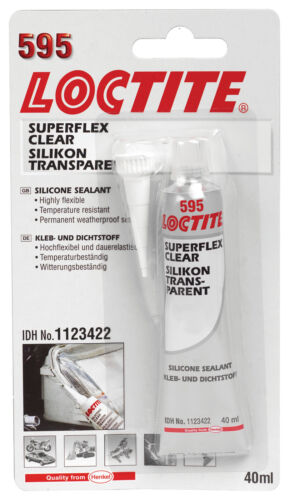
- Run a bead of silicone sealant over the factory seal to keep moisture out.
- If your headlights have a damaged replaceable seal, install a new seal.
- Double-check the O-rings surrounding the vents, bulbs, and electrical connectors. You may need to replace the O-rings if you notice any minor imperfections.
- Inspect the headlight housing and repair or seal any cracks. If the assembly needs to be replaced, swap it out before moisture builds up.
If you need to remove the assembly for any reason, whether to replace it or fix the seal, paying attention to how it is reinstalled is essential. Additionally, all of the electrical connectors and brackets should be firmly secured.
Before you hit the road again, test the lights to ensure the beam is bright and centered. If you need to adjust the headlights, do it before driving in the dark.
Shop now for headlight assemblies