A leaky intake gasket allows unmetered air—air that has been passed through the mass air flow (MAF) sensor—to enter your engine’s combustion chambers. This unmetered airflow prevents the MAF sensor from providing accurate information to the engine control system.
Bad information from the MAF sensor can, in turn, prevent the engine control module (ECM) from injecting enough fuel into the engine. Replacing an intake manifold gasket as soon as you find the leak can help prevent engine damage from problems like a lean burn condition—too much air and not enough fuel.
How hard is it to replace an intake manifold gasket?
Changing an intake manifold gasket is considered an advanced do-it-yourslef mechanic job that usually takes one or two hours. Part of the challenge is that intakes and manifold gaskets vary a great deal from vehicle to vehicle. In many vehicles the intake manifold is easy to access and simple to replace. However, in some vehicles the process is much more complicated. To illustrate the difference, this guide features two engines with radically different gasket designs.
- The simpler engine is a 2015 North American V-8.
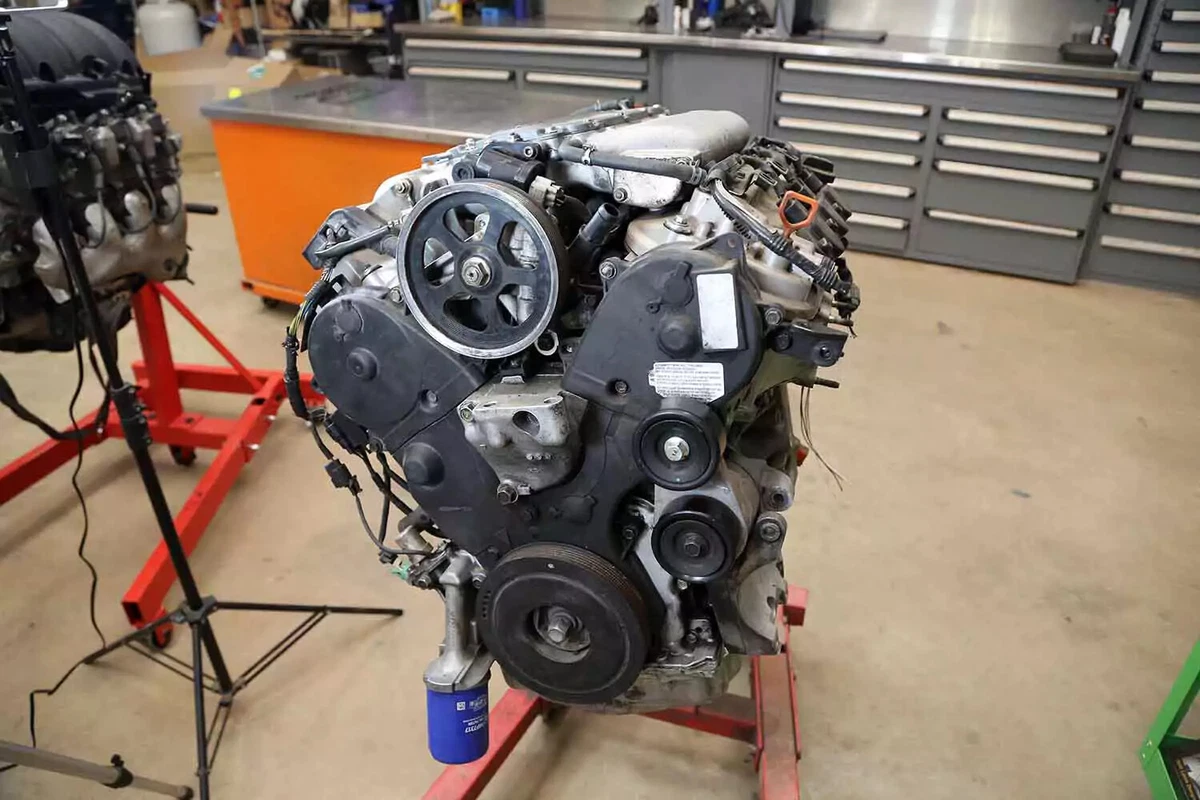
- The more complicated design is a Japanese V-6 from the mid-2000s.
These engines represent a range of difficulty. You do not have to remove the engine to complete this job. However, we took them out to make it easier to demonstrate the steps.
Intake manifold designs vary by manufacturer and engine. The following steps are a general guideline for most engines. Not all the steps below will apply to your vehicle. Refer to your vehicle’s repair manual before starting this job.
Tips and tricks for DIY intake manifold gasket replacement
- There are three main types of materials used for intake gaskets: fiber, silicone, and multi-layered steel (MLS). The type varies by engine. Some engines mix the materials.
- Some intake gaskets allow you to choose a preferred material. Most DIYers use the standard OEM type used when the vehicle was manufactured. Consult your owner’s manual.
The intake is typically at the top center of the engine for V-type engines and on the side for most inline engines.
Some inline engines have a complicated intake that wraps up and over the side to the top of the engine.
Our demo engines are out of the vehicle, but this project is typically performed with the engine in the vehicle.
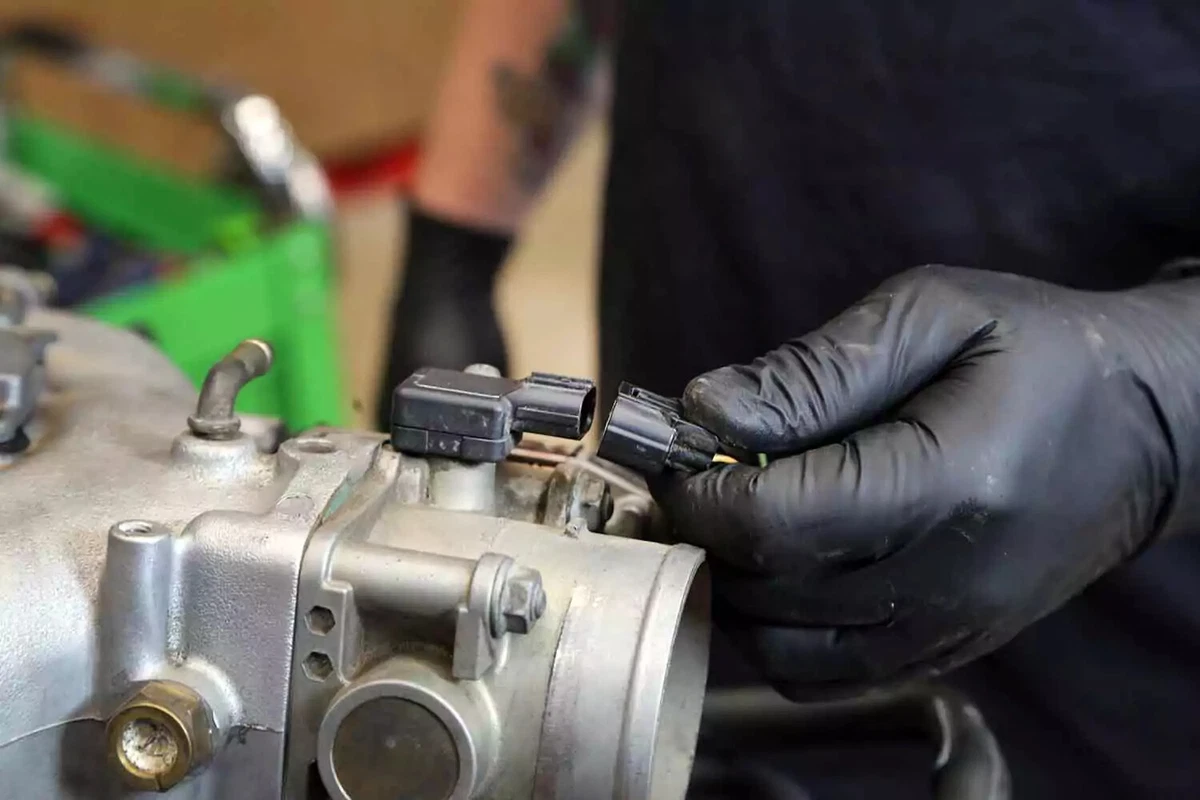
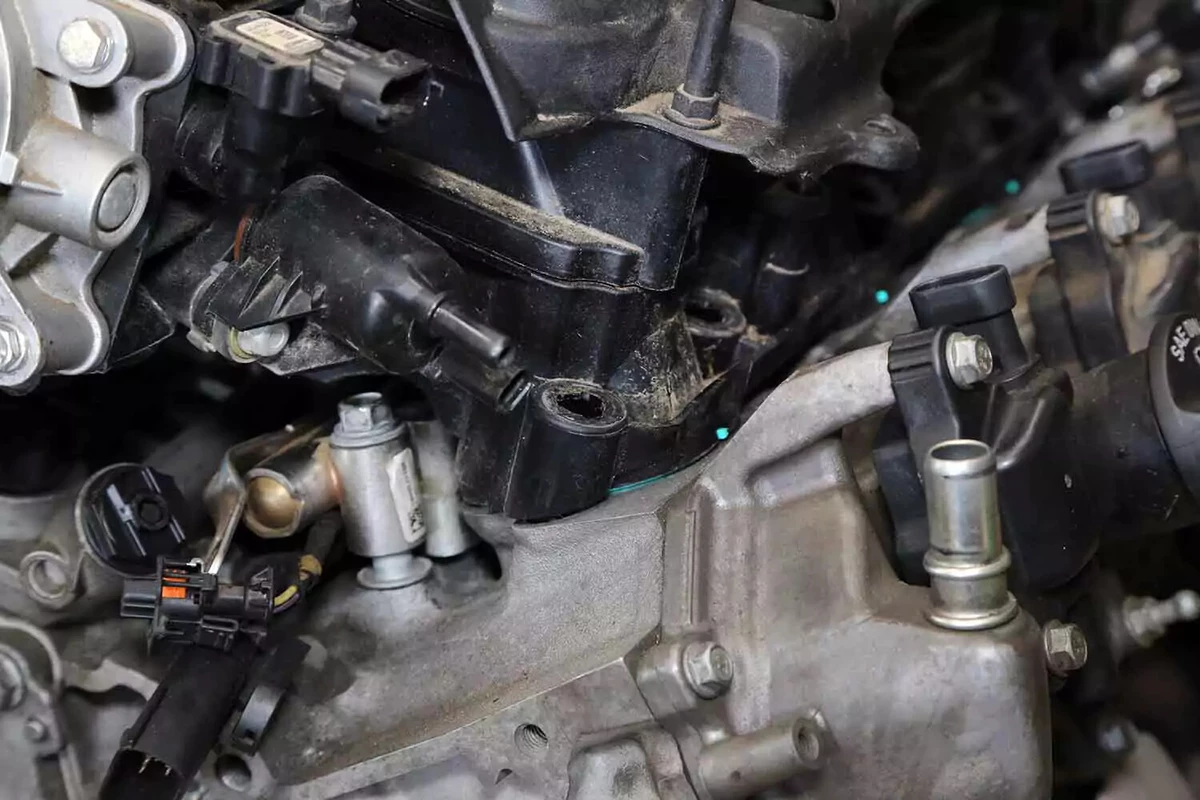
Start by removing the air intake tube and electrical connections to the throttle body, idle air control (IAC), throttle position sensor (TPS), and other sensors or actuators.
Most intakes also have numerous vacuum lines attached. Remove them, labeling each hose as you take it off.
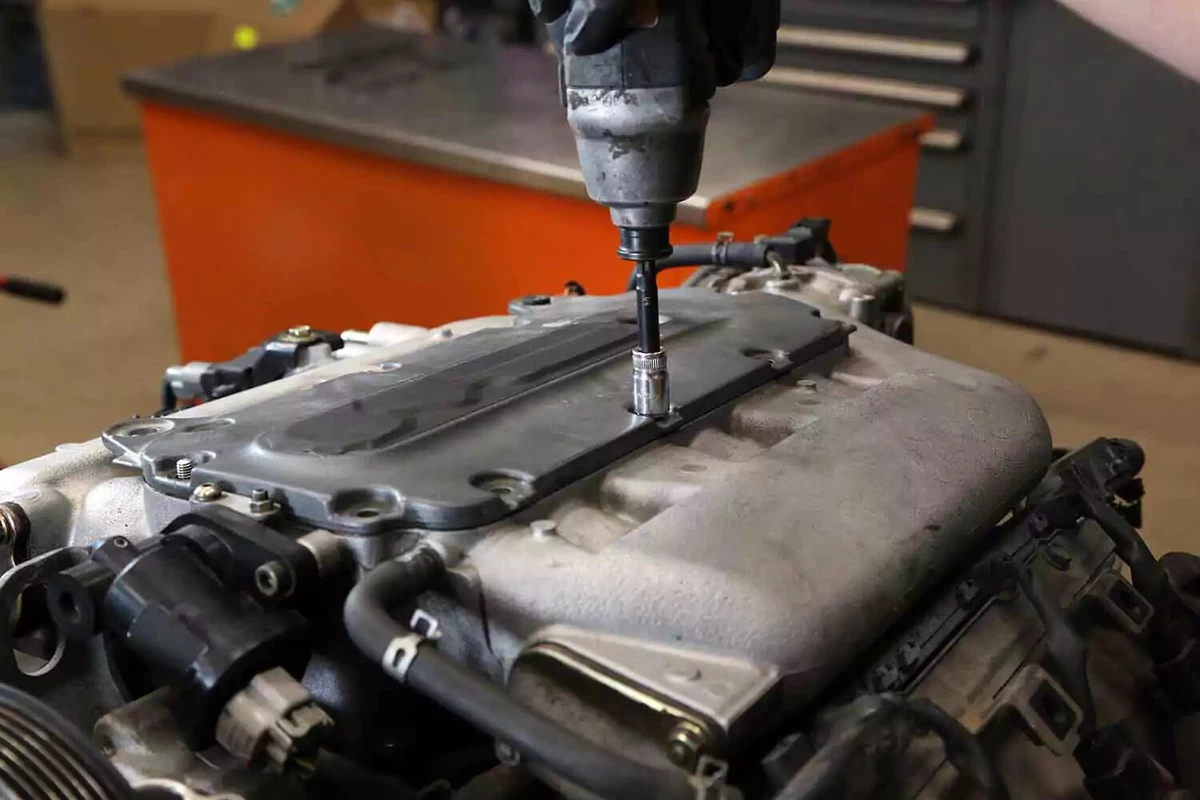
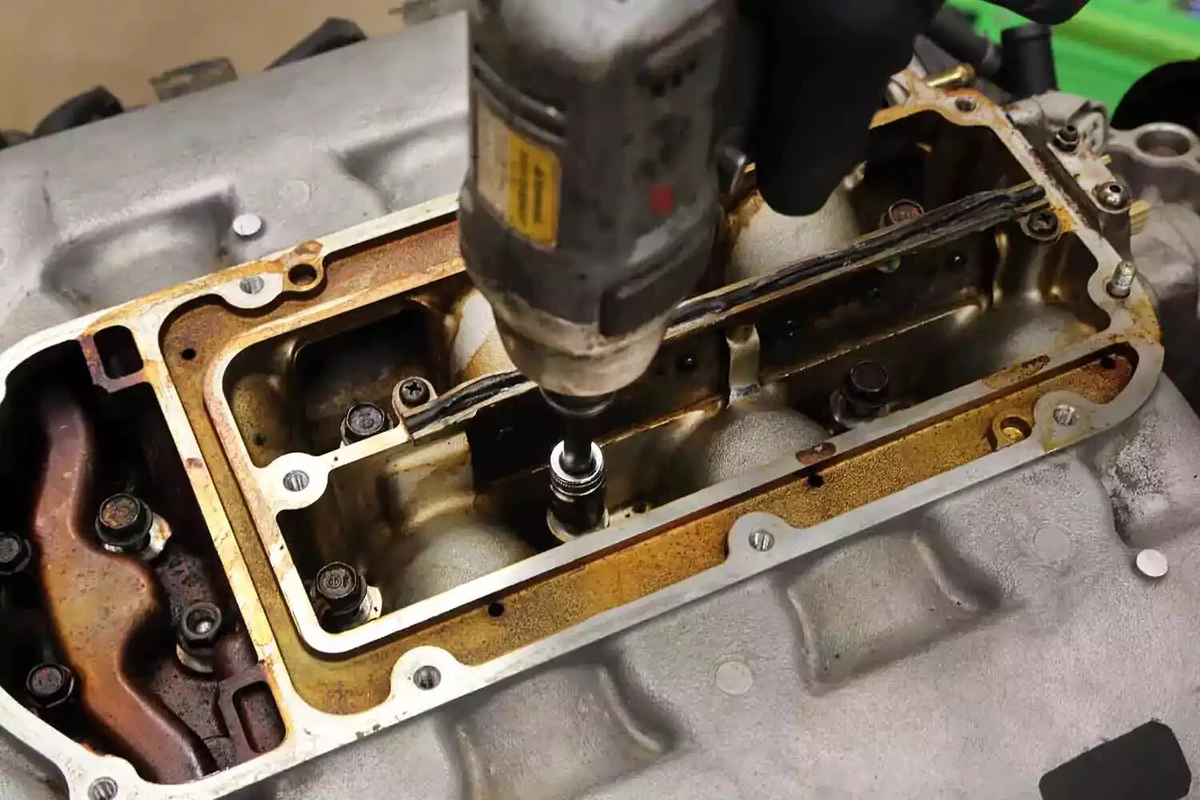
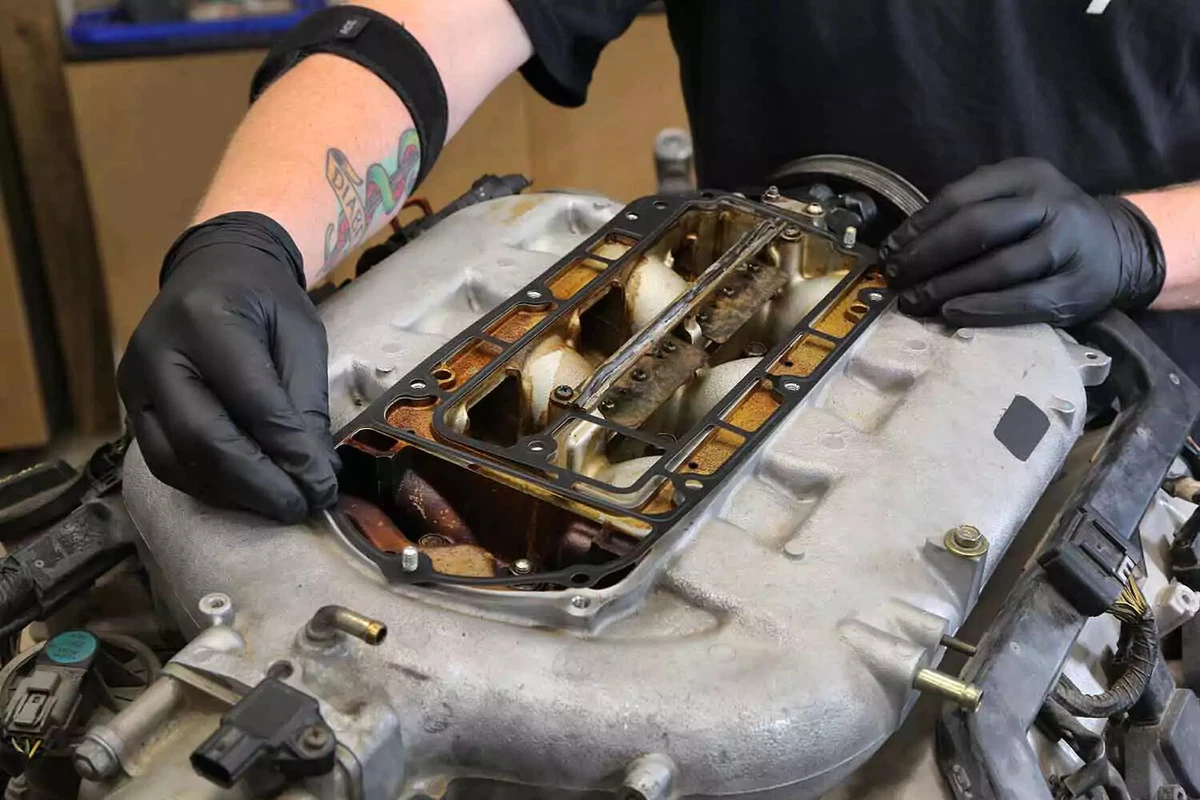
This V-6 engine uses a multi-piece intake with a cover and a main intake gasket. Remove the upper intake cover bolts and the cover.
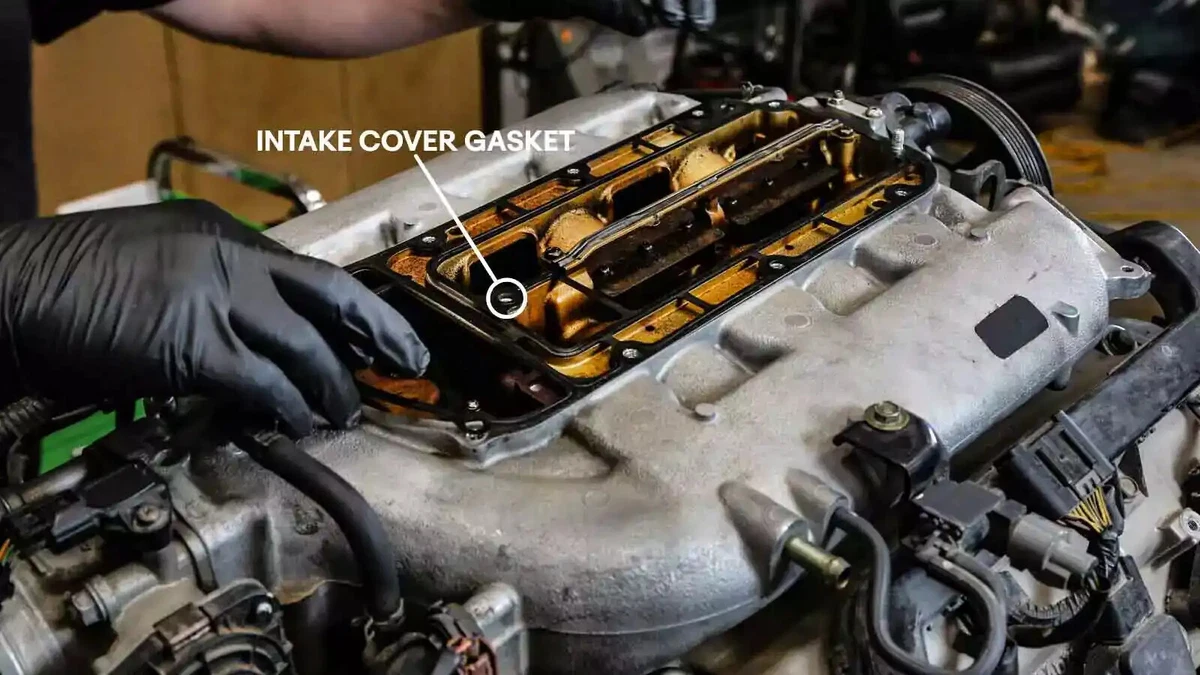
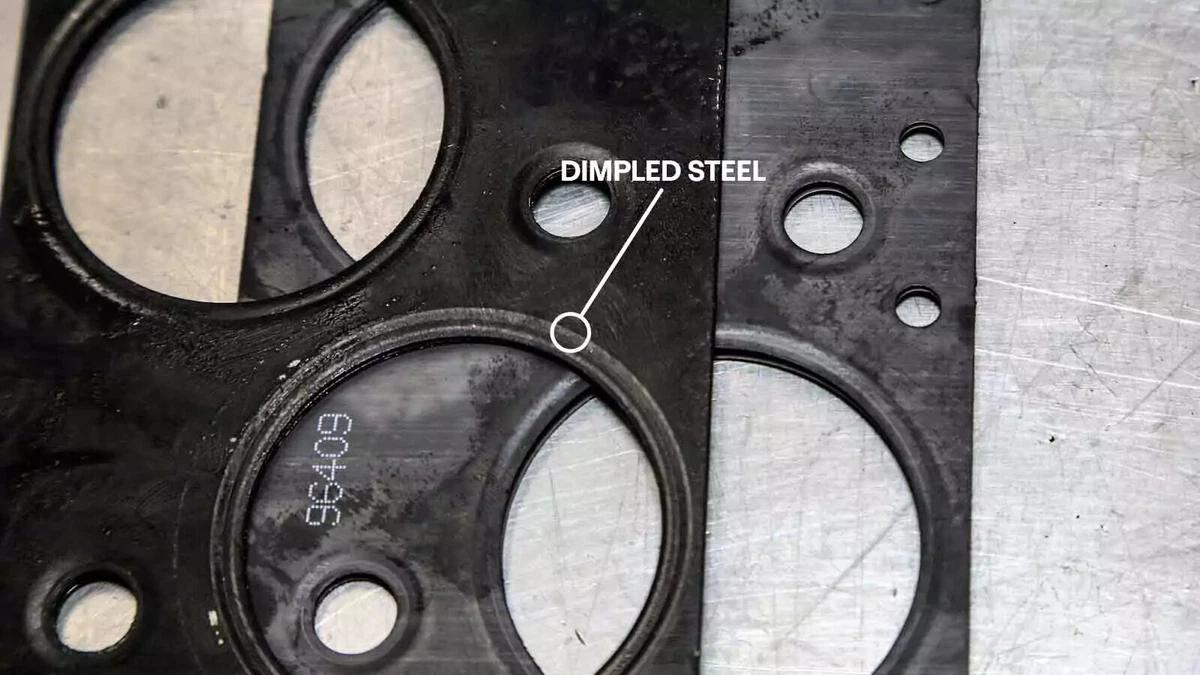
This V-6 engine has a stamped steel gasket similar to a multi-layered steel (MLS) gasket. Although the gasket is metal, it should not be reused.
Your manifold might not have a separate cover.
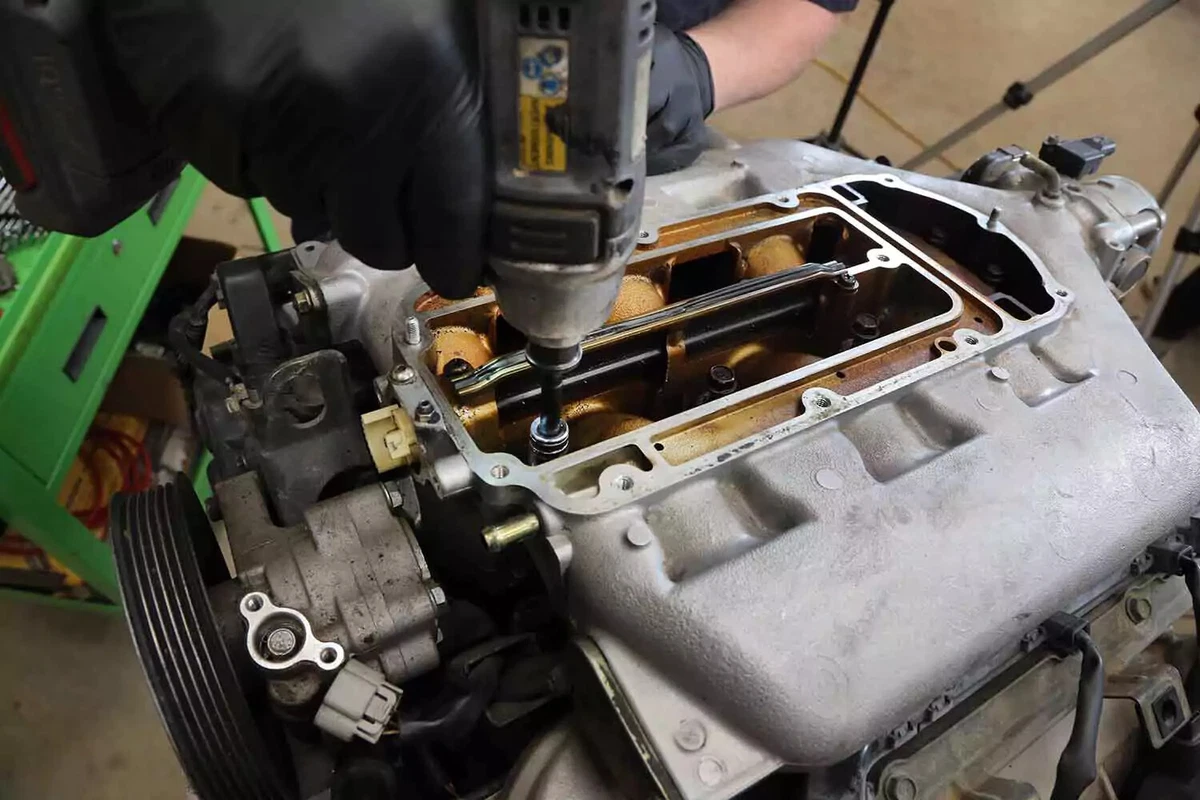
The upper cover hides the main intake bolts. Remove the bolts.
The bolts are often different sizes for the various locations. Label them or put them on the bench in a careful sequence to remember their position.
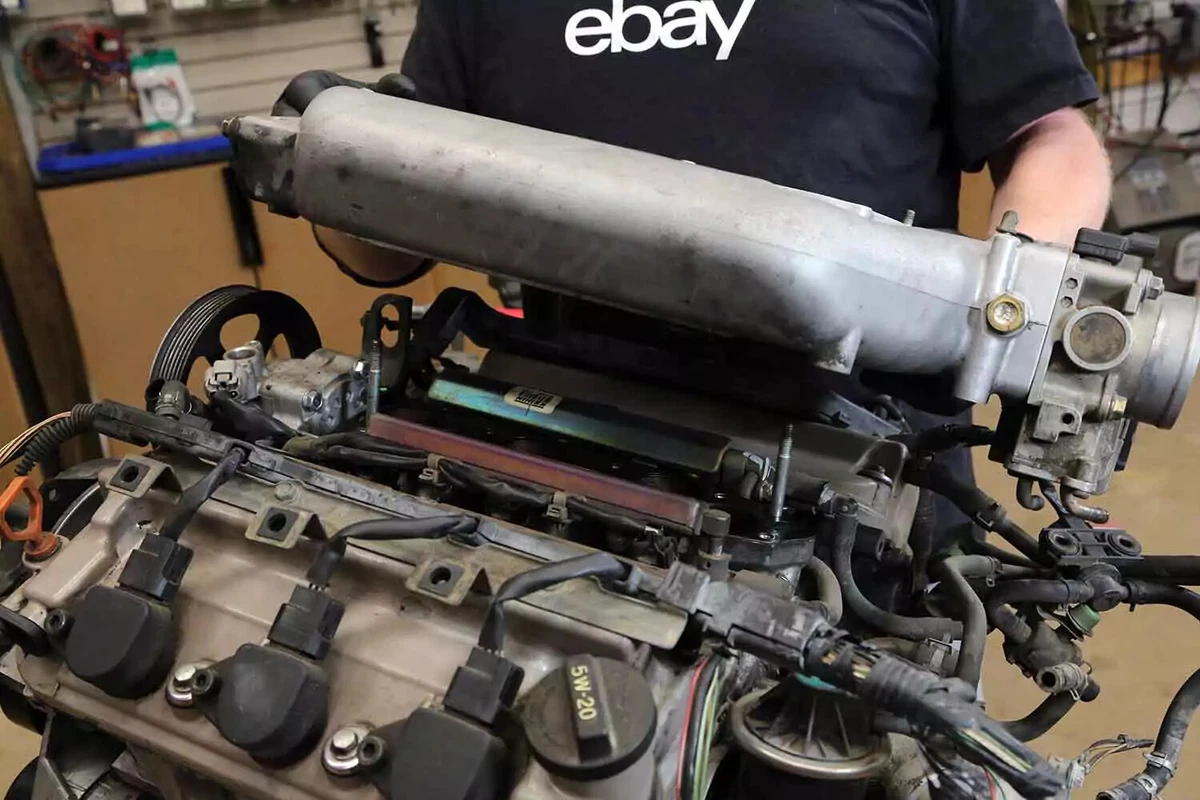
Gently lift and remove the intake from the engine.
If your engine uses fiber gaskets, the intake may be stuck to the engine. Use a flat-blade screwdriver or small pry bar to lift it and break the gasket seal.
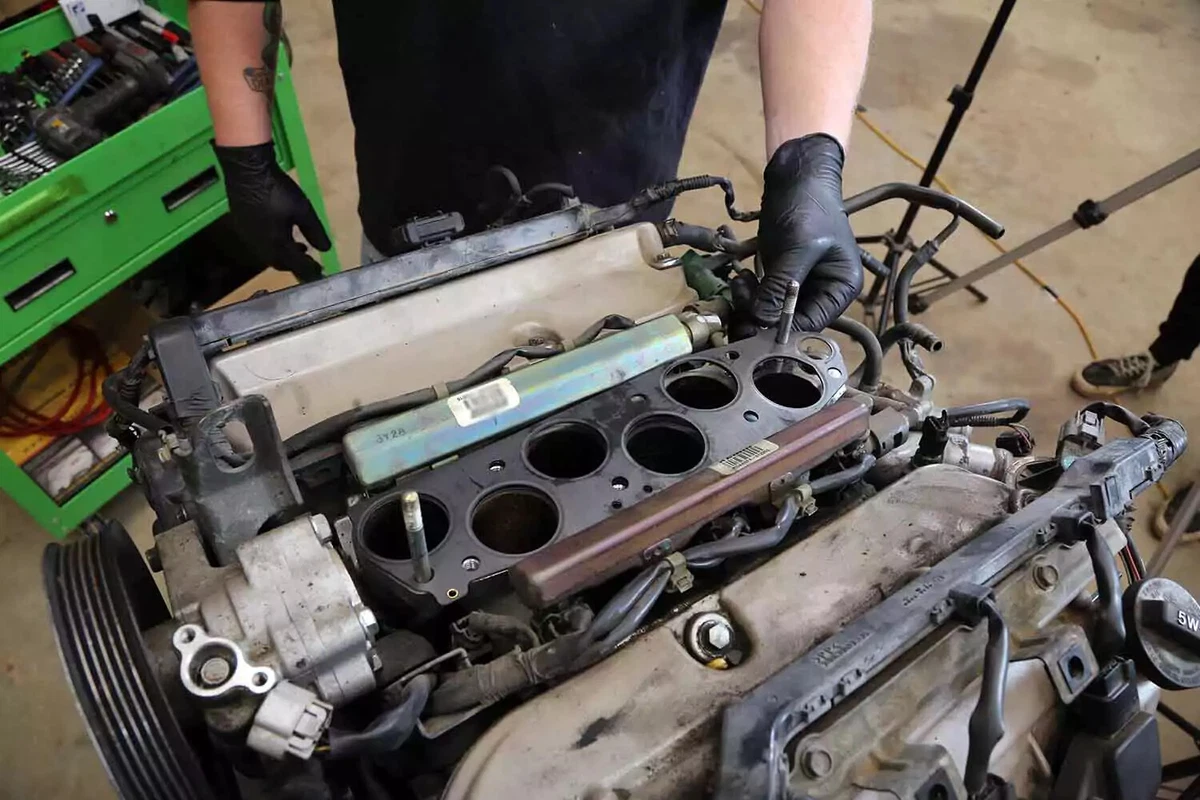
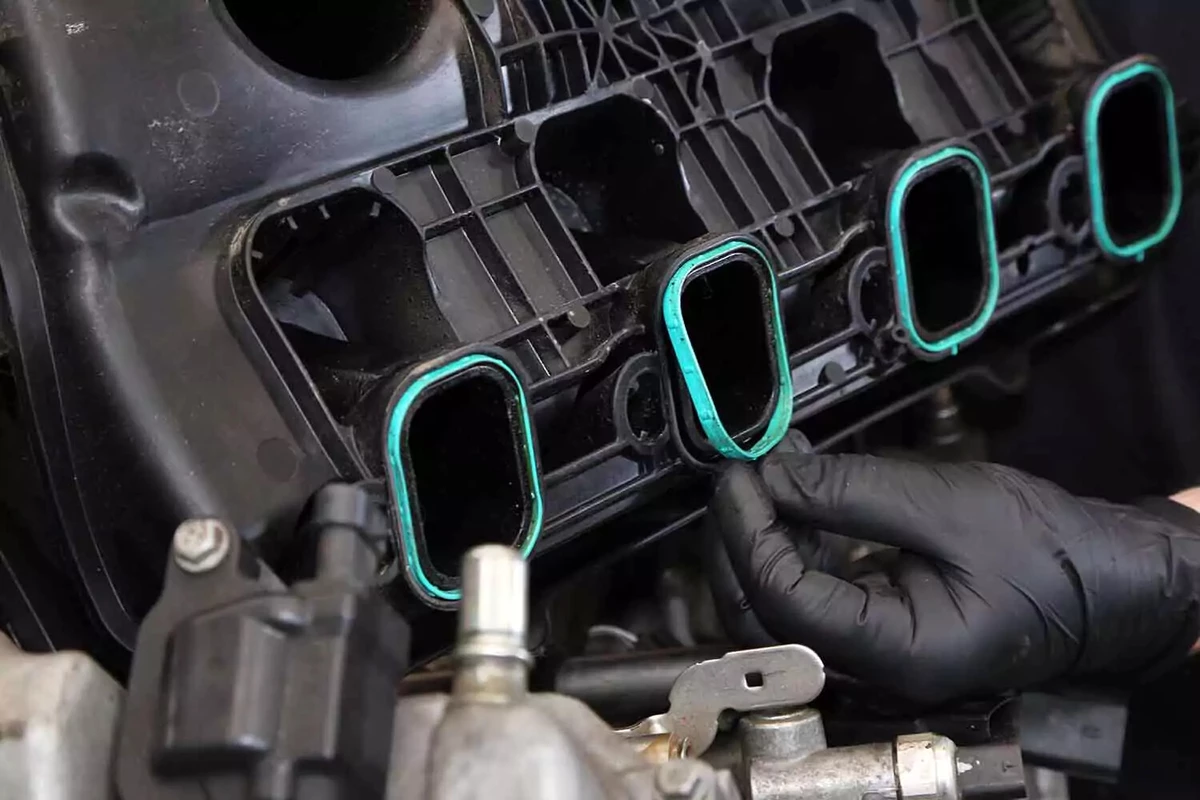
Remove the old gasket.
Compare the new and old gaskets to ensure the holes and orientation match one another.
These are MLS gaskets. Note that the dimpled hole is shallower on the old gasket (top). The gasket is designed to deform as it is installed, making for a good seal. A new gasket is necessary for proper sealing.
For MLS and silicone gaskets, the sealing surfaces are typically clean and ready to be put in place.
For fiber gaskets, use a gasket scraper or razor blade to remove any bits of torn gasket before installation.

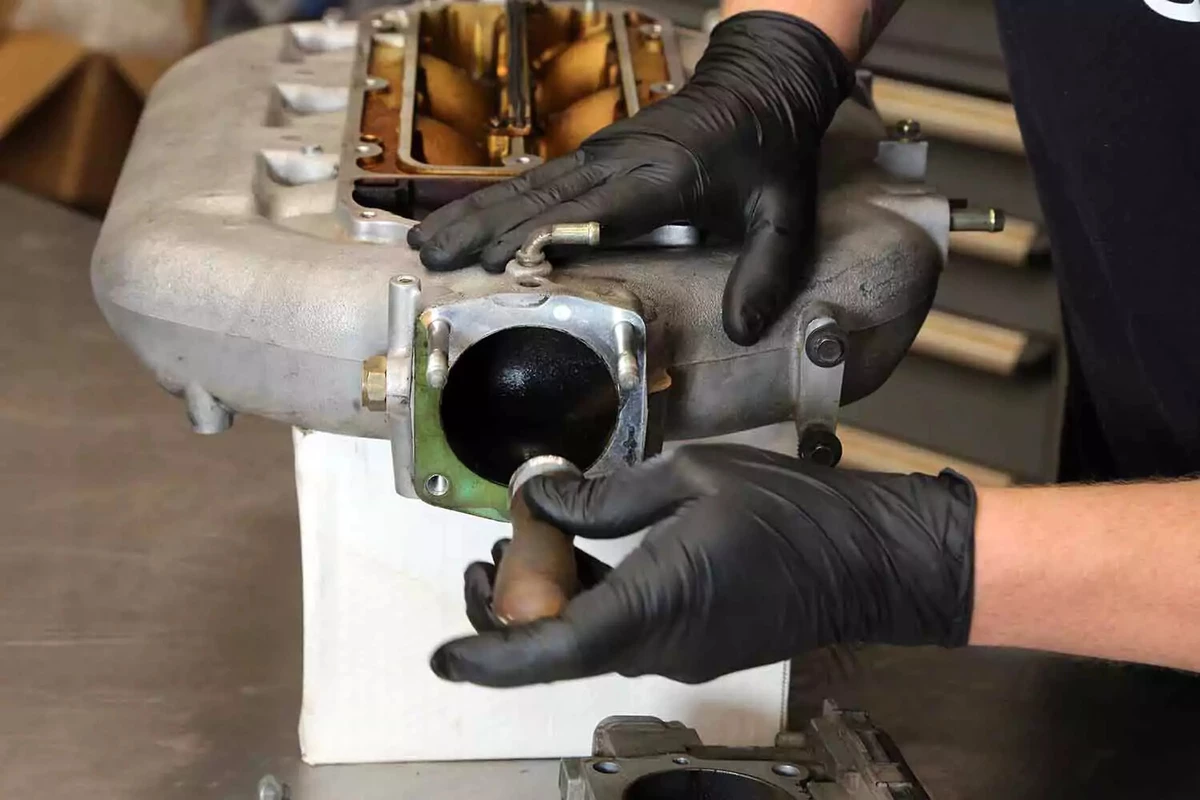
This step may not be required for your engine. We recommend replacing the throttle body gasket when you replace the main intake gaskets. If the manifold gasket is leaking, the throttle body gasket could also have a leak or might soon develop one.
You would typically remove the throttle body before removing the intake. We recommend replacing any kind of gasket if the component is removed. A new throttle body gasket is often sold with a manifold gasket set.
Read more about removing a throttle body: How to Replace a Throttle Body. - opens in new window or tab.
Use a gasket scraper or razor blade to scrape the old torn fiber gasket off the sealing surfaces. Remove remnant bits from both sides—no matter how small. Use a carburetor/throttle-body aerosol cleaner if necessary.
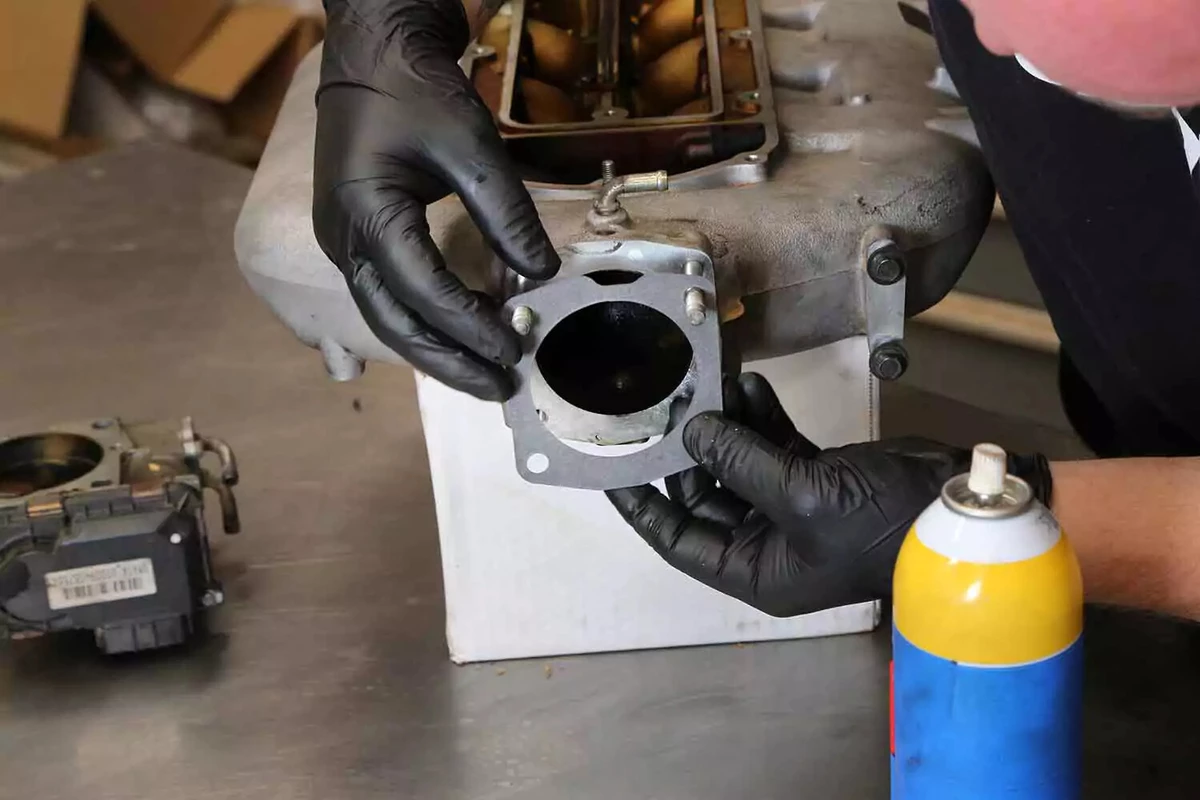
Slide the new fiber gasket on the intake in the correct original orientation.

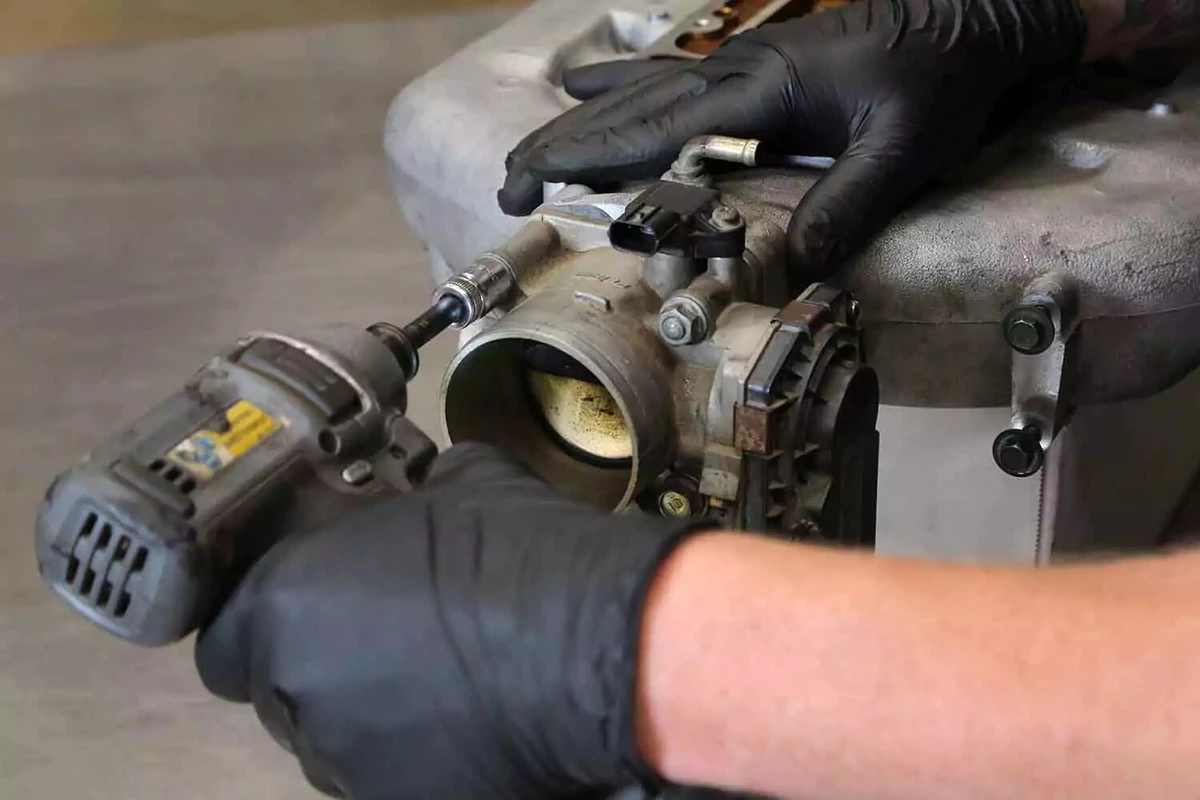
If you removed the throttle body, give it a few blasts with a spray carburetor/throttle-body cleaner. Throttle body cleaner removes varnish and carbon that builds up on the inside. The build-up reduces flow and can cause the throttle blade to stick.
Don’t use carburetor cleaner or brake cleaner for this task. They could damage plastic components in the throttle body.
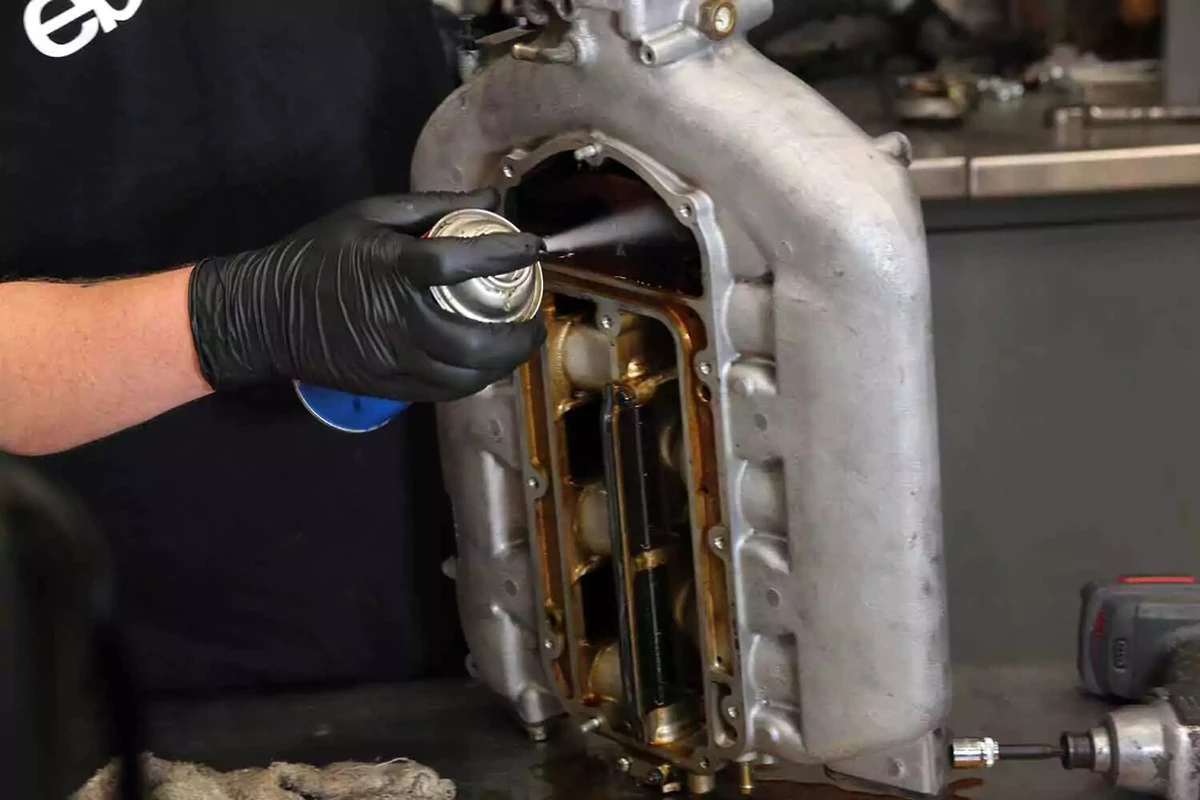
If the inside of your intake has varnish or residue, clean it with a carburetor or throttle-body aerosol cleaner.
Use the cleaner while the intake is on the bench, not on the engine. This will prevent gummy, dirty carb cleaner from draining back into the cylinder heads.
When you tighten the nuts and bolts, snug them by hand and then tighten them in a crisscross fashion. This will ensure that the load is spread evenly and the throttle body does not slant to one side.
Lower the intake to the engine and reinstall using the original hardware.
Tighten the intake bolts in two stages. First, seat the fasteners by hand. Then torque them to specification from the center out. Start in the middle and work in a crisscross fashion to the outer bolts. This ensures the load is evenly spread.
Most intake bolts are torqued to between 15 and 25 pound-feet. Confirm the torque specification for your intake in your vehicle’s repair manual.
Install the new intake gasket. MLS, silicone, and steel gaskets do not require sealer.
Most fiber gaskets don’t need an RTV silicone sealer. However, some engines require a bead of silicone across the front and rear edge of the intake seal. This is typically true for North American V-8 engines.
Don’t use RTV sealer unless your repair manual notes that it’s required.
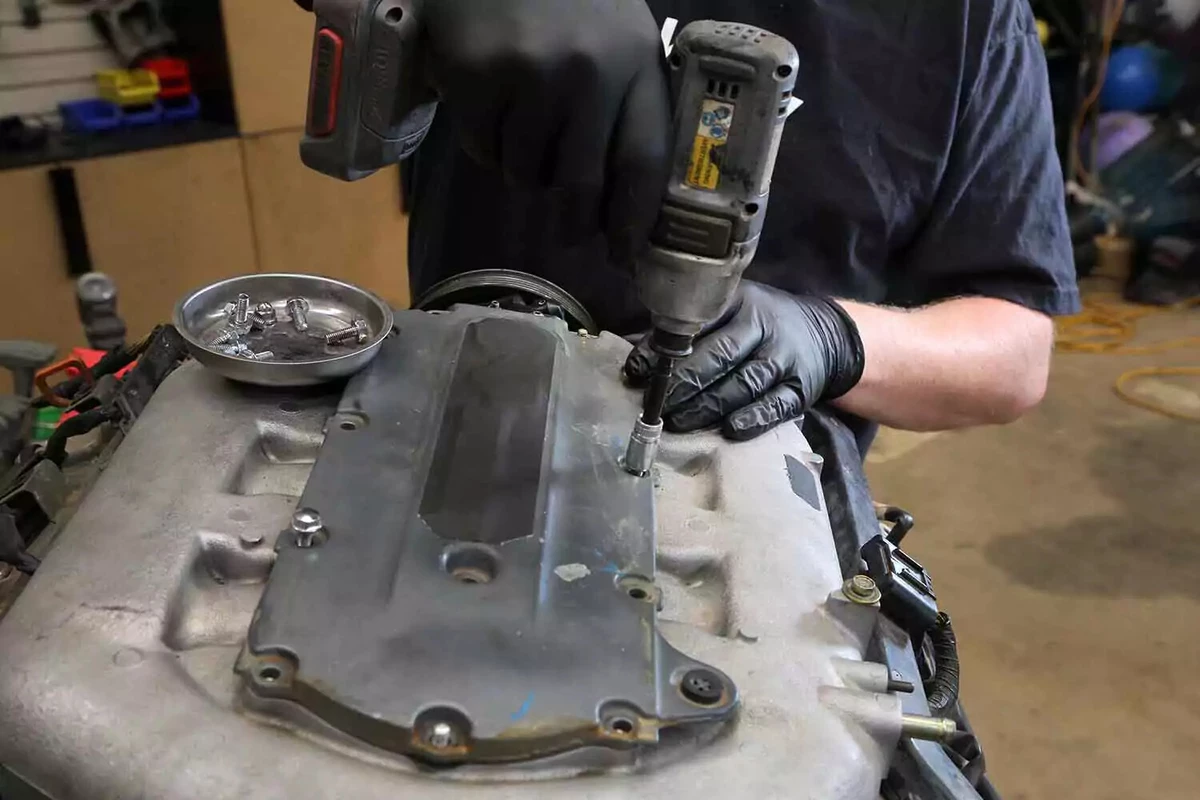
Install the upper cover and bolts. Tighten them in a crisscross sequence using recommended torque specifications. These 6 mm bolts typically require 10 to 12 pound-feet.
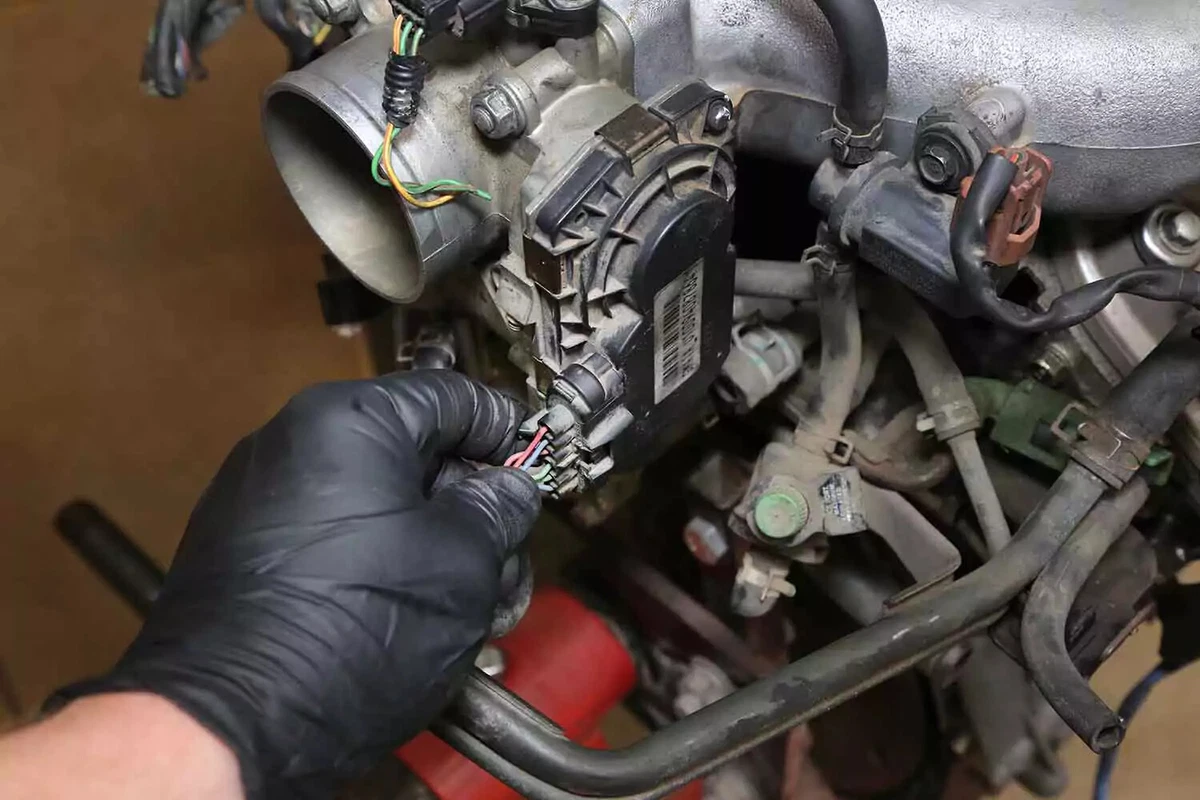
The final step is reconnecting the wiring, vacuum lines, and air intake tubing. Also, reinstall any items removed to gain access to the intake.

The remaining steps are a bonus to share details about changing the intake manifold gaskets for all other modern engines—compared to our primary demo engine, a domestic 2015 V-8 built in 2015.
This bonus information relates to engines with plastic or composite intake manifolds. Composite plastic intakes are common for many modern engines. These intakes typically use a silicone gasket, either one per port or as a set in a single plastic gasket housing.
These intake gaskets are easy to change.
This type of intake typically only has a few basic connections: the throttle body plug, a couple of sensors, and a few vacuum lines.
The bolts are usually uniform. There are two on either side of each intake port on the cylinder head.
Some composite intakes have fuel injectors. In most cases, they can stay on the intake unless they obstruct the main mounting bolts.
This is the most common type of silicone intake gasket. It’s a large ring that nests inside a groove in the intake base.
Remove each one individually and replace it with a new one.
After each port has a new gasket, replace the entire intake. The replacement process typically takes 30 to 60 minutes.
About the author

Share your feedback
This article is meant to provide general guidance only. Automotive maintenance, repair, upgrade, and installation may depend on vehicle-specifics such as make and model. Always consult your owner's manual, repair guide for specific information for your particular vehicle and consider a licensed auto-care professional's help as well, particularly for advance repairs.
Recommended for you
Find answers and inspiration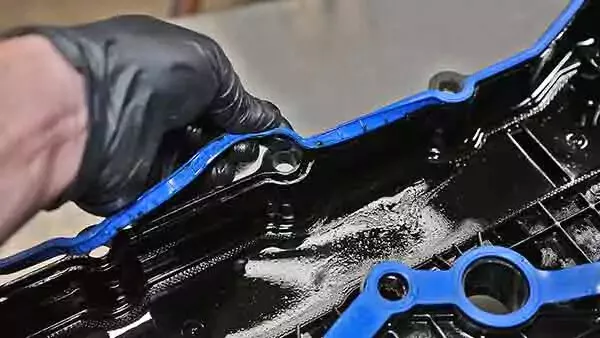
A Quick Guide to Valve Cover Gaskets
6 min read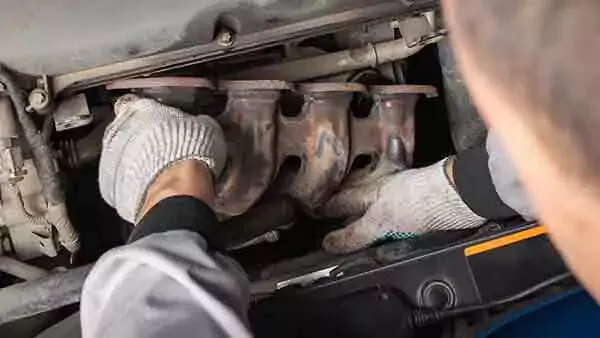
When to Replace Your Exhaust Manifold Gasket
6 min read
How to Replace an Ignition Coil
6 min read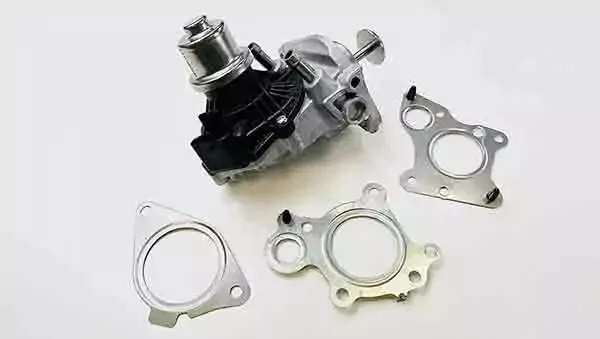
How to Buy the Right EGR Valve and Gasket
6 min read
Your Complete Idler Pulley Buying Guide
5 min read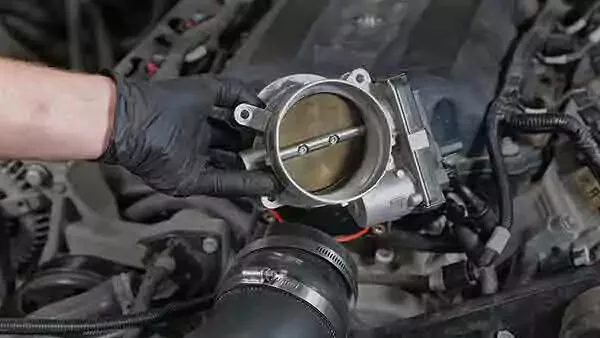
How to Buy the Right Throttle Body
5 min read
Buying the Right Distributor Cap and Rotor
4 min read
How to Replace a Drive Belt
5 min read
How to Buy the Right Car Starter
5 min read
How to Replace a Valve Cover Gasket
7 min read
Diagnosing Your Serpentine Belt and Tensioner
6 min read
How to Change a Timing Belt
12 min read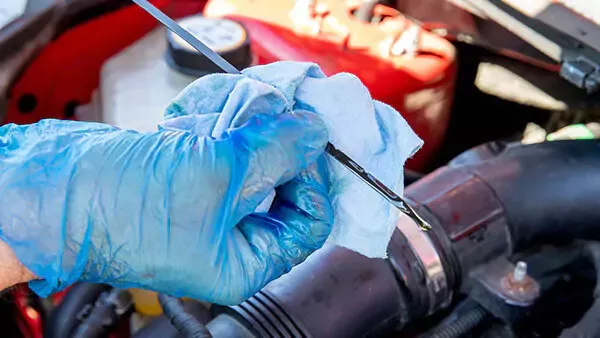
Changing Your Oil: 5 Things to Know
6 min read
How to Clean Fuel Injectors
8 min read
Automation How to Change a Car Battery
6 min read
How to Replace a Mass Air Flow (MAF) Sensor
7 min read
Distributors 101
6 min read
How to Replace Spark Plugs
7 min read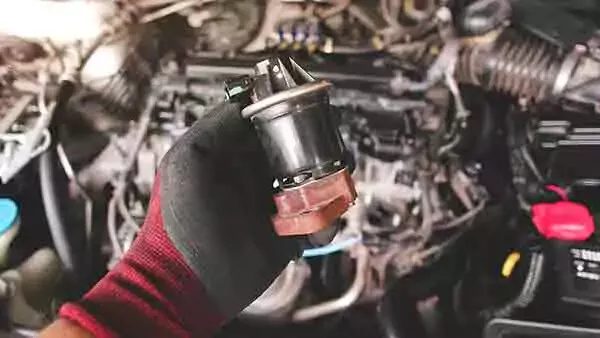
Everything You Should Know About EGR Valves
5 min read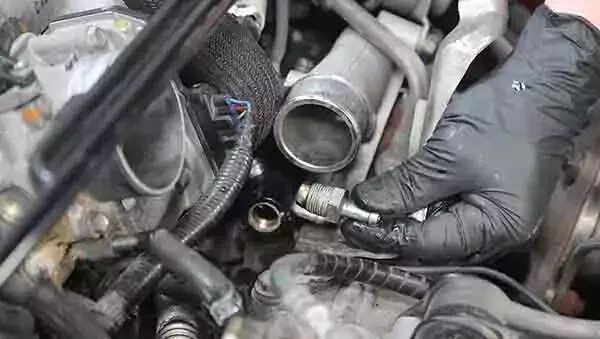
How to Test Your PCV Valve
6 min read
Buying the Best Portable Car Battery Jump Starter
6 min read
An Introduction to Cleaning Fuel Injectors
5 min read
A Deep-Dive Guide to Ignition Wires
7 min read
How to Replace Engine Mounts
4 min read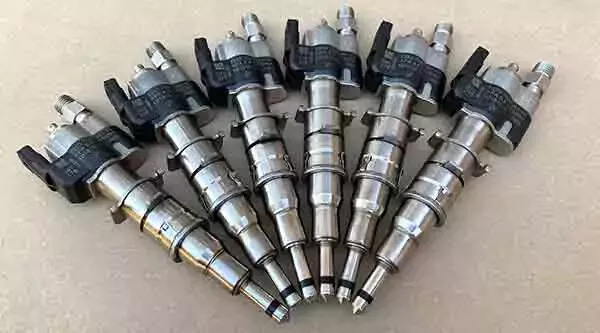
The Right Tools to Clean Your Fuel Injectors
6 min read
How Do Ignition Coils Work?
5 min read
Spark Plugs 101
7 min read
When to Replace Your Drive Belt
6 min read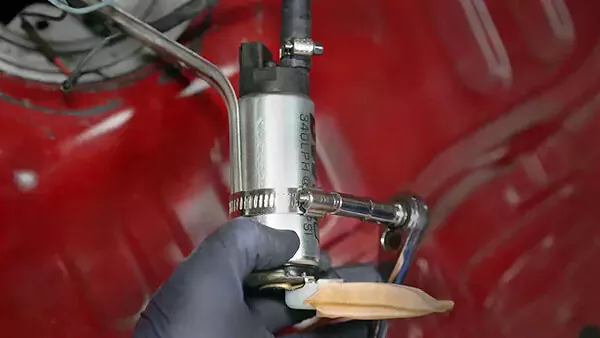
Fuel Pumps and How They Work
8 min read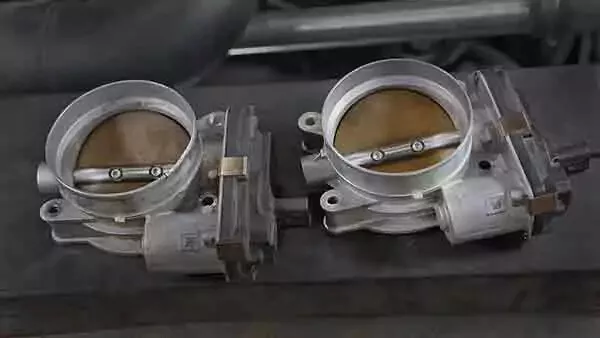
What to Know About Your Vehicle's Throttle Body
6 min read
Everything You Need to Know About Fuel Filters
6 min read
How to Buy the Right Ignition Coils
7 min read
How to Buy the Right O2 Sensor
5 min read
How to Replace a Serpentine Belt Tensioner
4 min read
When to Replace Your Engine Air Filter
5 min read
How to Replace an Oxygen Sensor
5 min read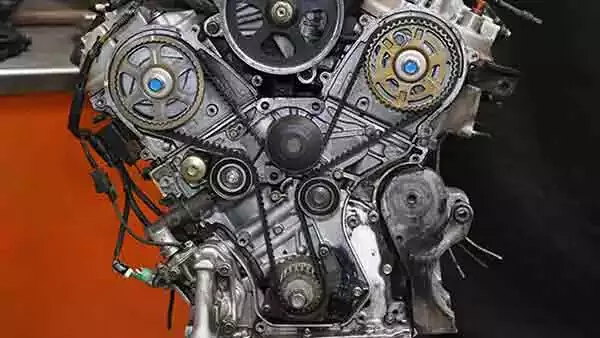
How to Buy the Right Timing Belt and Related Tools
5 min read
How to Buy the Right Car Distributor
6 min read
Timing Belts 101
5 min read
How to Replace an Engine Air Filter
5 min read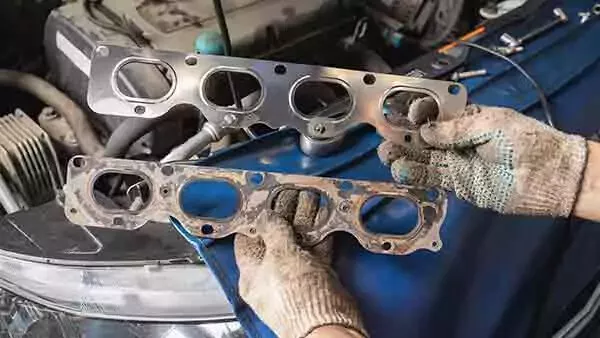
How to Buy the Right Exhaust Manifold Gasket
6 min read
How to Choose the Best Spark Plugs
5 min read
How to Replace a Car Starter
7 min read
What You Should Know About O2 Sensors
6 min read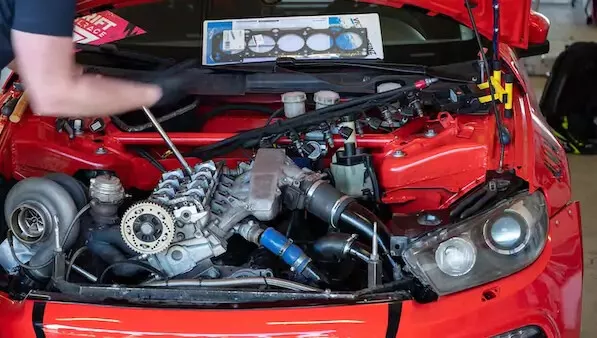
How to Buy the Right Valve Cover Gasket
4 min read
How to Replace a Distributor Cap and Rotor
5 min read
Understanding Your Car's Idler Pulley
4 min read
How to Replace a Fuel Filter
7 min read
How to Replace a PCV Valve
6 min read
Do You Have a Faulty Mass Air Flow Sensor?
4 min read
Everything You Need to Know About Car Starters
7 min read
How to Replace an Exhaust Gasket
9 min read
Ignition Wire Buying Guide
6 min read
All About Your Distributor Cap and Rotor
7 min read
How to Replace a Throttle Body
6 min read
Spotting Intake Manifold Gasket Problems
7 min read
How to Change Oil in a Car
8 min read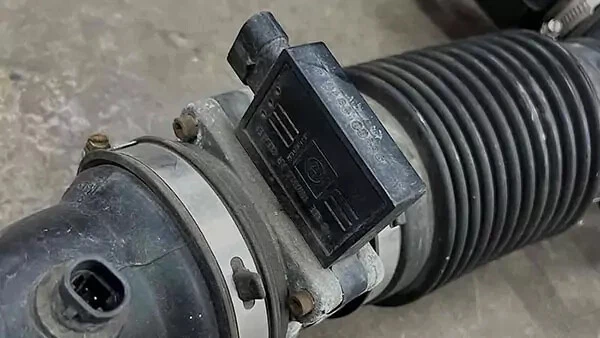
How to Buy the Best MAF Sensor
4 min read
How to Replace an EGR Valve
5 min read
How to Change an In-Tank Fuel Pump
9 min read
Explore more projects
How to Change a Thermostat
30 to 60 minutes
Intermediate
7 min read
How to Replace a Car Starter
1 to 2 hours
Intermediate
7 min read
How to Replace Spark Plugs
1 to 2 hours
Intermediate
7 min read
How to Replace a Transmission Mount
1 to 2 hours
Intermediate
7 min read
How to Replace Engine Mounts
1 to 2 hours
Intermediate
4 min read

How to Change Manual Transmission Fluid
Less than 30 minutes
Intermediate
4 min read

How to Change a Water Pump
1 to 2 hours
Intermediate
8 min read

How to Replace Wheel Bearings
1 to 2 hours
Intermediate
7 min read

How to Replace Tie Rod Ends
30 to 60 minutes
Intermediate
8 min read
How to Replace a Heater Core
More than 5 hours
Intermediate
12 min read

How to Replace a Power Steering Pump
1 to 2 hours
Intermediate
7 min read

How to Replace a Steering Gearbox
2 to 5 hours
Intermediate
8 min read
How to Replace Power Steering Fluid
1 to 2 hours
Intermediate
8 min read

How to Change Automatic Transmission Fluid
Less than 30 minutes
Intermediate
6 min read
How to Replace a U-Joint
1 to 2 hours
Intermediate
14 min read

How to Replace a Car Radiator
1 to 2 hours
Intermediate
8 min read
How to Change an In-Tank Fuel Pump
2 to 5 hours
Intermediate
9 min read