Many vehicles with an independent suspension use special axles that connect the differential to the wheel hubs. Constant velocity (CV) axles send the power to the wheels while allowing the suspension and steering to operate without binding the axles.
A CV axle can last 200,000 miles. But, if the CV joint boot is damaged, the axle might only last 5,000 to 10,000 more miles before failing. These boots hold grease inside the CV joints (which connect the wheel hub to the transmission) and protect them from external elements, which is crucial for a CV axle to function.
How long does it take to change a CV axle?
Replacing a CV axle is an advanced do-it-yourself mechanic job that usually takes an hour or two. The replacement process can be more challenging for vehicles with a suspension design that is hard to reach.
Tips and Tricks for DIY CV axle replacement
- When a CV axle begins to fail, you might hear clicking and popping when you turn. You may also feel vibrations when driving in a straight line and see grease leaking under the vehicle. If the axle fails, the vehicle can become unstable. A failed axle can also stall the engine.
- You may need a specialty axle shaft puller to remove the inner shaft from the differential or inner hub. Some CV axles bolt to the differential. This is common for four-wheel-drive vehicles and rear CV axles. Most front CV axles have an internal snap ring that pops out when the axle is pulled hard. Refer to your vehicle’s repair manual for details.
- You can replace a damaged boot, which requires removing the CV axle from the vehicle. However, that effort—and the cost of two new boots and related supplies—could make it worthwhile to install a new CV axle instead.
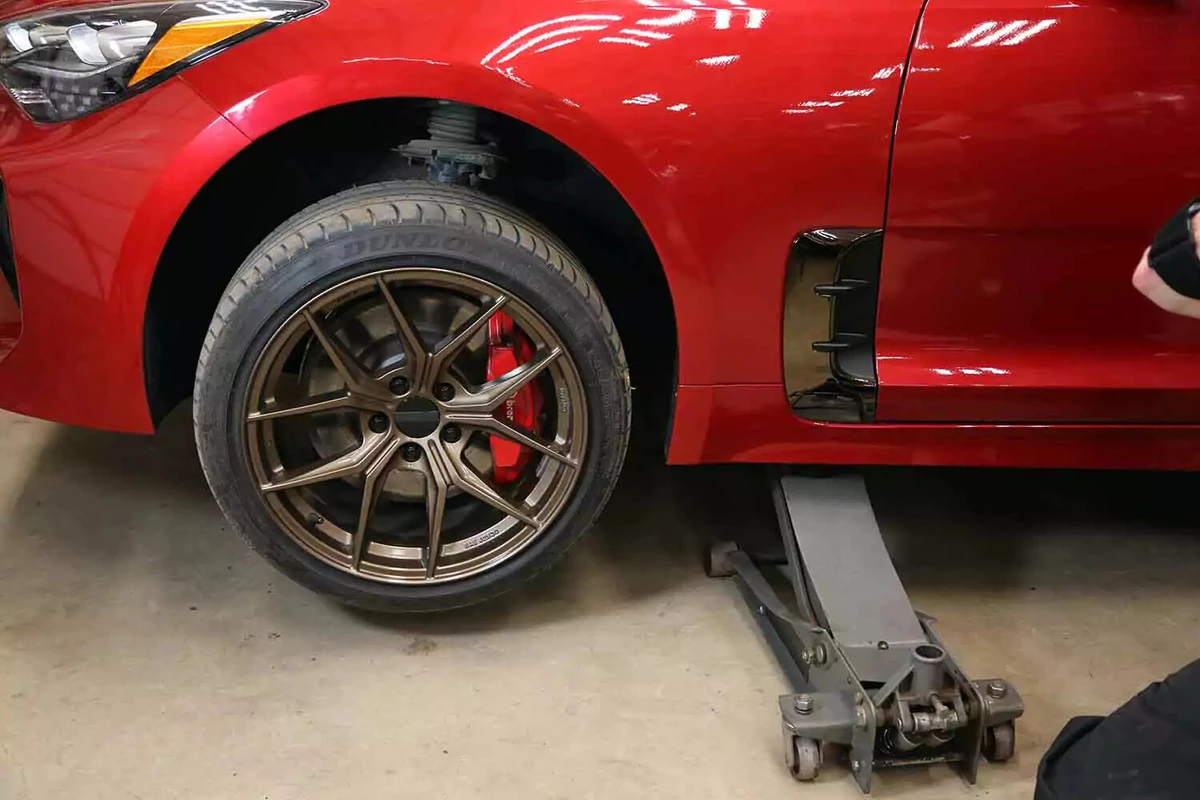
This project requires working safely under the vehicle. You will need a floor jack, and jack stands, ramps, or wheel cribs to support the vehicle.
Locate the factory jacking points just behind the front wheels or just in front of the rear wheels. The jacking point is a metal section with two V notches about two inches apart. Check your owner’s manual to confirm the lift location.
Never use jack stands on dirt, gravel, or asphalt. If you do not have access to a concrete work surface, use wheel cribs, solid-base ramps, or wide-base wood supports to support the vehicle. Never use cinder blocks or bricks as supports.
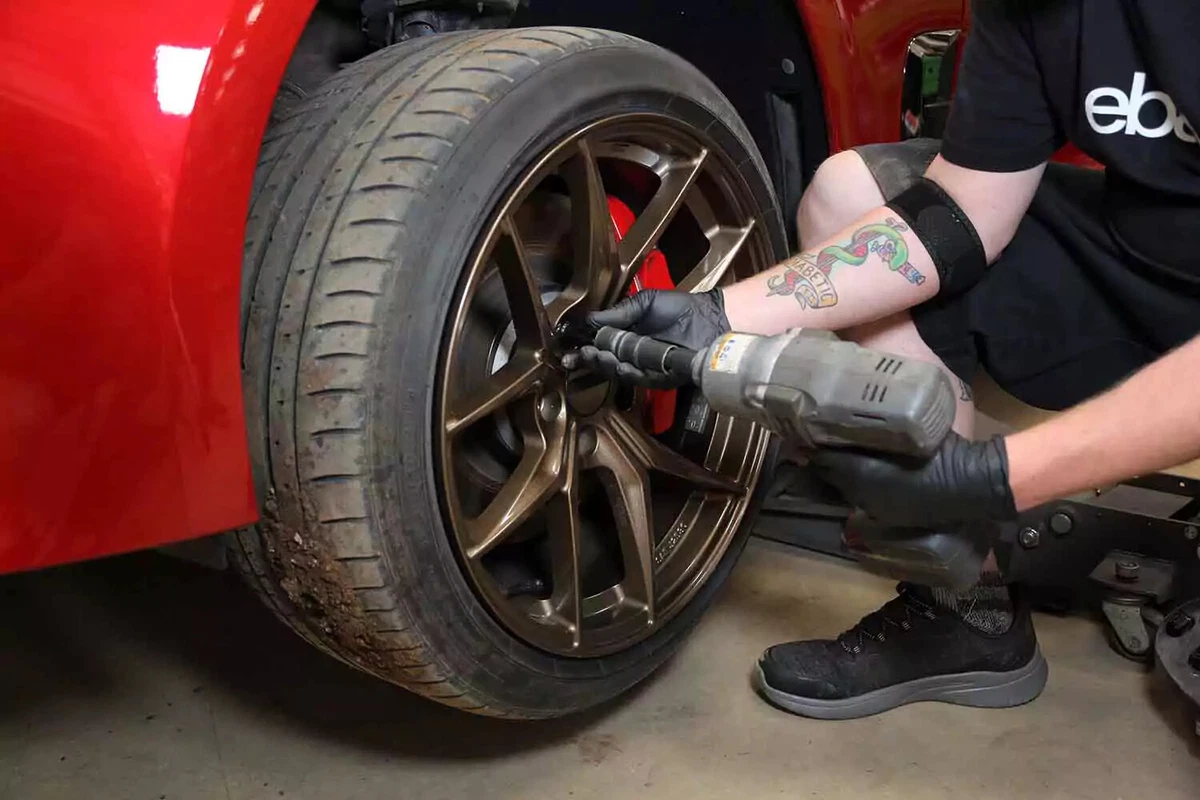
On the side of the vehicle with the bad CV axle, use an impact wrench to remove the lug nuts from the wheel. Alternatively, you can use a tire iron, socket, or wrench.
It doesn’t matter what order you remove the lug nuts. If you have locking lug nuts, be careful not to strip them.
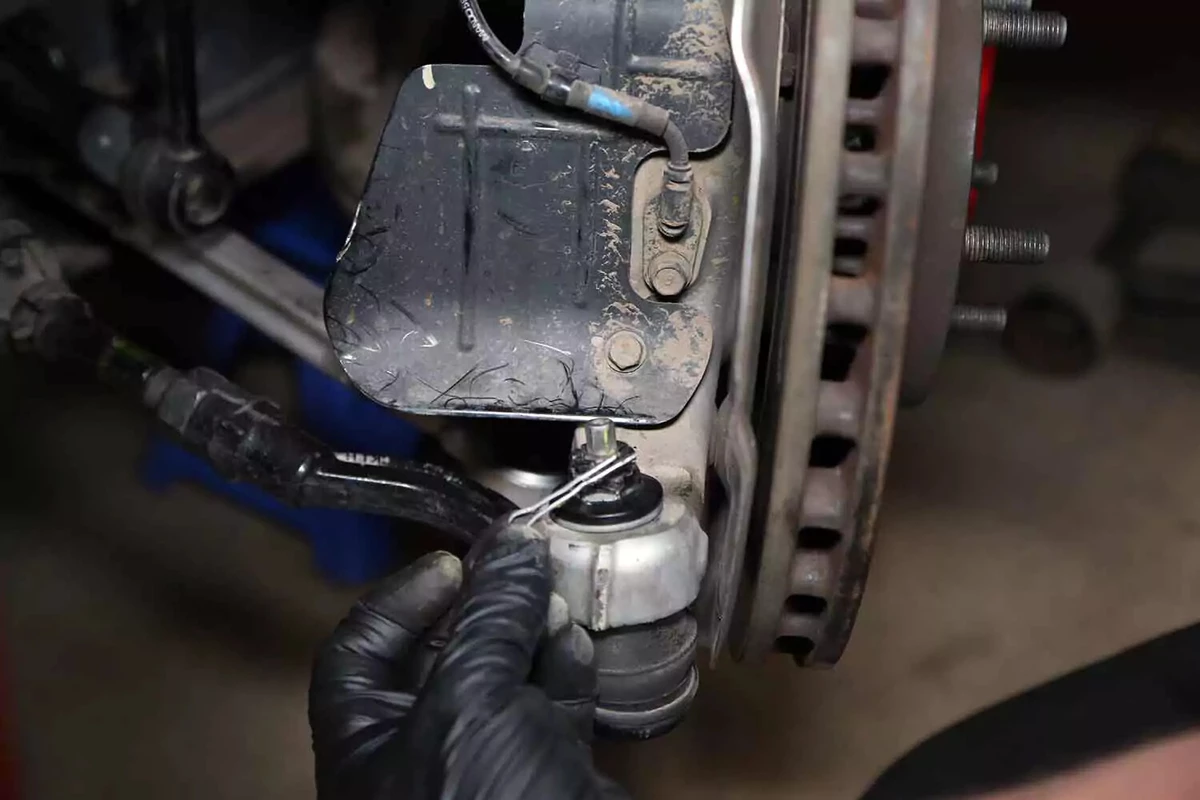
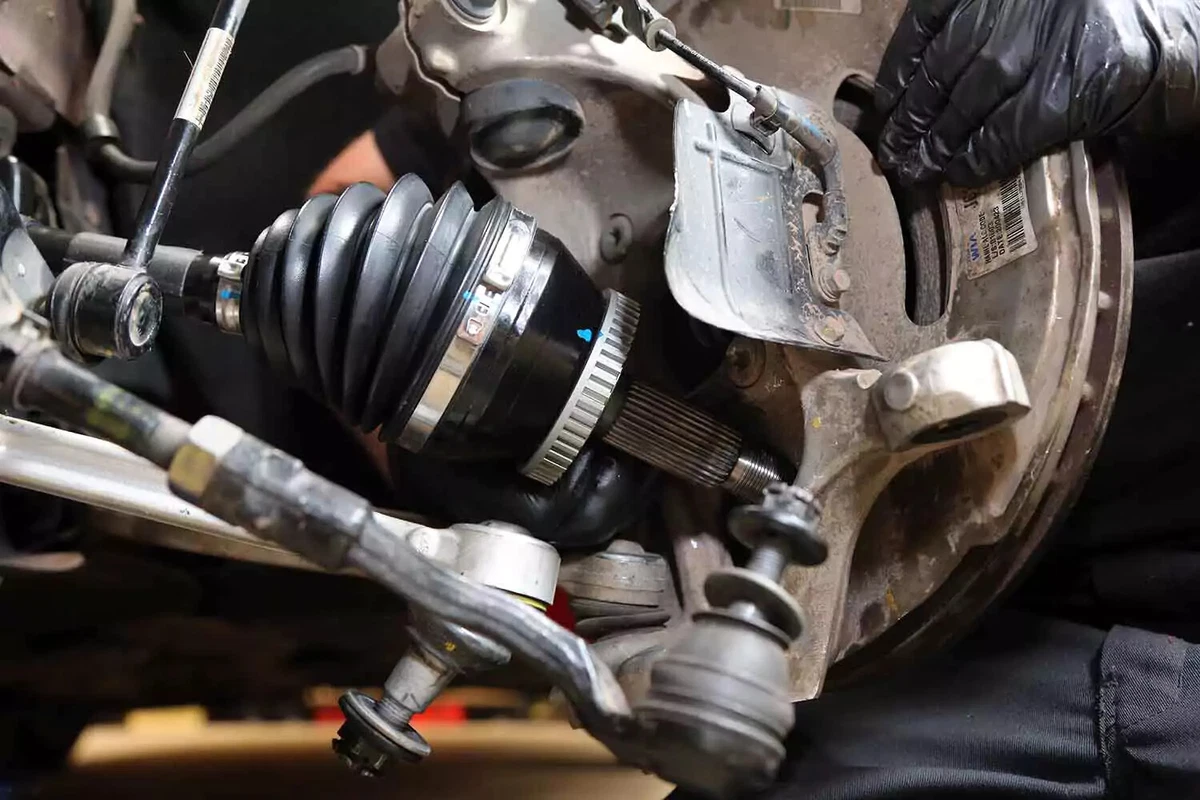
Remove the lower ball joints and tie rod end to get the axle out. That was the case for our demo vehicle.
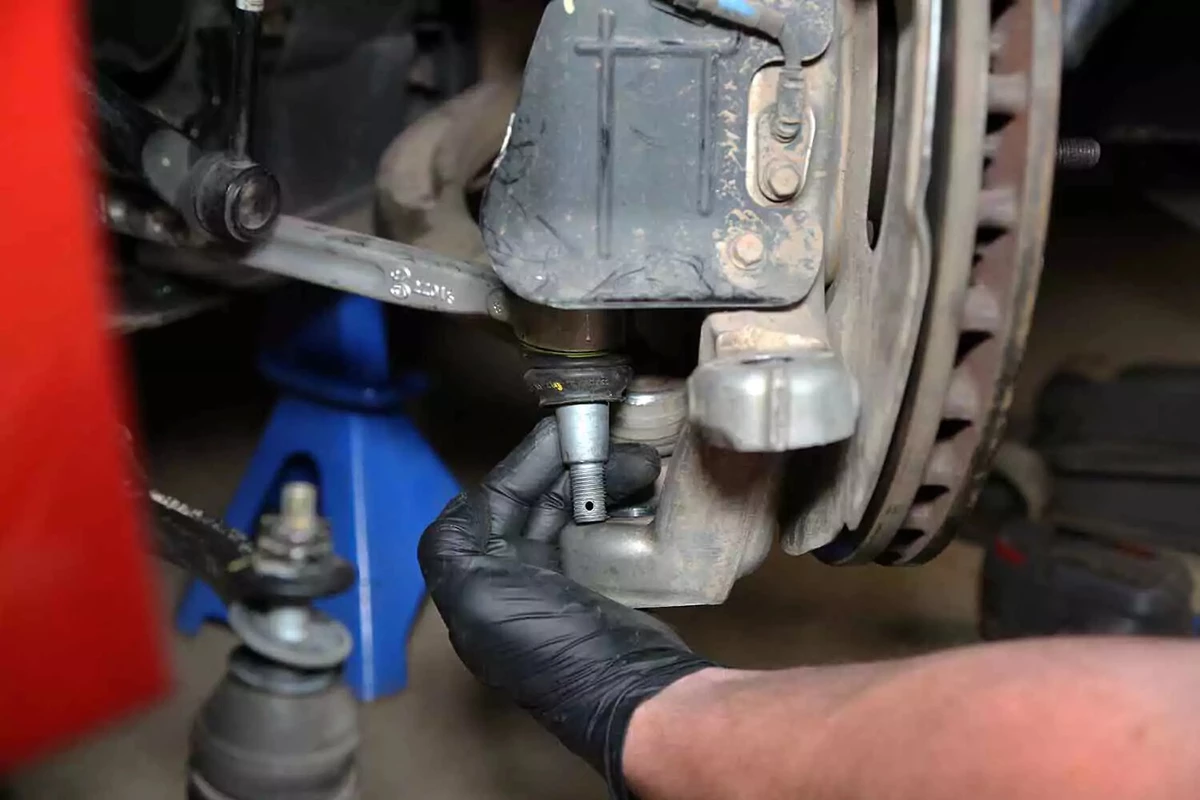
Pull the cotter pin from the castle nut.
Remove the castle nut from the tie rod end.
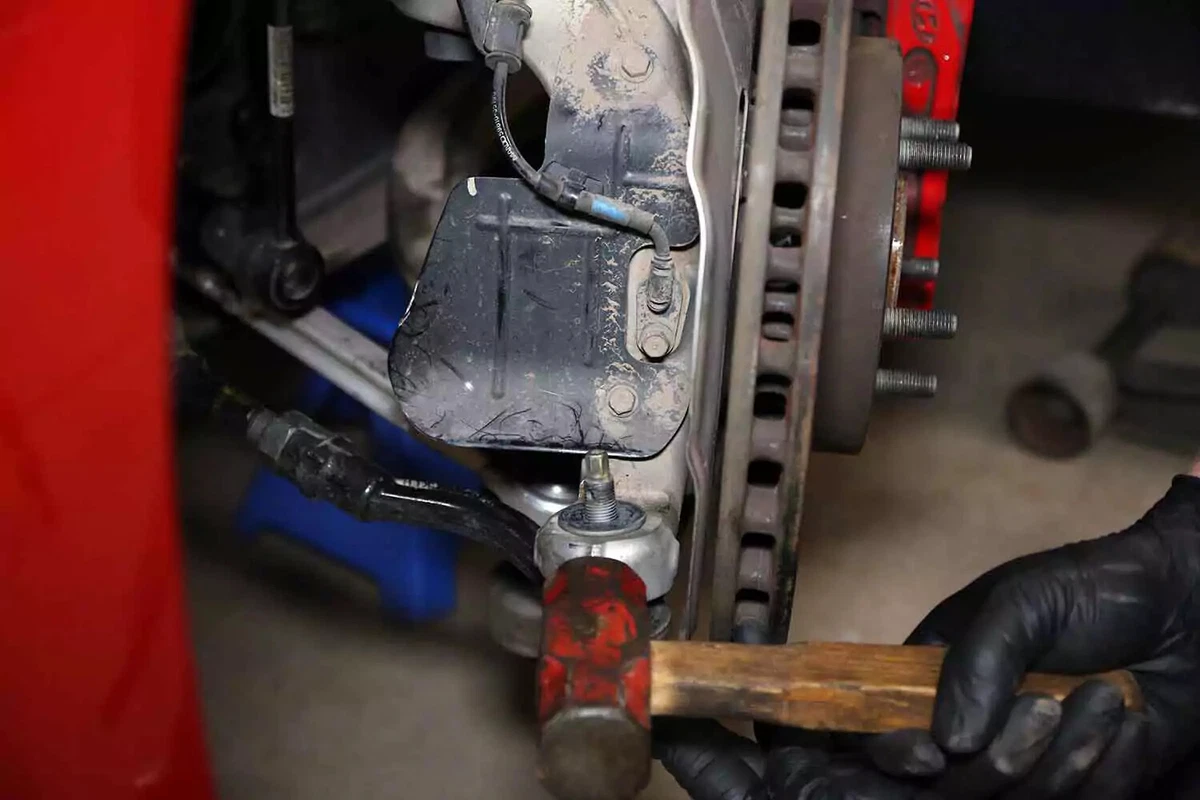
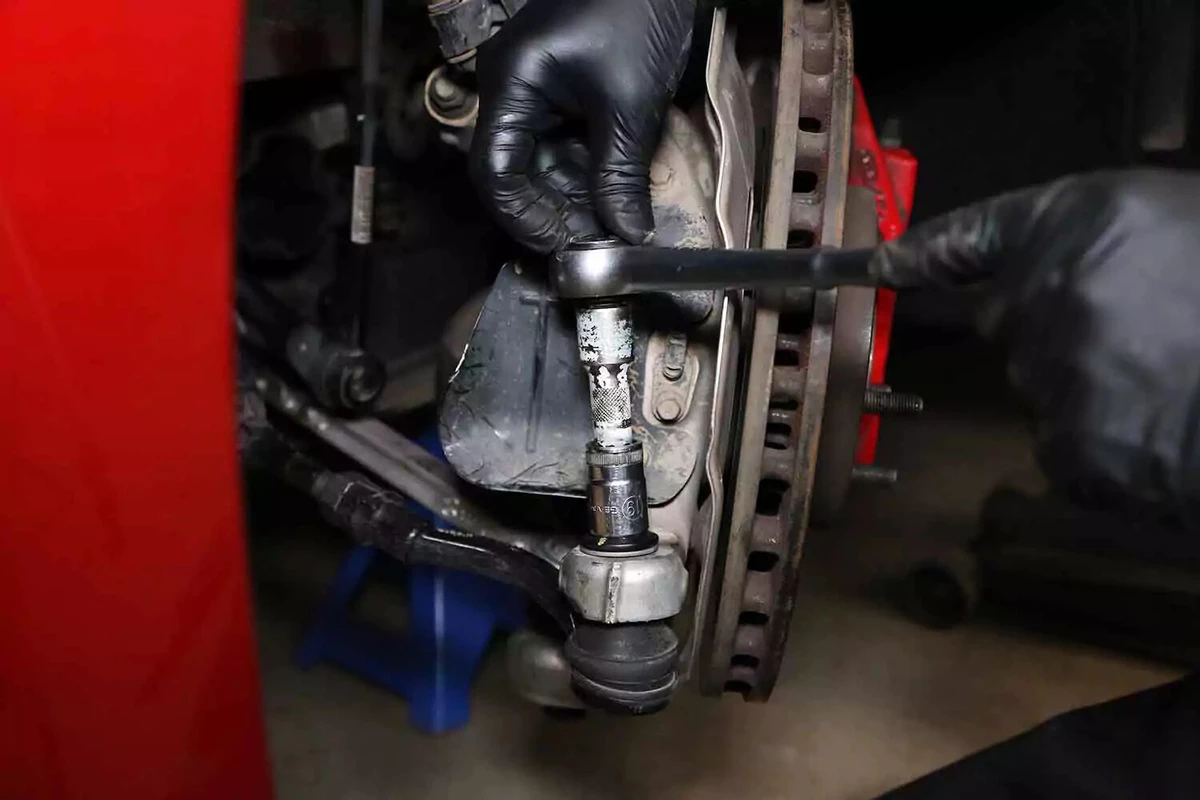
Tap the steering arm with a hammer to release the taper pin. If that doesn’t work, use a tie rod separator.
Our demo vehicle has two lower ball joints. We separated them in the same manner as the tie rod end. This allows the steering knuckle to swing out of the way.
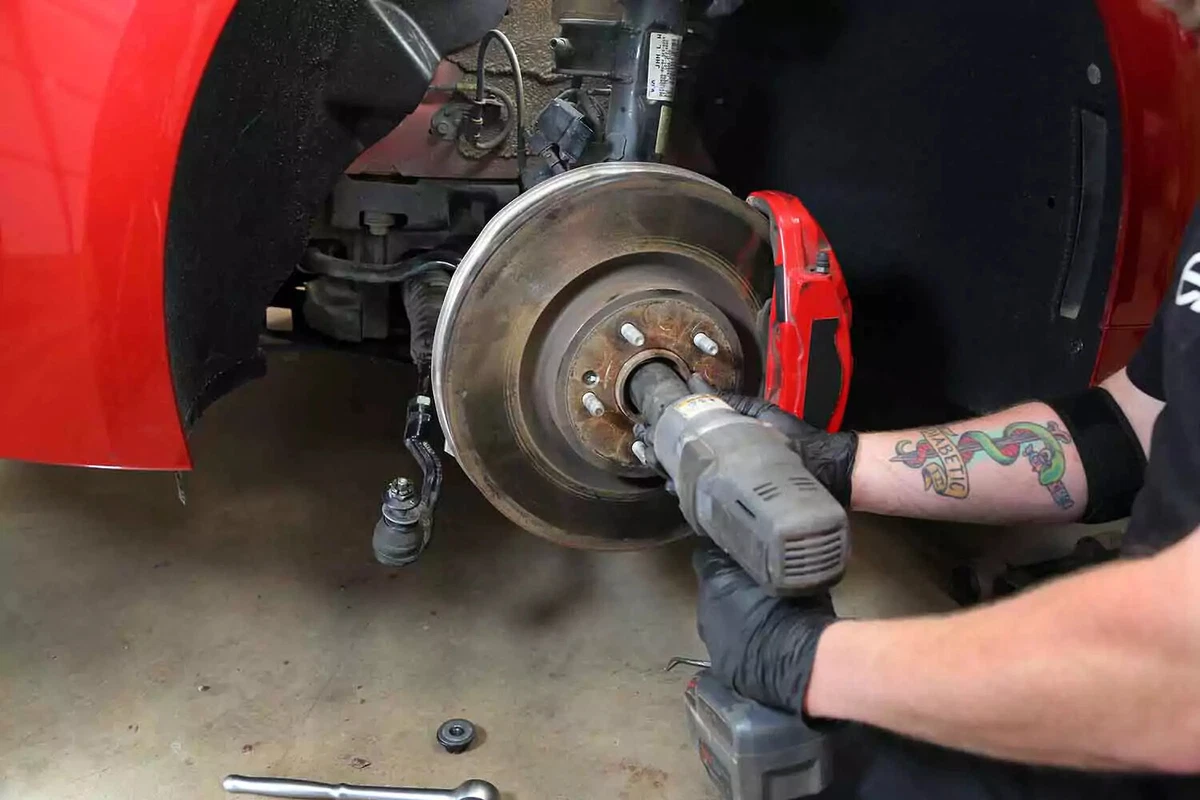
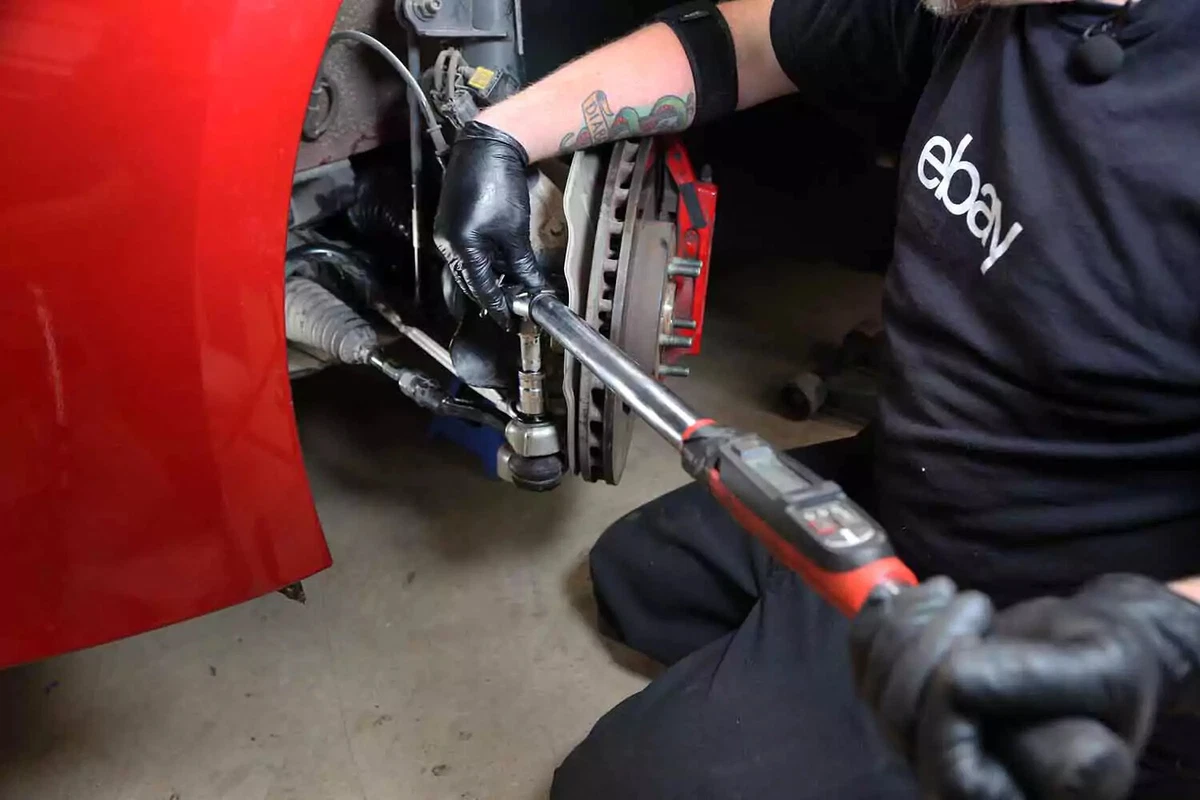
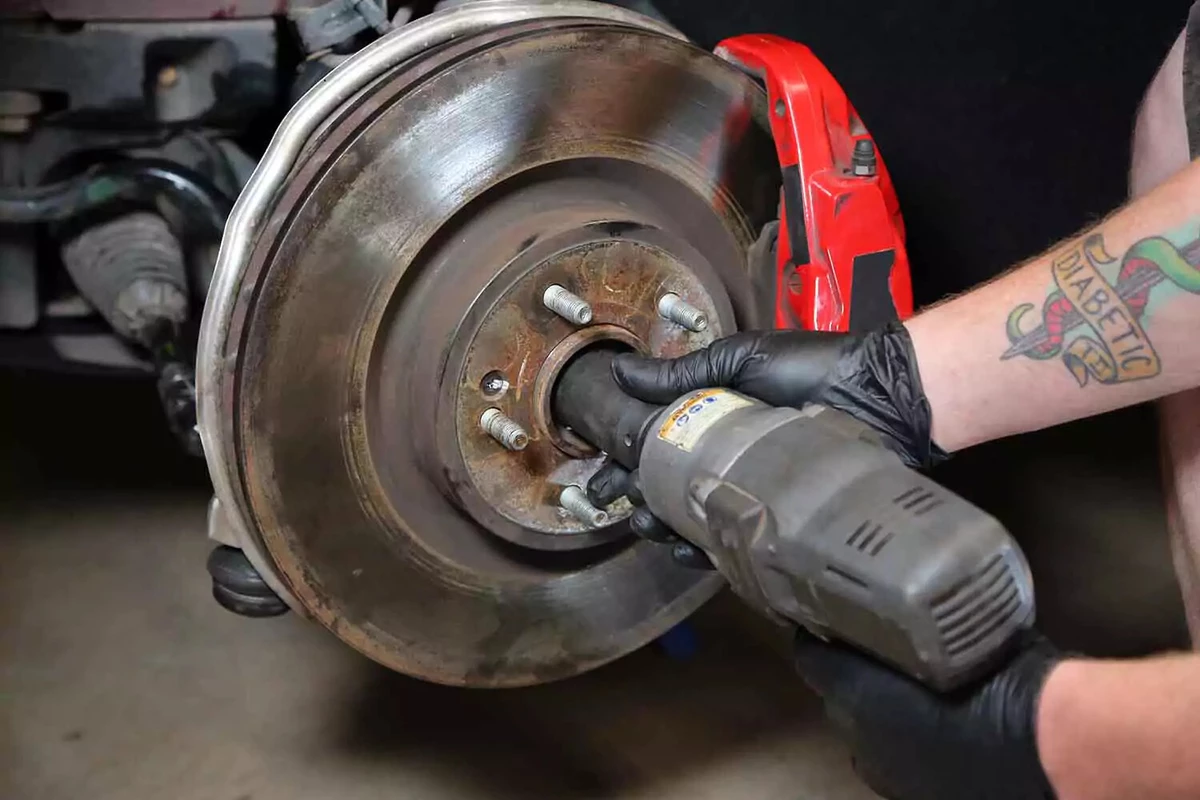
Use an impact gun and axle socket to remove the axle nut. If you don’t have an impact gun, complete this step with the tire on the ground (if your wheels allow access) or with the wheel off before disconnecting the suspension. Have an assistant hold the brakes while you use a breaker bar to loosen the nut.
Use a large 1/2-inch or 3/4-inch drive tool with your impact gun.
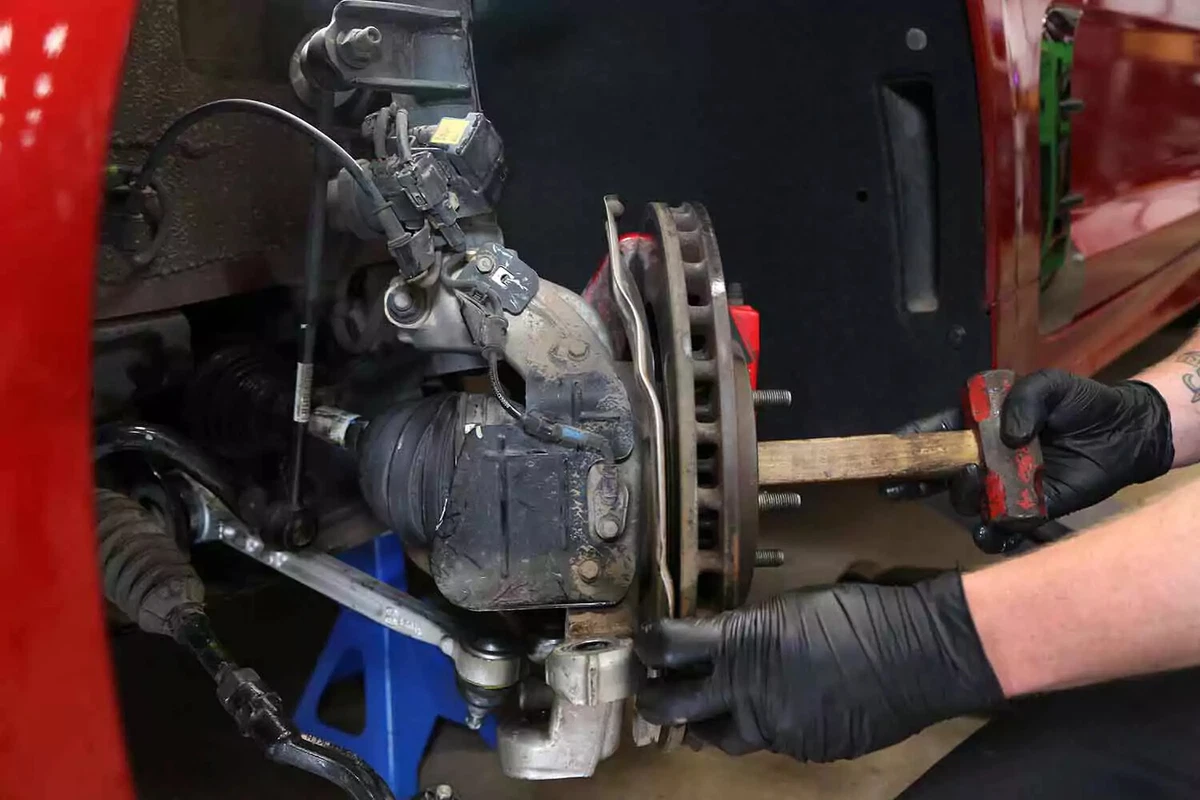
Use a wooden dowel or hammer handle to push the axle shaft out of the knuckle.
If you can’t easily push it out, use an axle press tool or three-jaw puller.

Pull the knuckle away from the axle until the end of the axle clears the knuckle. If your axle has failed and is separated at the CV joint, remove the CV joint and the stub axle.
You may need an assistant to swing the hub out of the way, making it easier for you to clear the end of the axle from the knuckle.
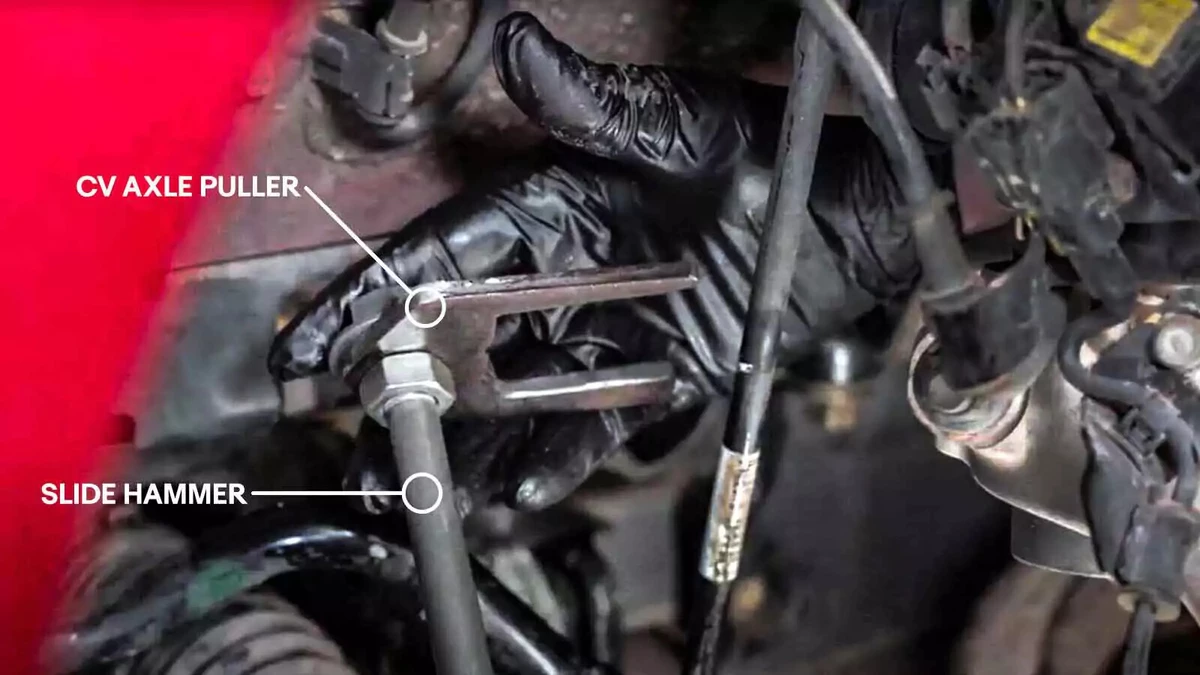
Depending on the type of CV axle mount, you may need a slide hammer. Our demo vehicle’s CV axle removal tool hooks behind the stub axle that fits inside the transaxle case.
Bolt-in and internal snap rings are the most common designs. Others bolt in or use an external snap ring, which is more difficult to use. Refer to your repair manual for the recommended puller type.
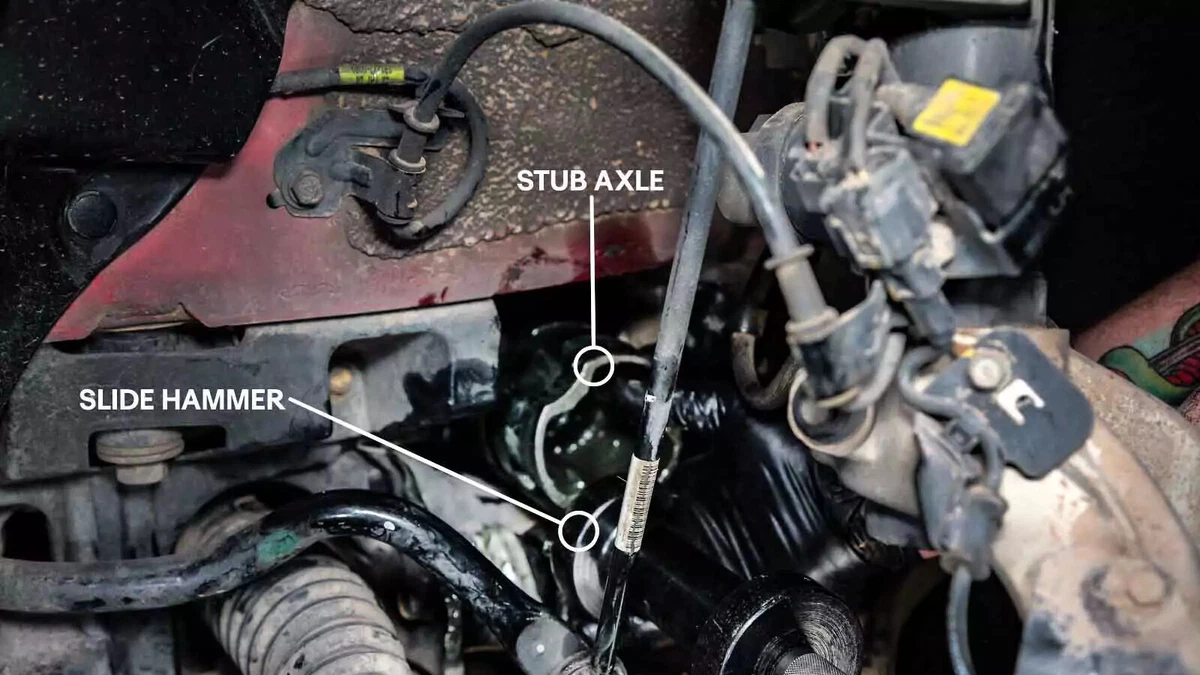
With the hook locked behind the stub axle, use the slide hammer a few times until the axle releases. Slide the weight quickly on the hammer’s shaft towards you until it bottoms out. After three or four hits, this should pop the snap ring from its groove in the stub axle.
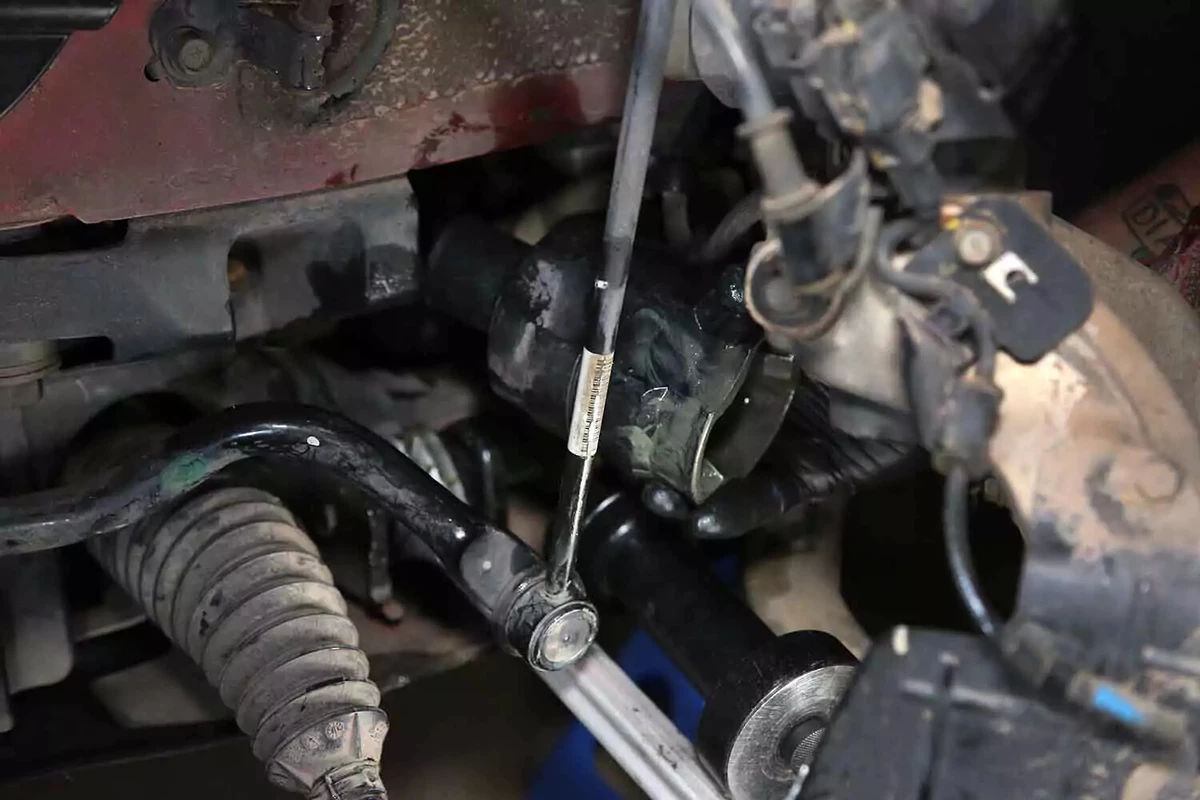
After the joint is separated and the stub is attached, slide it out of the vehicle.
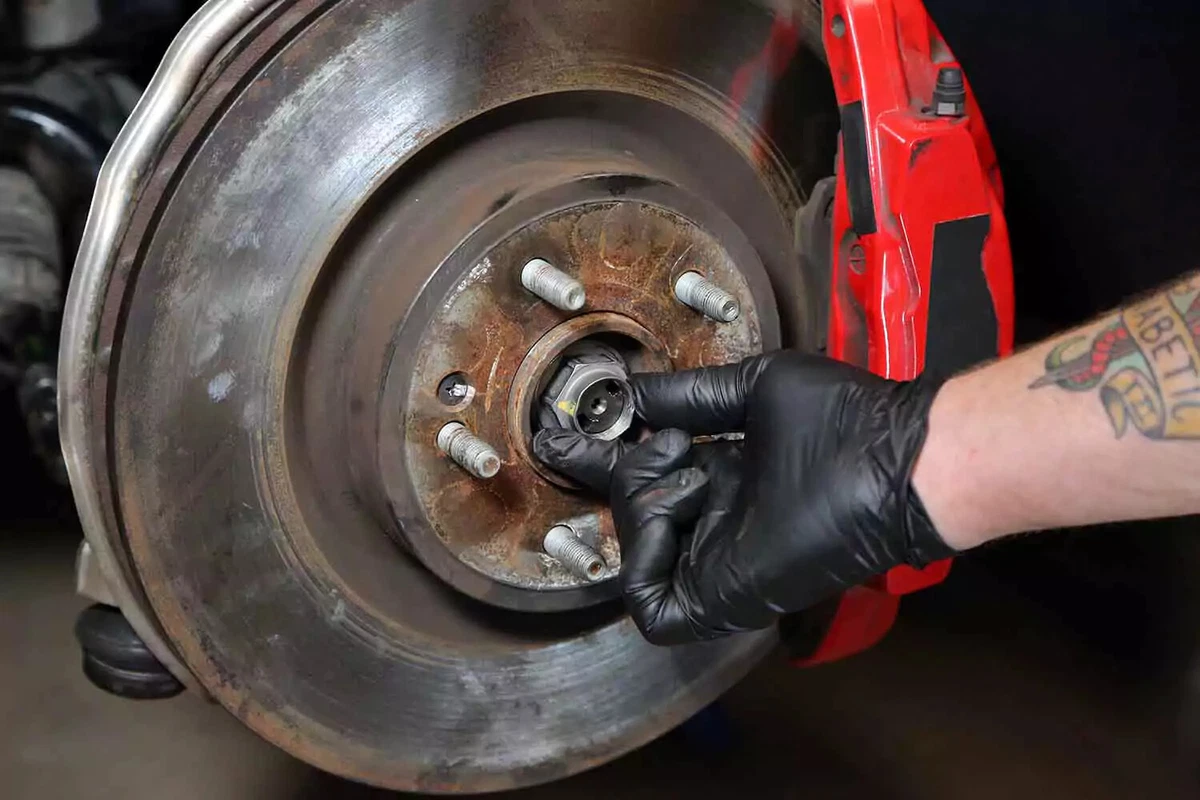
Remove dirt, grease, or debris from a failed boot from the area. Our demo vehicle has a boot clamp in the axle cavity, which we fished out.
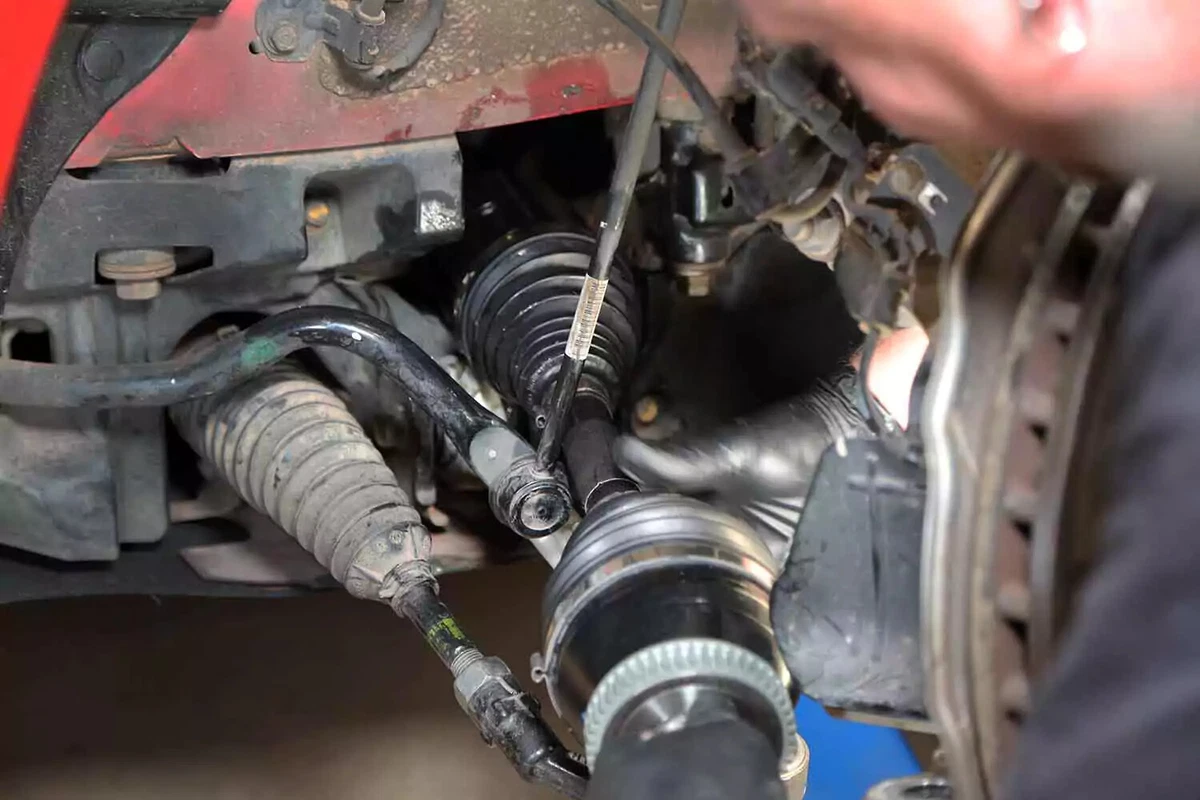
Slip the new axle shaft into the cavity. Rotate it gently until the splines on the stub axle mesh with the transmission. Then, push until it clicks in place.
You should be able to tug outward without the axle coming free. Otherwise, it is not fully seated.
- If your vehicle has a bolt-in axle, bolt it in now.
- For external snap rings, engage the axle and reinstall the snap ring.
Pull the knuckle away from the vehicle until you can slide the drive end of the axle into the wheel hub. The suspension can be stiff, so you might need an assistant to muscle it to the side while you insert the axle into the hub.
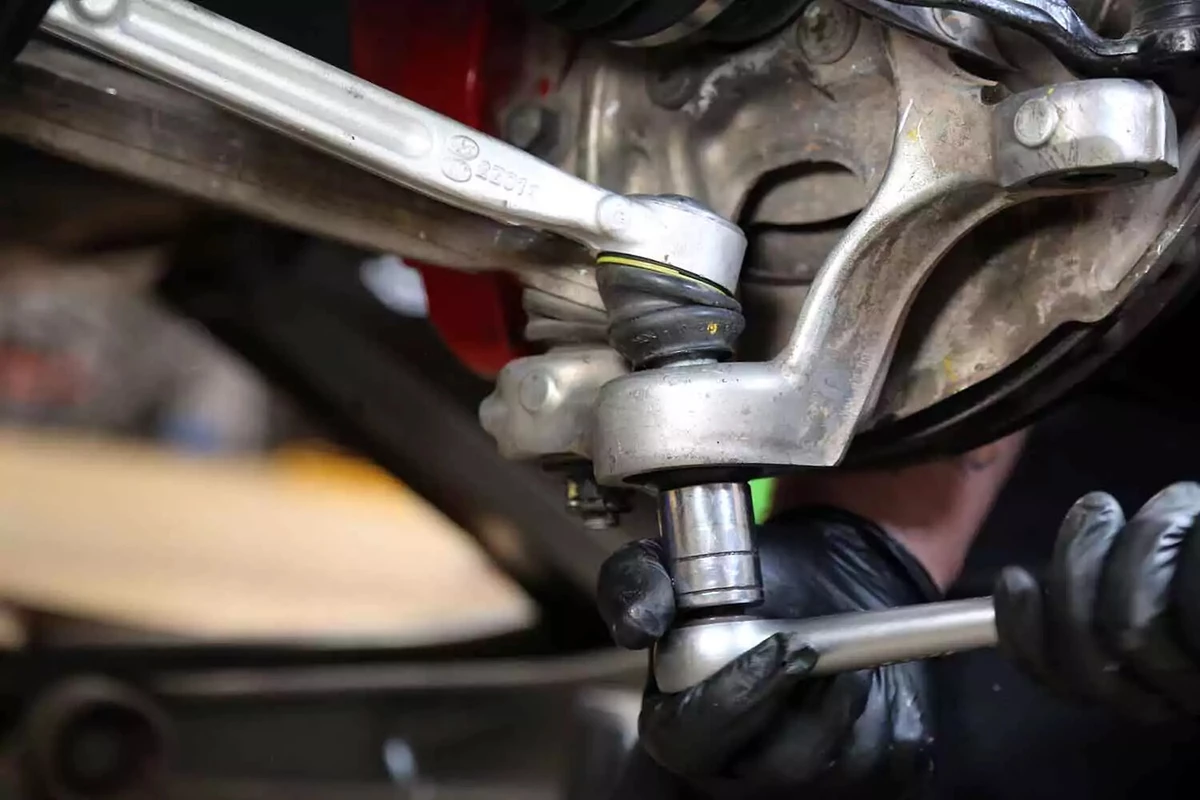
Reinstall the ball joints and tie rod ends that were removed to gain access to the CV axle.
Torque the castle nuts for each joint. Use the torque specification found in your vehicle’s repair manual.
Install new cotter pins. If the castle nut does not line up, tighten the nut until it aligns with the next notch. Do not loosen it.
Reinstall the axle nut. If a new one is supplied, use it. Some vehicles don’t have reusable axle nuts.
Use an impact gun to tighten the axle nut. If you do not have an impact gun, use the same process used for removing it.
Check your repair manual for the recommended torque specifications.
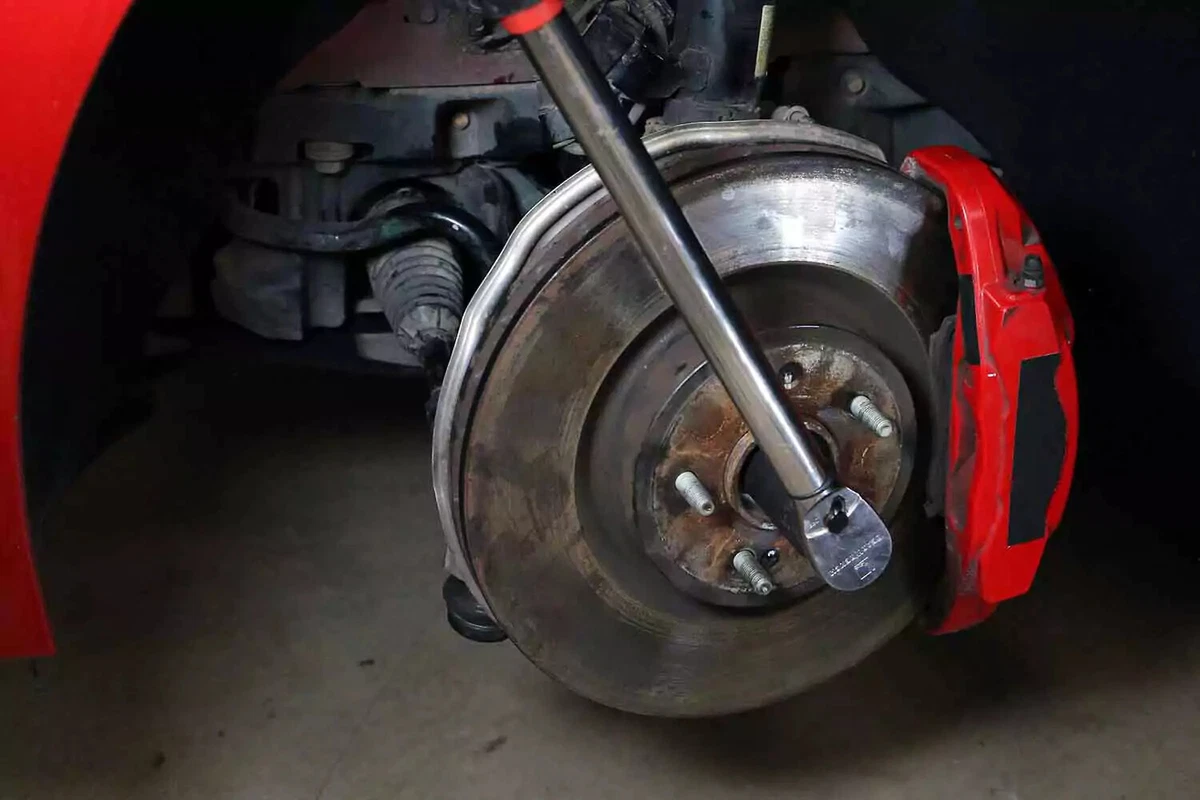
This step can be tough, especially if you can’t access the axle nut with the wheel on, which is how we would normally do this. Instead, we had an assistant hold the brakes while we applied the torque with a torque wrench.
Axle nuts typically need 220 to 250 pound-feet of torque, which is the maximum for our torque wrench. This takes physical effort. For more leverage, use a pipe, also known as a cheater bar, on the wrench.
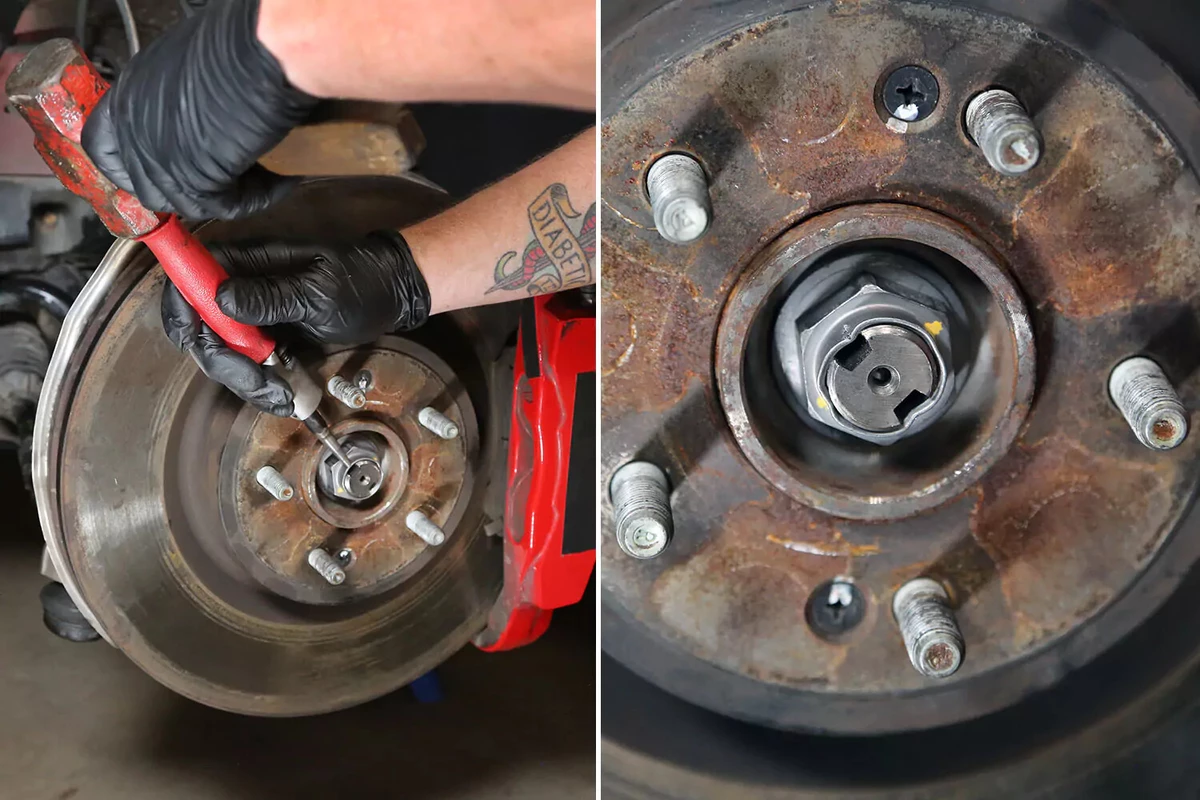
Not all vehicles require this step. The axle has two slots machined in the thread end. Use a punch and hammer to peen the ring on the nut by tapping it into the slot with a small punch.
The displaced point on the ring keeps the axle nut secured. If your vehicle uses this type of nut, replace the original with a new one.
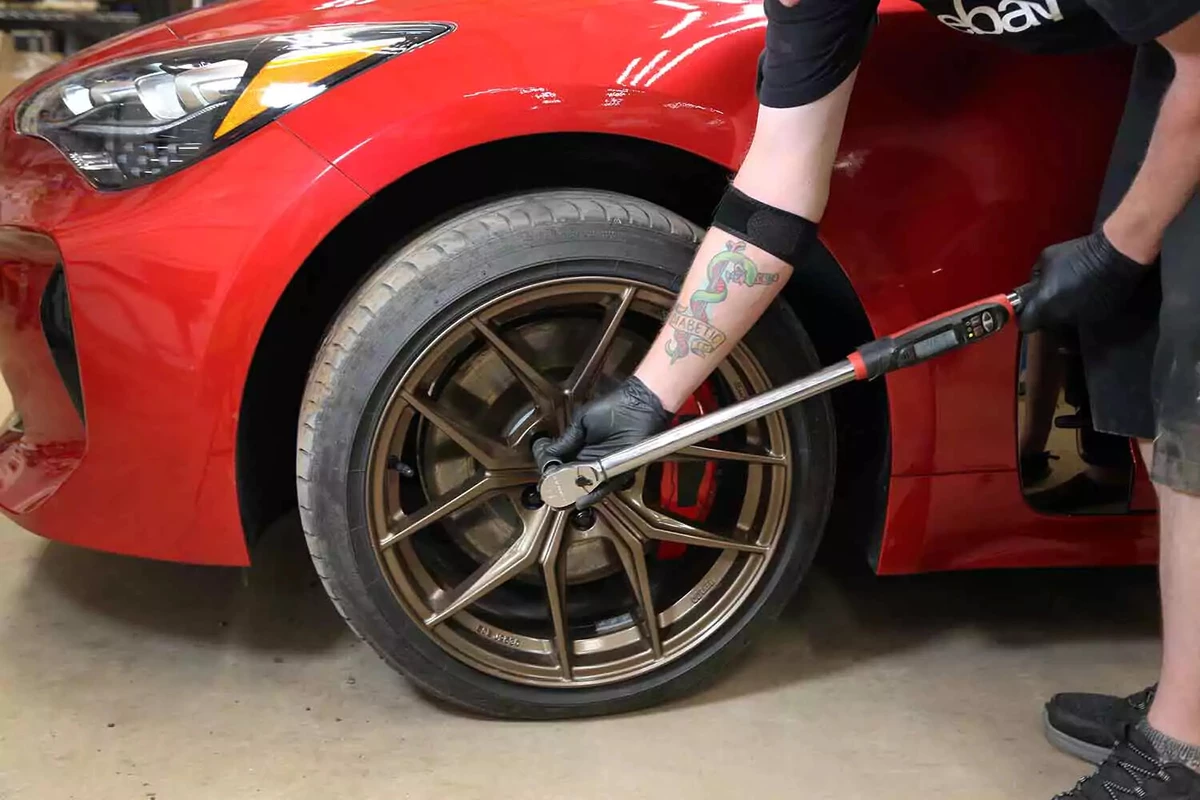
Reinstall the wheel and torque the lug nuts to the OEM specification.
Remove the jack stand and lower the vehicle.
About the author

Share your feedback
This article is meant to provide general guidance only. Automotive maintenance, repair, upgrade, and installation may depend on vehicle-specifics such as make and model. Always consult your owner's manual, repair guide for specific information for your particular vehicle and consider a licensed auto-care professional's help as well, particularly for advance repairs.
Recommended for you
Find answers and inspiration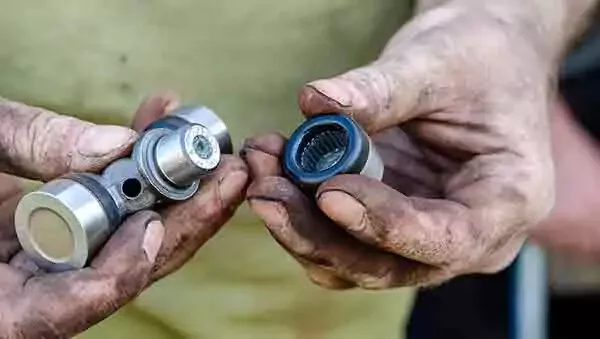
Types of U-Joints and When They Go Bad
6 min read
How to Buy the Right Differential Fluid
4 min read
An Intro to Replacing Clutch Fluid
5 min read
How to Change Manual Transmission Fluid
4 min read
Picking the Right Manual Transmission Fluid
4 min read
How to Replace Wheel Bearings
7 min read
How To Replace Differential Fluid
8 min read
Choosing the Right Clutch Fluid
6 min read
Buying the Right Transmission Fluid and Filter
4 min read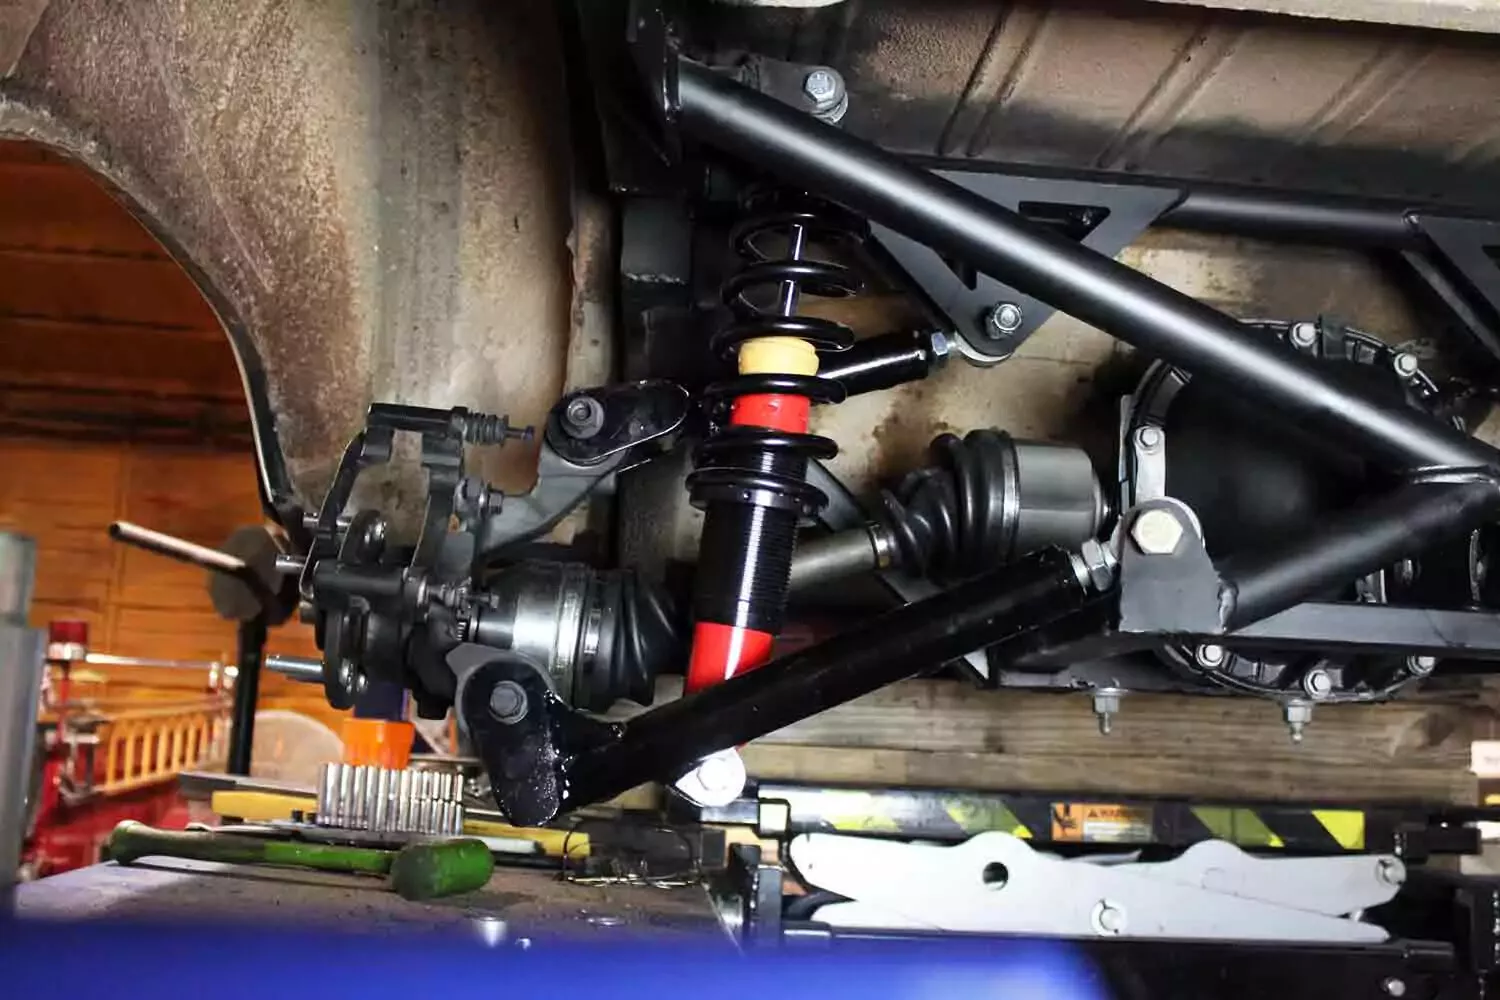
Buying the Right CV Axle
6 min read
How to Replace Transmission Fluid and Filter
11 min read
How to Change Automatic Transmission Fluid
6 min read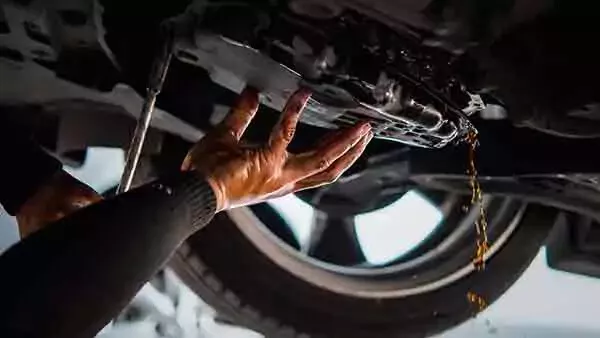
What to Know About Changing Transmission Fluid
6 min read
How to Replace a U-Joint
14 min read
Choosing the Best Clutch Master Cylinder
4 min read
How to Buy the Right Transmission Fluid
5 min read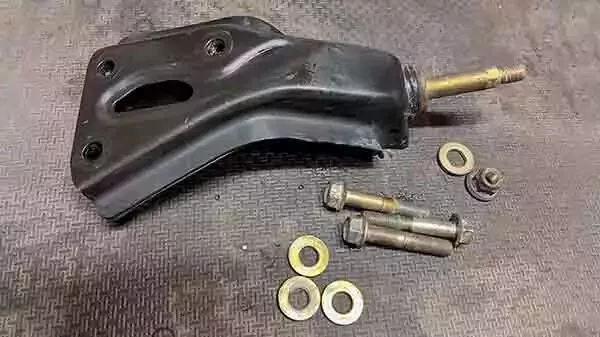
Buying the Right Transmission Mounts
4 min read
A Quick Guide to Your Clutch Master Cylinder
5 min read
How to Replace a Clutch Master Cylinder
11 min read
How to Replace a Transmission Mount
7 min read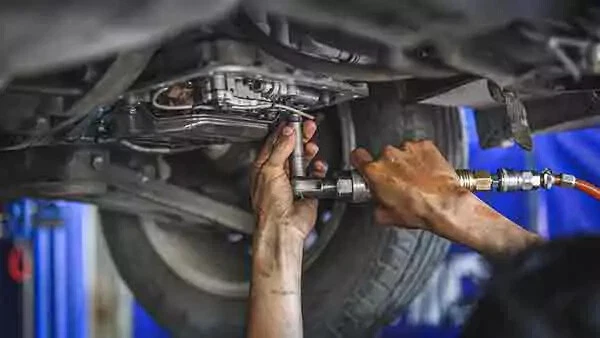
Replacing Your Transmission Fluid and Filter
5 min read
Selecting the Right Transfer Case Fluid
4 min read
What Your Differential Fluid Is Telling You
5 min read
Everything You Need to Know About Wheel Bearings
7 min read
How to Replace an Idler Pulley
4 min read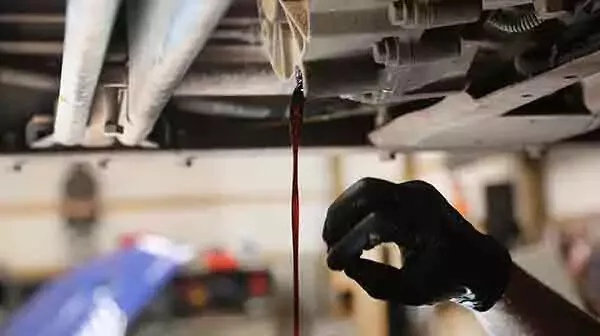
What You Need To Know About Transfer Case Fluid
4 min read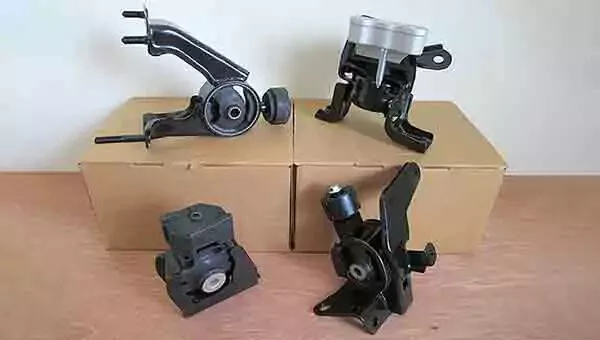
Understanding the Purpose of Transmission Mounts
5 min read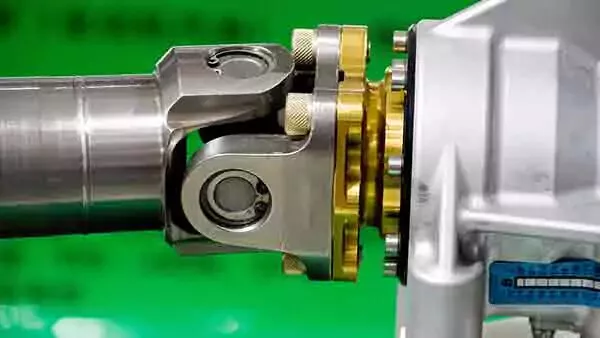
U-Joint Buying Guide
4 min read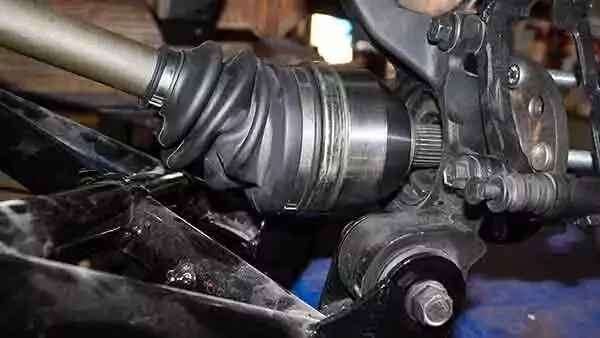
An Introduction to CV Axles and Joints
5 min read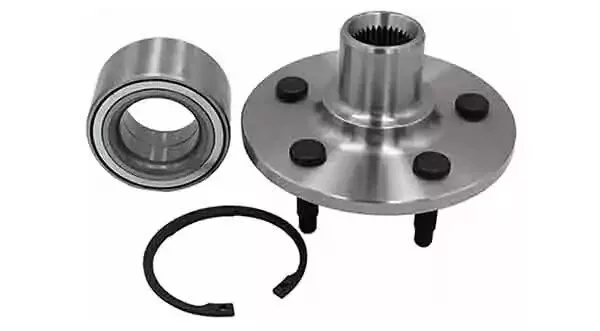
How to Buy the Right Replacement Wheel Bearings
6 min read
How to Replace Ball Joints
12 min read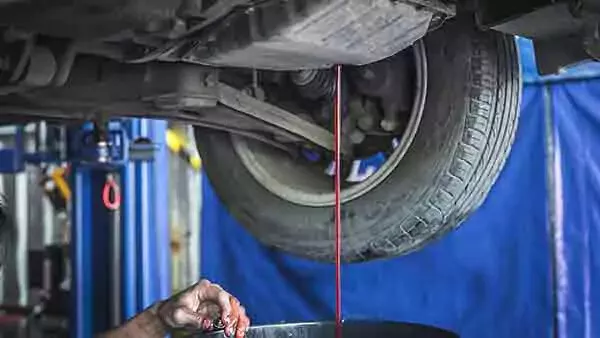
An Intro to Replacing Manual Transmission Fluid
4 min read

