How to Change a Headlight Bulb
By: Jefferson Bryant
Last updated: April 19, 2024
How to Change a Headlight Bulb
Do you have a burned-out headlight bulb? Do you want brighter illumination of the road ahead? Either way, changing a headlight is an easy DIY task.
There are many different mounting and terminal types. No matter which type your vehicle has, you can change a headlight in the driveway in about five to 10 minutes per side.
For the most part, this project does not require tools. Some headlamps might call for a Phillips or Torx screwdriver to release a clamp, but most only require a quarter turn to lock and unlock the bulb.
What You’ll Need
- Headlight bulb - opens in new window or tab. (a new one to match your vehicle’s current bulb)
- Phillips or Torx screwdriver - opens in new window or tab. (for some models only)
Tips and Tricks
- You may need to remove a bracket or air box to access the back of the headlamp housing.
- This guide provides the steps for replacing non-sealed beam headlights—used in most vehicles built after the mid-1980s. Before 1984, US law required vehicles to have sealed beam headlights. Sealed units are large glass headlamps with the bulb integrated into the housing. With this design, you must change the entire housing, not just the bulb. You can recognize these headlights by the square, round, or rectangular shape. Today, because you need only to replace the bulb, headlight housings come in a variety of shapes and sizes.
- Models with high-intensity discharge (HID) lights might require tools to remove the bulb, but most use the same twist-in or spring-clamp mount.
- LED headlights are becoming popular, but they are illegal to install on vehicles that do not have LEDs as original equipment. If your state requires vehicle inspections, you could be fined or barred from driving the vehicle if the original headlight type is replaced with a different LED bulb.
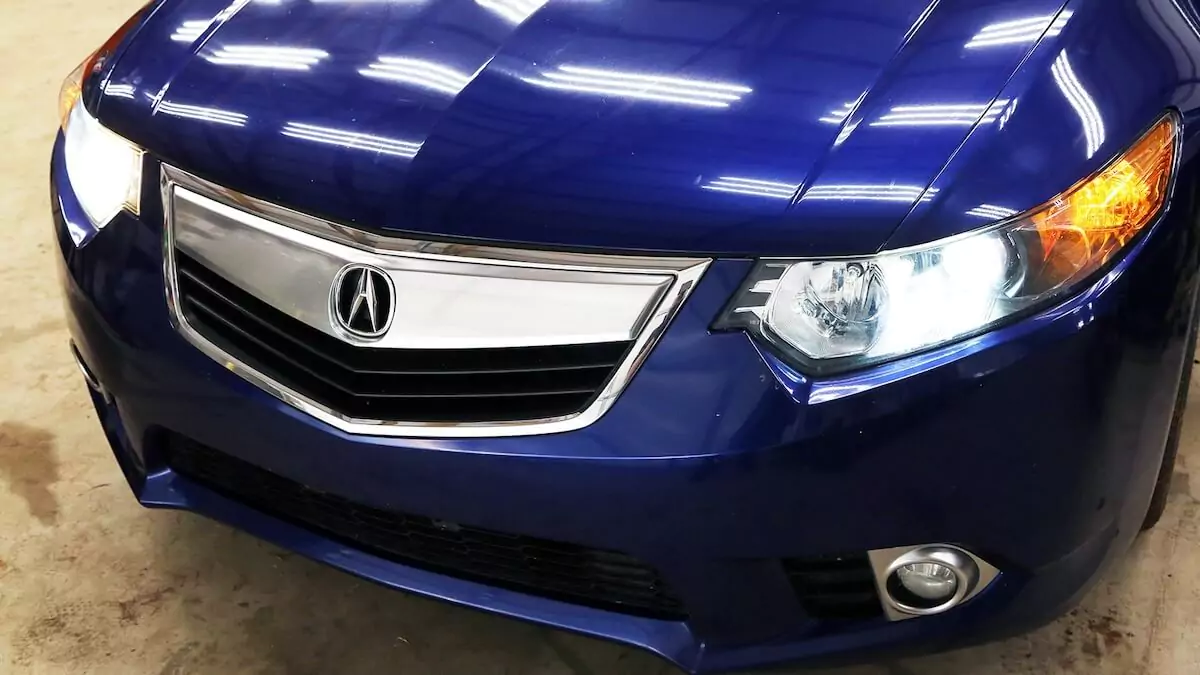
It might seem obvious which light is out, but most vehicles have multiple bulbs on each side. Confirm the placement of the bulb in the housing so that you don’t accidentally handle the wrong bulb.
This Acura wagon had a faulty high-beam bulb on the driver’s side. The inner bulb on the housing is the correct one to change. We used the eBay Parts Finder on the eBay Motors home page - opens in new window or tab. to verify the right bulb type. Then, we ordered a replacement 9005 bulb.
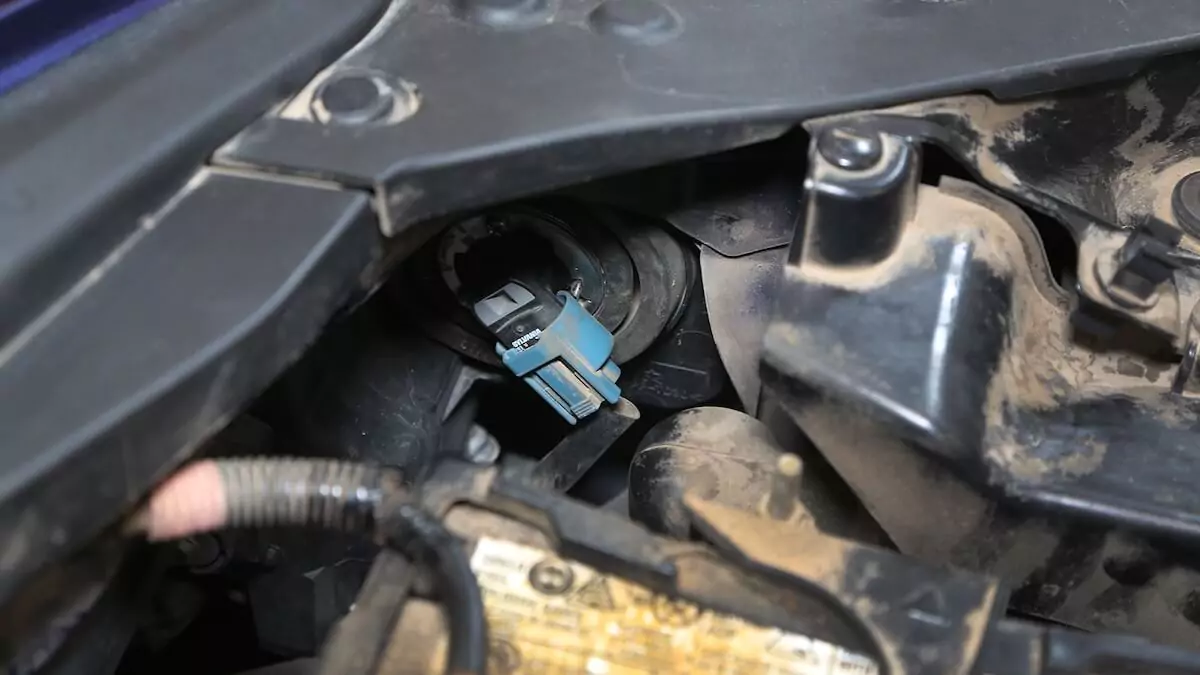
Open the hood and look behind the headlight assembly - opens in new window or tab.. The fit is typically tighter on a smaller vehicle, so you might need to remove an air box, panel, or bracket to reach the bulb.
We easily accessed the high beam on the Acura. The headlight bulb is in the down, locked position. (The low-beam projector bulb is more challenging to reach because it’s on the housing’s outer side.)
Inspect the back of the headlight assembly for any cracks or damage that might require repair or replacement of the housing. These bulbs are very sensitive to water and contaminants. Oil or dirt can create a hotspot on the glass. As a result, the bulb could crack or burn out.
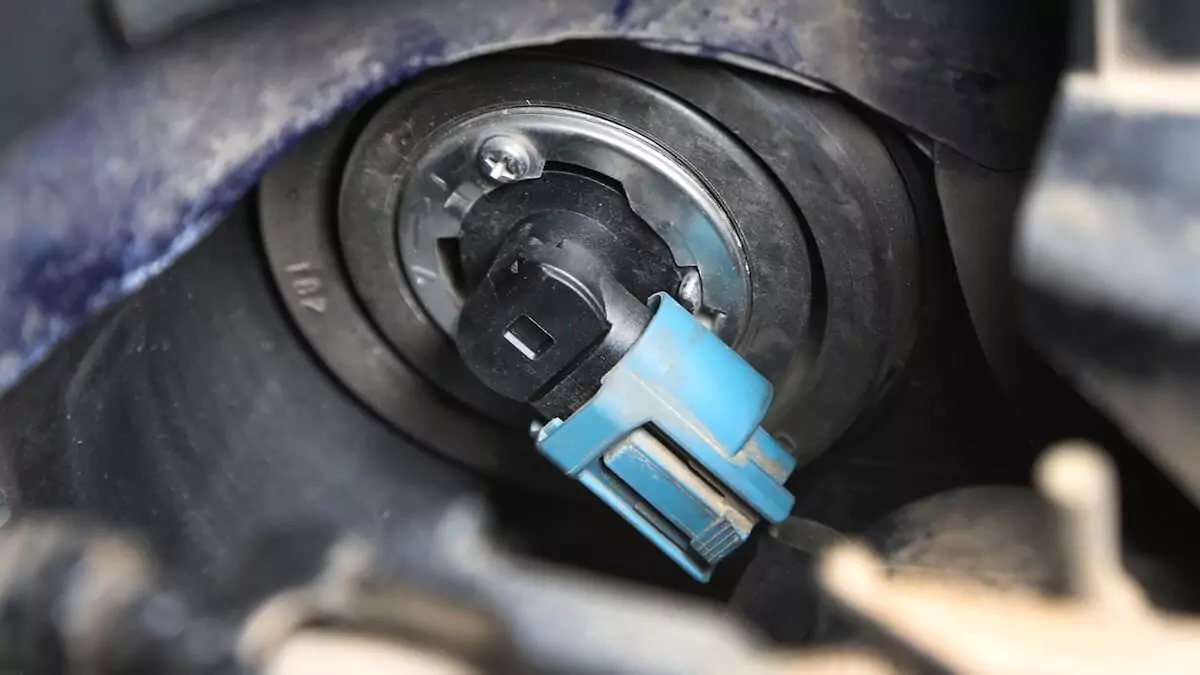
Grab the back of the bulb and gently twist it counterclockwise to unlock it from the mount. Then, pull the bulb out of the housing. Some bulbs use a fold-over spring clamp. If your vehicle uses this style, snap the wire clamp off the bulb.
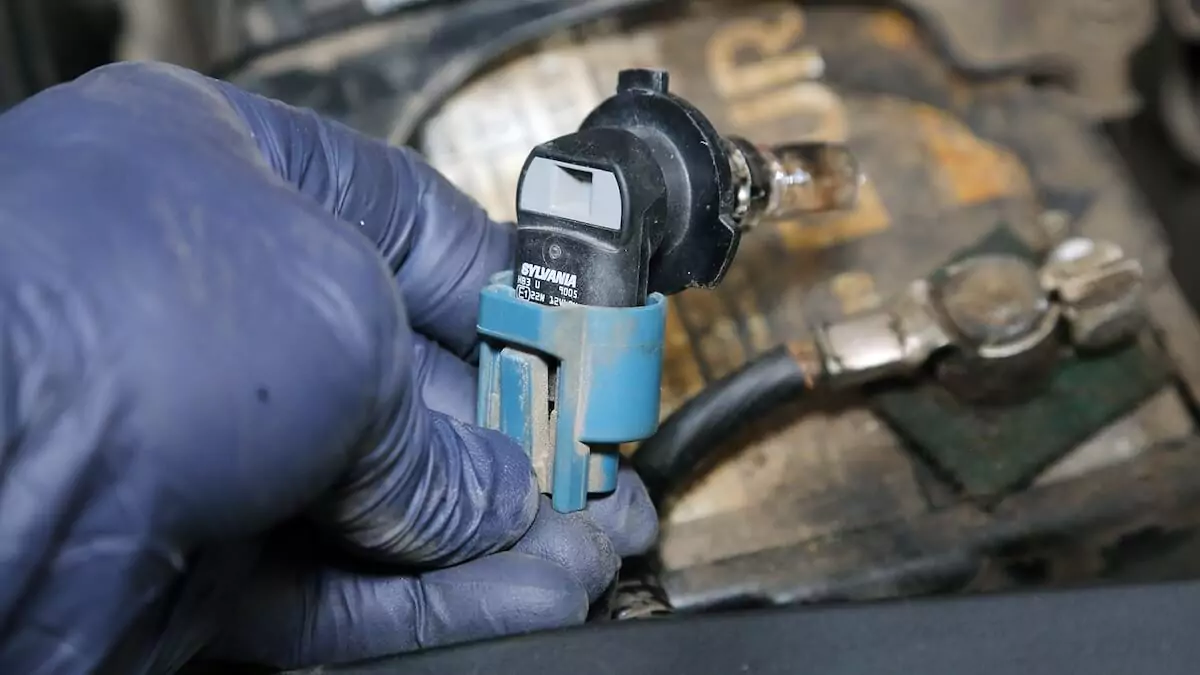
Locate the retainer on the plug and press it as shown. Then, pull the bulb out of the plug. These plugs can get brittle over time, so be careful when pressing on the release bar. If it breaks, you can replace the plug with a repair pigtail. You can use a broken plug (sometimes called “terminal”) if the only issue is the retaining clip. However, be aware that it may vibrate, which can cause the bulb to flicker and burn out.
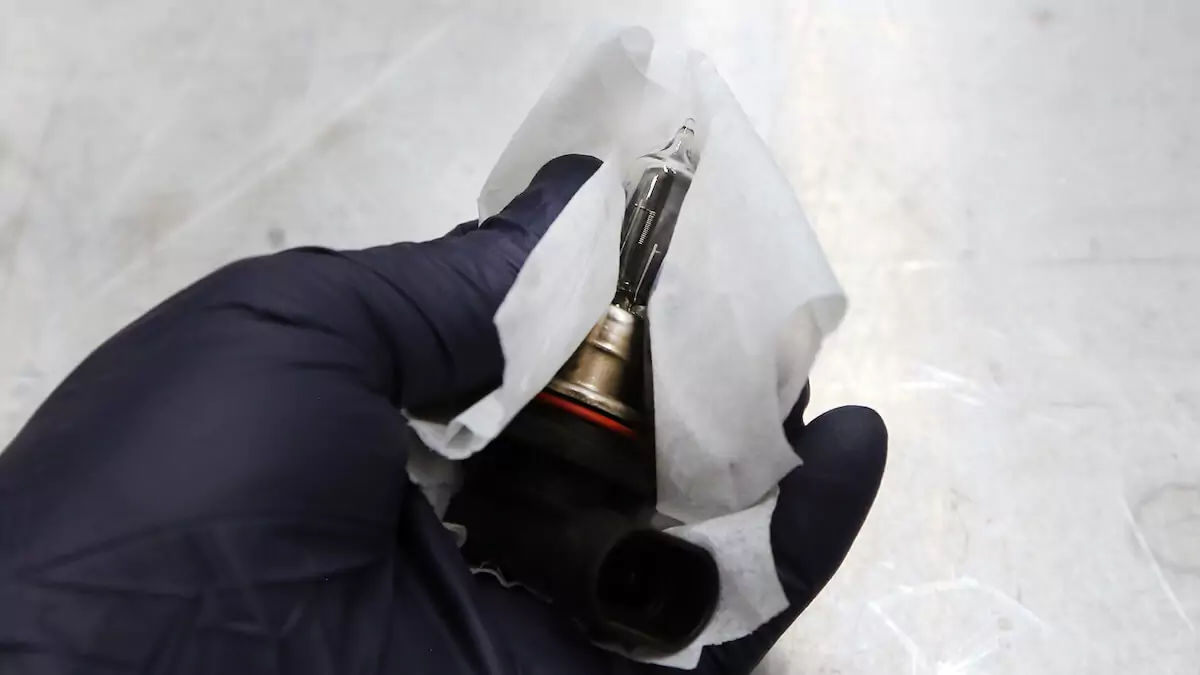
Unlike a typical household light bulb, automotive headlights are very sensitive to oil and dirt. Be extremely careful not to touch the glass with your bare skin because this leaves a thin, oily film that will cause the bulb to burn out prematurely.
Before installing the new bulb, hold the old and new bulbs next to each other to ensure they are the same.
Using gloves and alcohol, clean the bulb before installing it in the vehicle. The gloves keep your skin from touching the bulb, and the alcohol and towel remove contamination from the glass. You can handle the bulb by holding the plastic part, but never touch the glass material unless you wear a clean glove. It is best practice not to touch the glass after cleaning it.
Pro tip: Never install a higher-wattage bulb into a vehicle without upgrading the wiring. Going from a traditional halogen bulb to a brighter light can exceed the amperage of the vehicle’s wiring, potentially causing a fire. Ensure new bulbs have the same wattage as the original—or upgrade the headlight wiring and relay.
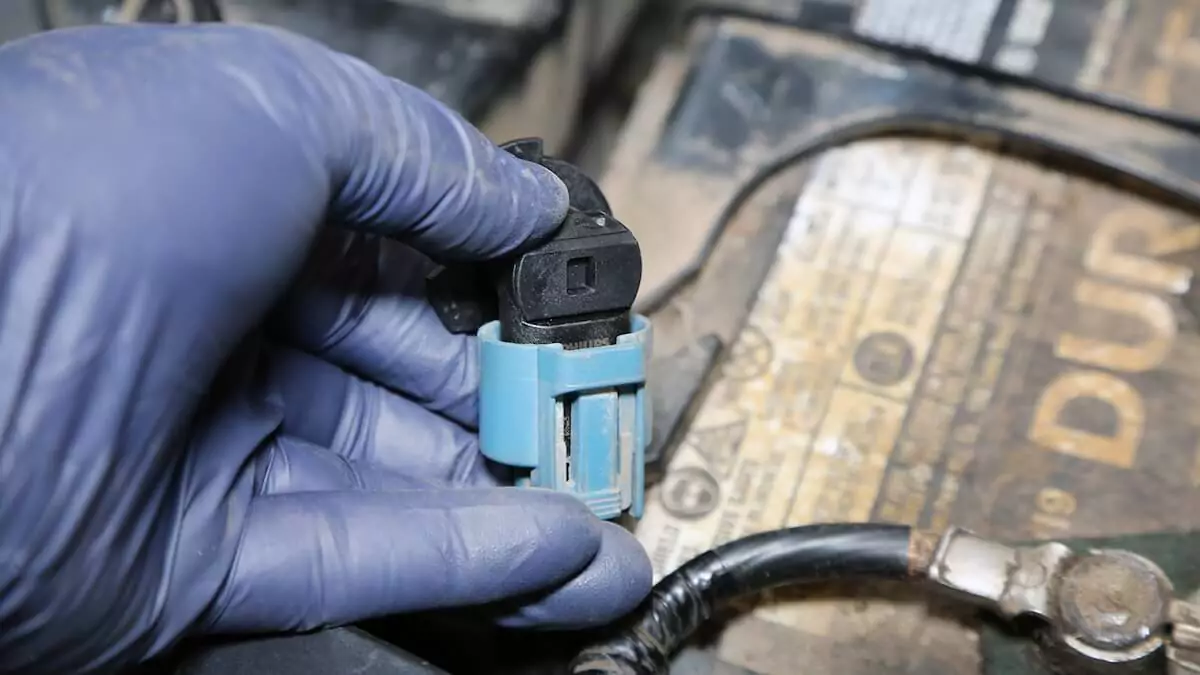
While wearing gloves, snap the new bulb into the terminal plug. It’s usually easier to insert the bulb into the plug before installing it into the housing (Step 7). But if the plug has a short lead, you may need to complete Step 7 before this one.
A loose connection is a problem. It will cause arcing and intermittent lighting, which shortens the bulb’s life and can melt the hardware.
Pro tip: Applying a small amount of dielectric grease - opens in new window or tab. on the terminals is a good idea. If you add the grease, apply it to the plug only. Be careful not to get the grease on the glass.
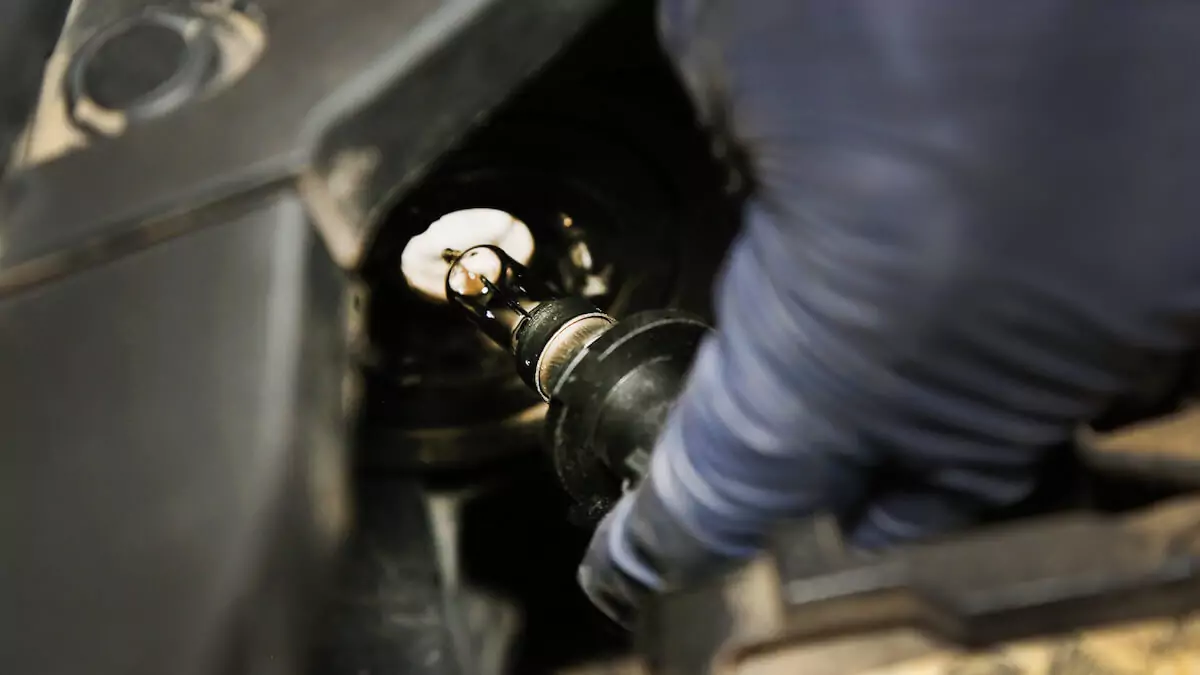
Carefully slide the bulb into the housing. Do not touch the glass to the side of the housing or anything else. If you do, you should clean the bulb with alcohol again to ensure it is clean.

Ensure the bulb is fully engaged and locked into the housing. Most bulbs need a quarter-turn clockwise to lock in place. If your bulb uses a spring clip, snap it over the back of the bulb.
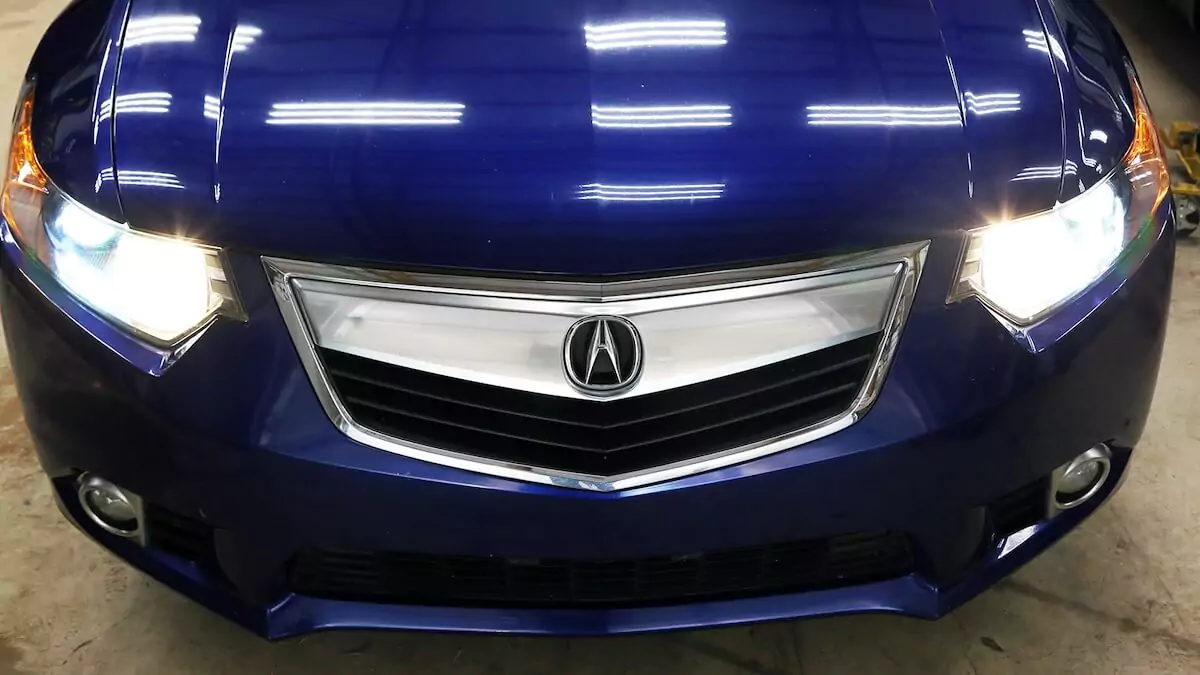
The final step is to turn on the headlights to verify that the bulb works. The new bulb should be as bright or brighter than the bulb on the other side. Bulbs lose their brightness over time, so the older bulb should be the same or slightly dimmer than the new one.
You don’t have to replace both at the same time. If you bought bulbs in a pair and replaced only one, keep the other bulb in your glove box in a Ziploc-style bag for future use.
If you replace a bulb in an HID system and it is flickering or dimmer than it should be, you likely have a problem with the ballast. HID ballasts are relatively expensive but easy to replace. Refer to your vehicle’s repair manual for more details on the HID system.
This article is meant to provide general guidance only. Automotive maintenance, repair, upgrade, and installation may depend on vehicle-specifics such as make and model. Always consult your owner's manual, repair guide for specific information for your particular vehicle and consider a licensed auto-care professional's help as well, particularly for advance repairs.

