Most vehicle batteries last four to five years—less if you live in extremely cold or hot environments or if the vehicle sits unused for a long time. When your vehicle shows signs needing a replacement battery, don’t hesitate to swap it out. A weak battery might not start your engine.
Check out this advice for when to replace your car’s battery - opens in new window or tab. and our car battery buying guide - opens in new window or tab..
What can happen if you don’t replace a failing car battery?
In addition to not being able to start your engine, a dying car battery makes your alternator work harder to keep the battery charged. This can put extra strain on your alternator. Learn how to tell if your battery or alternator is bad - opens in new window or tab..
Changing your car’s battery is a quick task. For most vehicles, the battery is under the hood in an easily accessible area, typically a front corner. Sometimes, you must remove braces or panels to access the battery.
Tips and Tricks for DIY Car Battery Replacement
- Some modern vehicles require resetting your vehicle’s electronic control module (ECM) or “learning” the new battery with a scan tool. If you skip this step, the alternator will try to charge your old battery, overcharging the new one and shortening its lifespan.
- Properly dispose of your old battery. Many recycling centers pay $10 to $20 for an old battery. Read this: How to Dispose of a Dead Car Battery. - opens in new window or tab.
- Use a car memory saver to avoid losing the engine control module’s tuning, such as radio, seat, mirror, and other presets. Read this: A Definitive Guide to Car Memory Savers - opens in new window or tab..
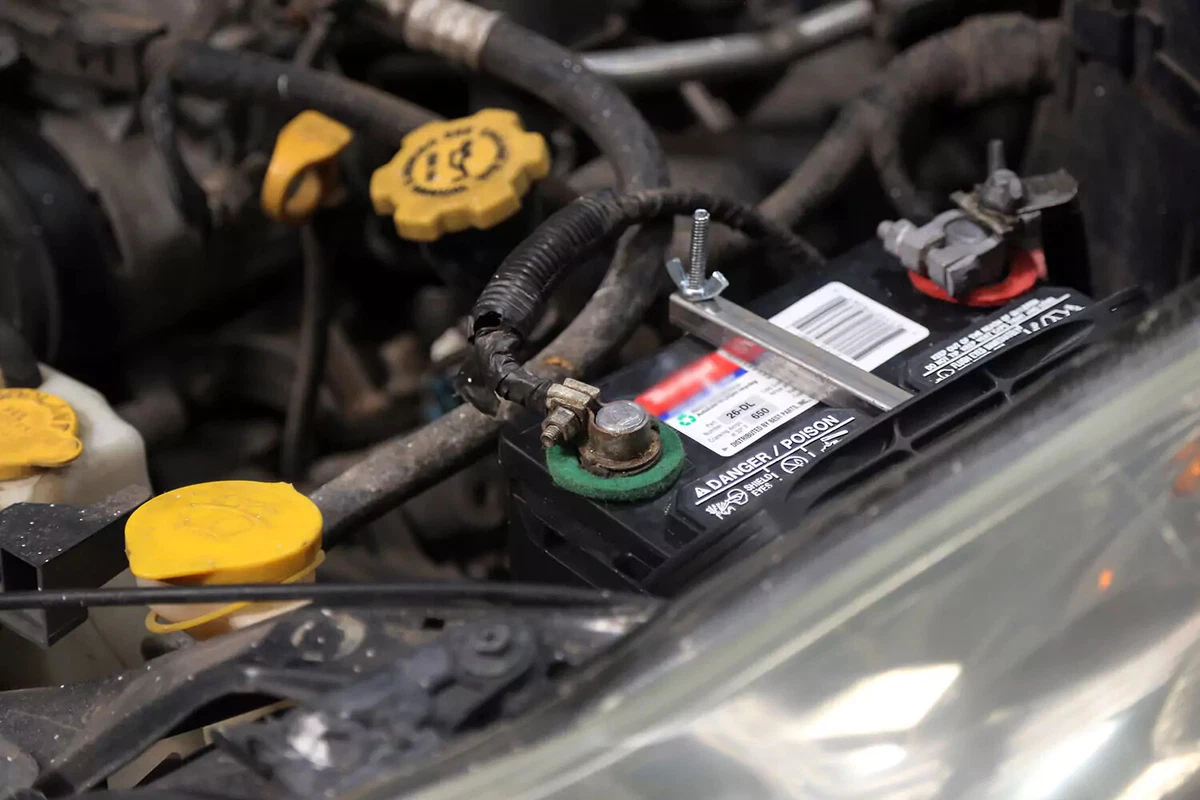
Pop the hood to find the battery. It may be under a fuse box or access panel. It's not there? Check under the rear seat or in the trunk. If you still don't see it, consult your owner’s manual for the location. Some vehicles require removing air ducts, trim covers, or brackets to access the battery. Remove these now.
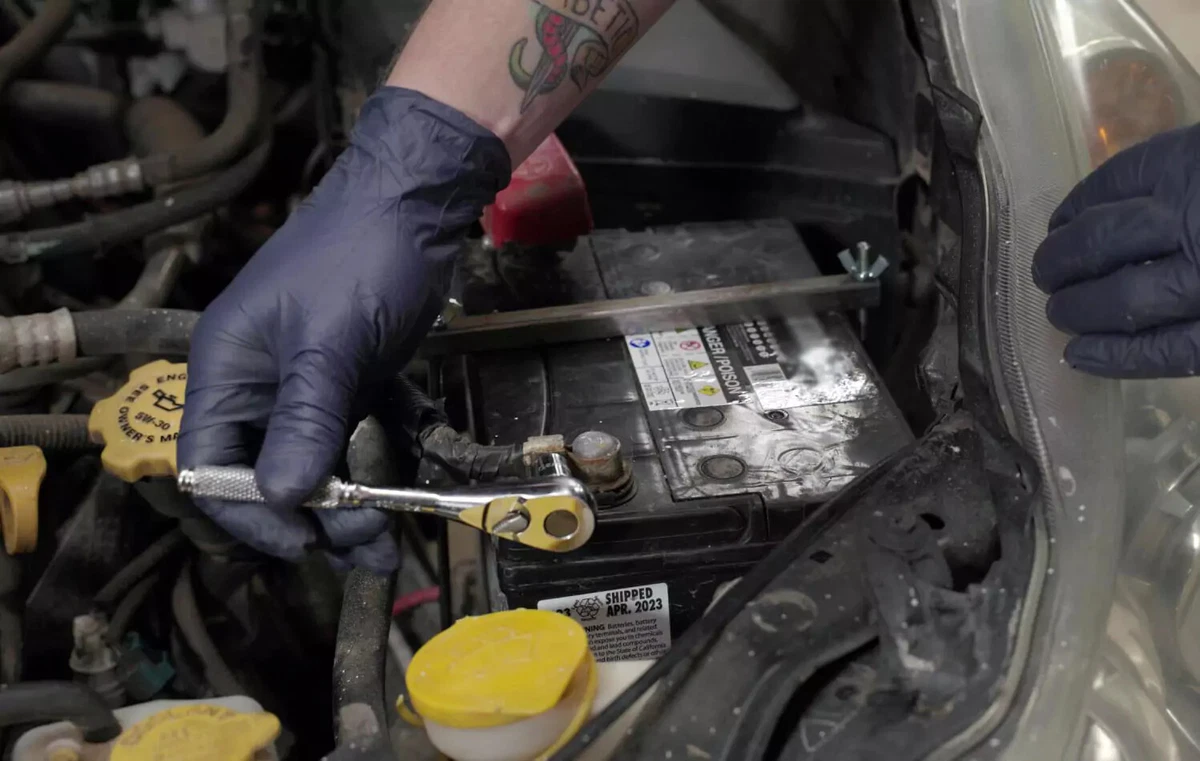
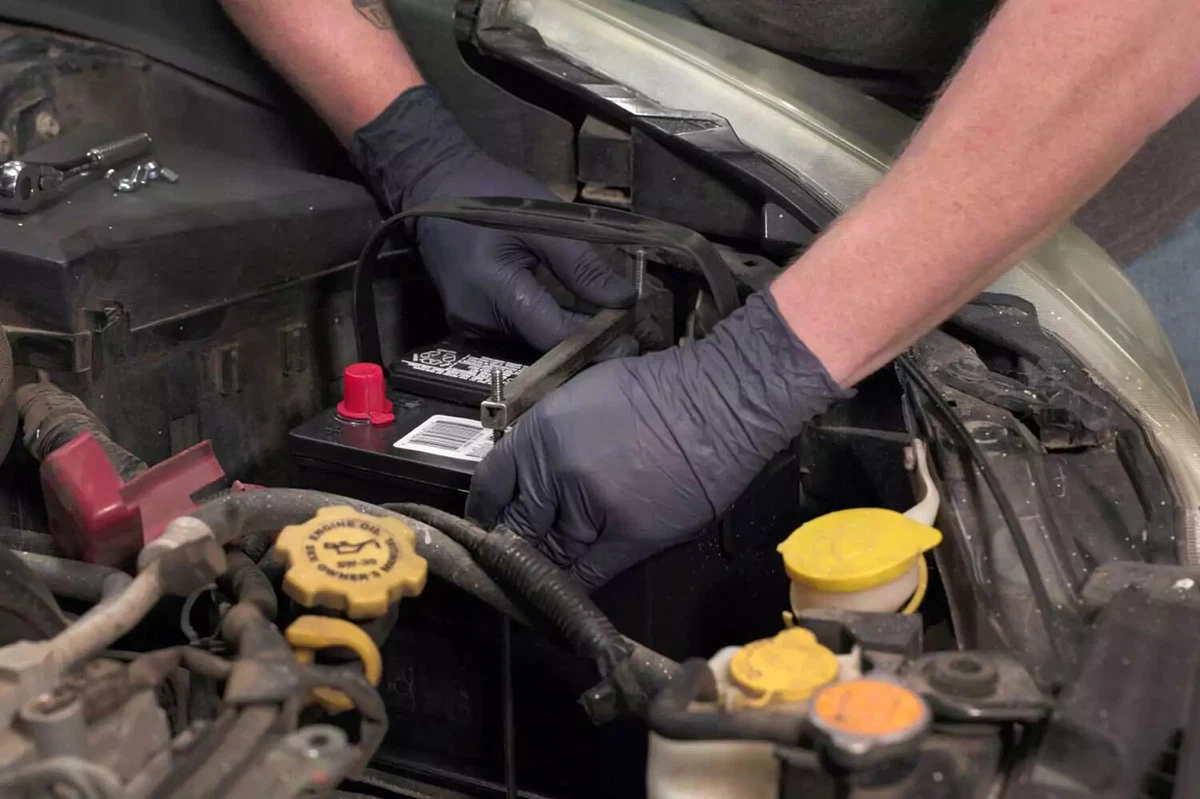
The first step for many auto repair jobs is to disconnect the battery from the vehicle. It’s a simple task. Remove the ground clamp from the battery’s negative post. Plus (+) and minus (-) signs are usually molded into the plastic battery case near the post.
Removing the negative terminal first ensures the vehicle is no longer connected to a live battery, preventing sparks or electrical shorts.
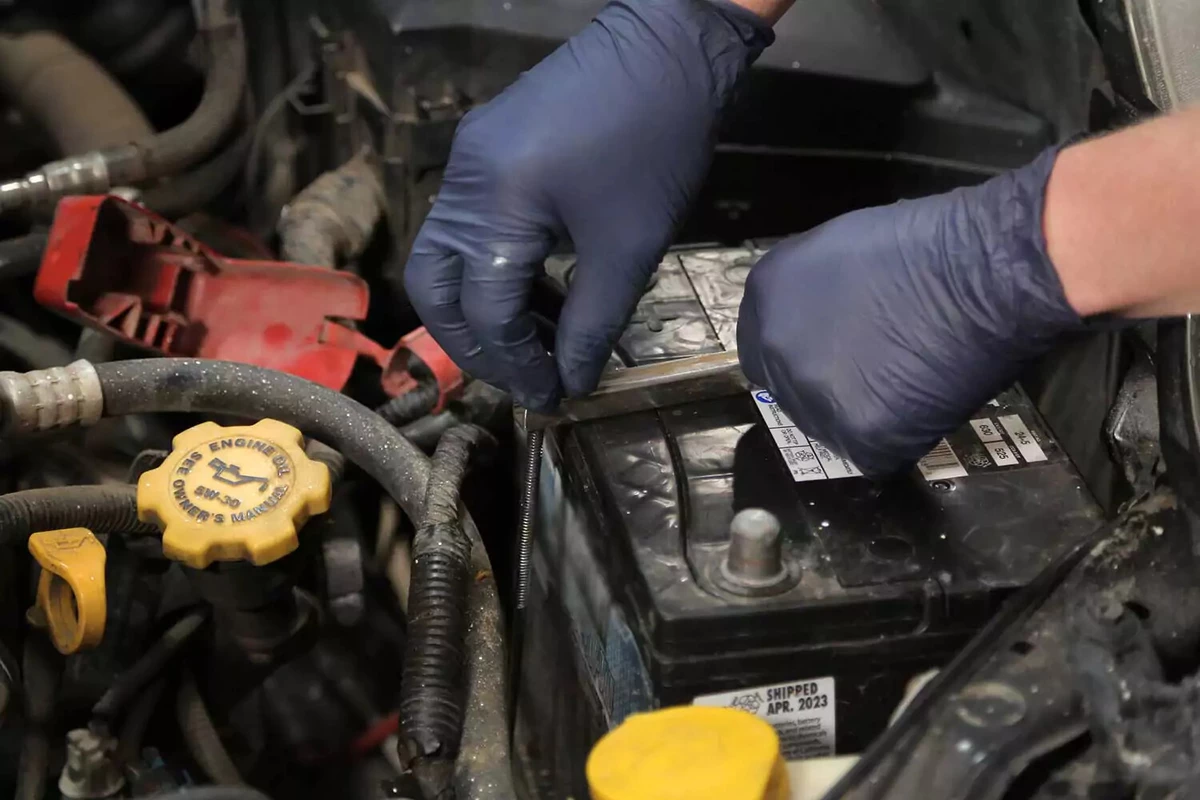
Pull the terminal off the battery for a close inspection. If there is corrosion, loose wires, or physical damage, consider replacing the battery terminal or cable.
Move the terminal away from the battery into a position where it can’t accidentally touch the battery post.
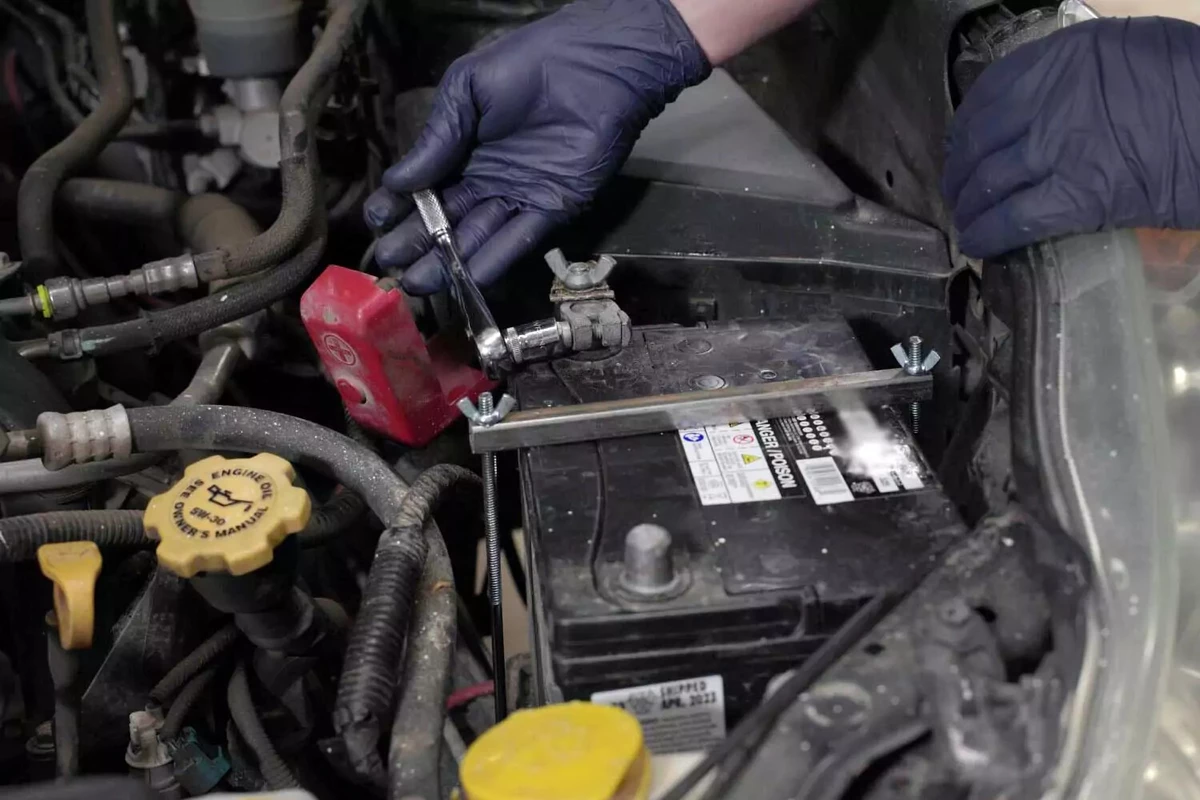
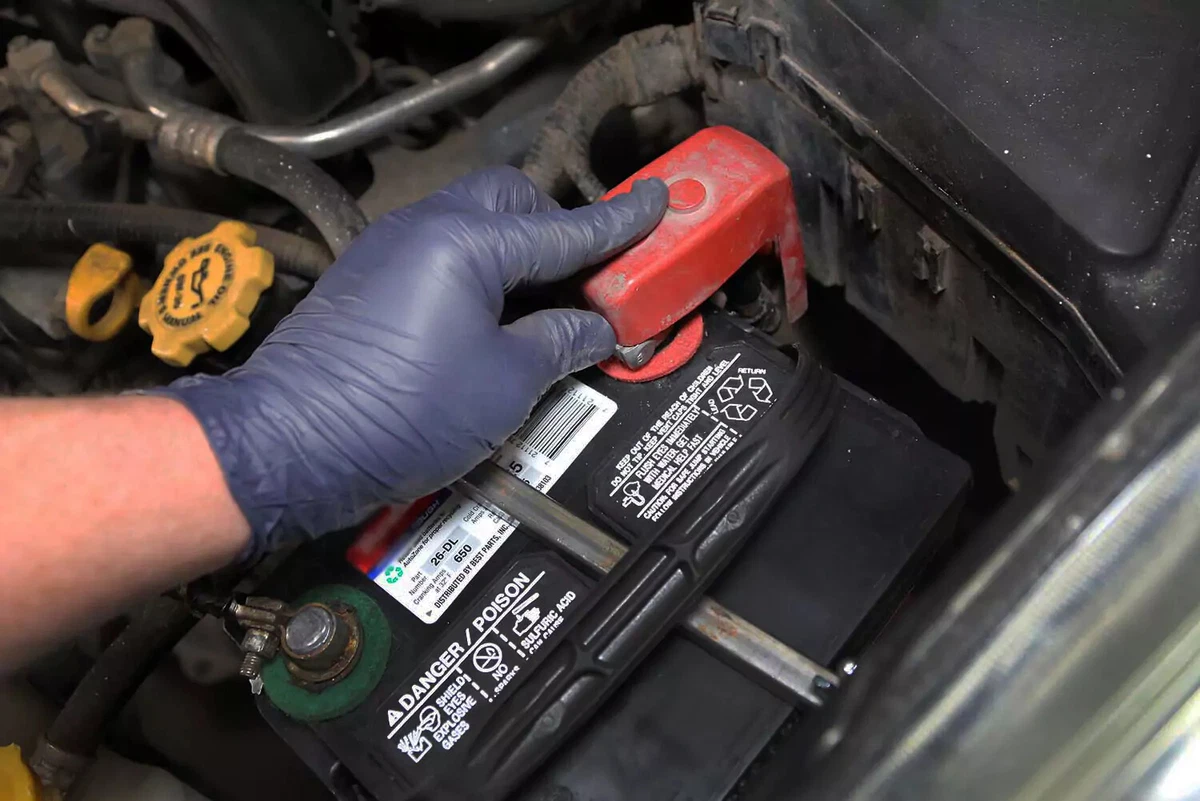
Loosen and remove the positive battery terminal and remove it from the battery post. Inspect the wires and terminal for damage or wear.
Most vehicles have a battery clamp that holds the battery in position so it doesn’t bounce around. A loose battery is a fire hazard. Most vehicles use a clamp on the base of the battery, while others have a top clamp that straddles the battery case.
Save the clamp for reuse. Top clamps use two rods that slide into holes in the battery tray or inner fender well. These may fall out, so pay attention to where they go.
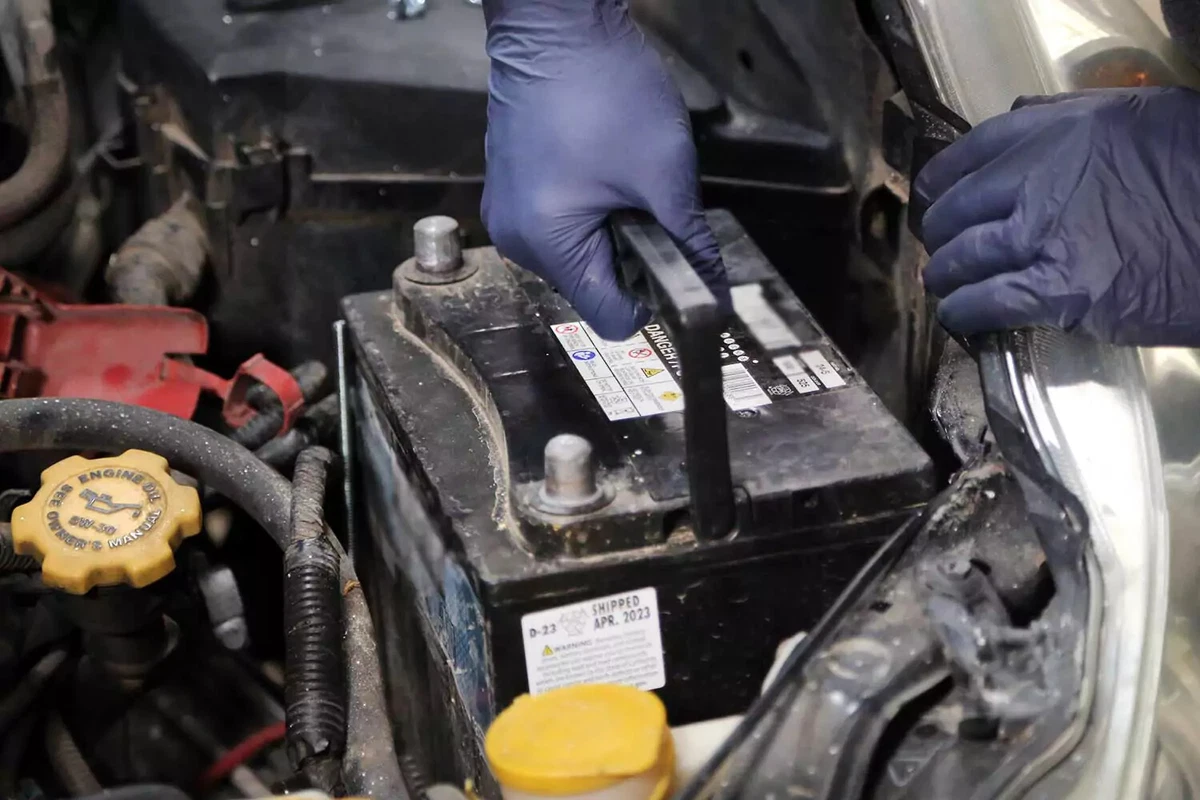
Pull the battery out. Most vehicle batteries have a handle. You may need to use both hands to remove the battery from the vehicle.
Is the battery hot, making noise, leaking, or bulging? Does it smell like sulfur? If any of these occur, place the battery outside your work area in a safe location. It could catch fire or ooze acid.
Clean the battery tray of any dirt, leaves, or other debris. You can use baking soda to neutralize battery acid corrosion by sprinkling the powder on any corroded area, then add a little water to activate the baking soda. A chemical reaction takes place, neutralizing the acid. This is also helpful on corroded battery posts.
Lower the new battery into position and align the clamp with it. This vehicle uses a top clamp that is repositioned over the new battery and set in place. Tighten the clamp’s wing nuts or lower clamp block.
Some batteries have odd-shaped cases or come with a generic clamp or adapter. Use the provided hardware to ensure your new battery is secure.
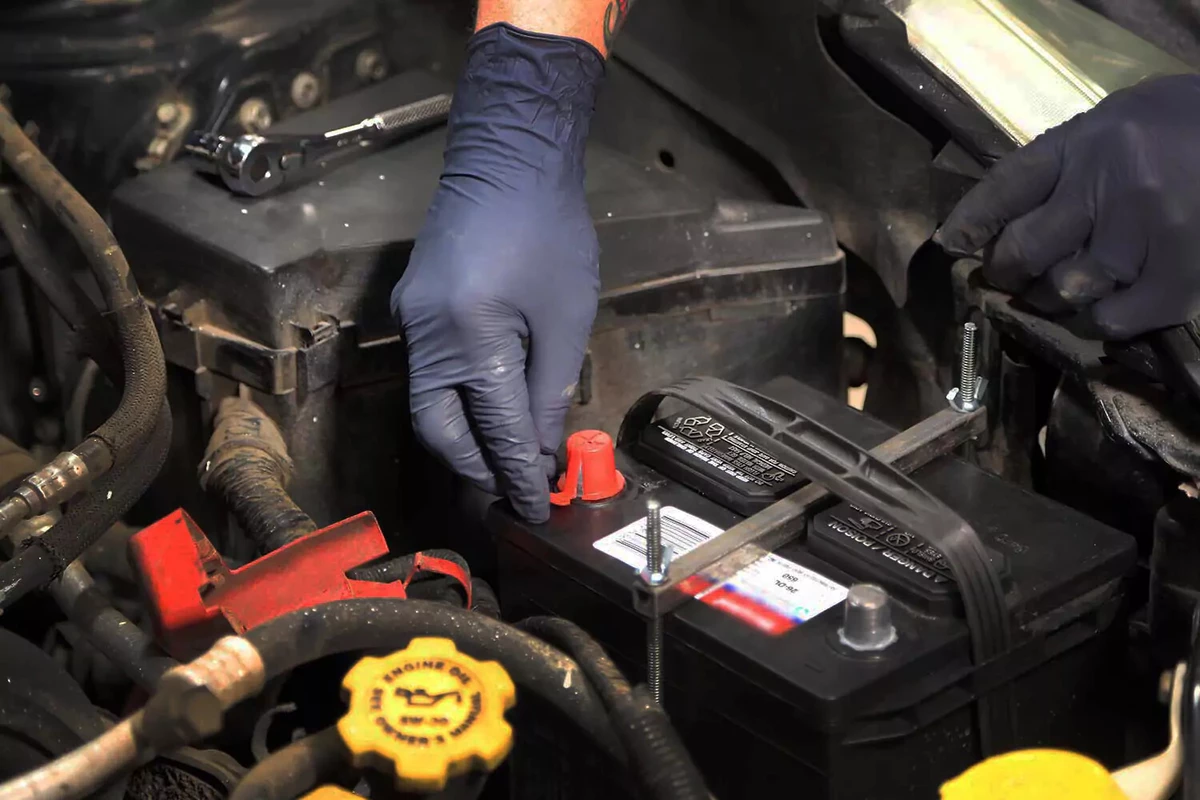
Most new batteries come with a protective cover on the positive terminal post (or both posts). Remove the cover before installing the battery terminal. If the cover is left on, electricity won’t flow to the vehicle. This is a common mistake by beginner automotive DIYers.
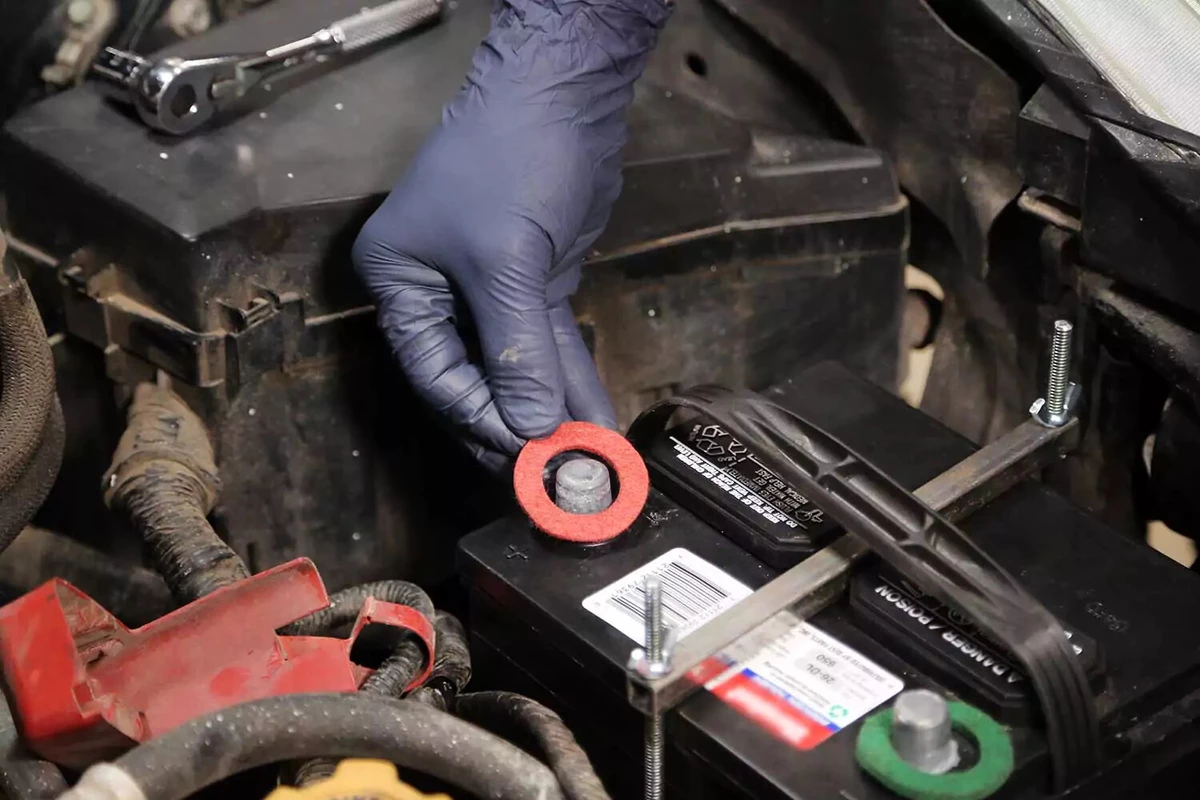
Install a pair of felt battery corrosion protectors under each battery terminal. These felt washers contain chemicals that neutralize acid that causes corrosion on battery terminals. The key is to ensure the terminal is touching the washer.
Use a wire brush or battery-post cleaning tool to clean the inside of the battery clamps where they contact the post.
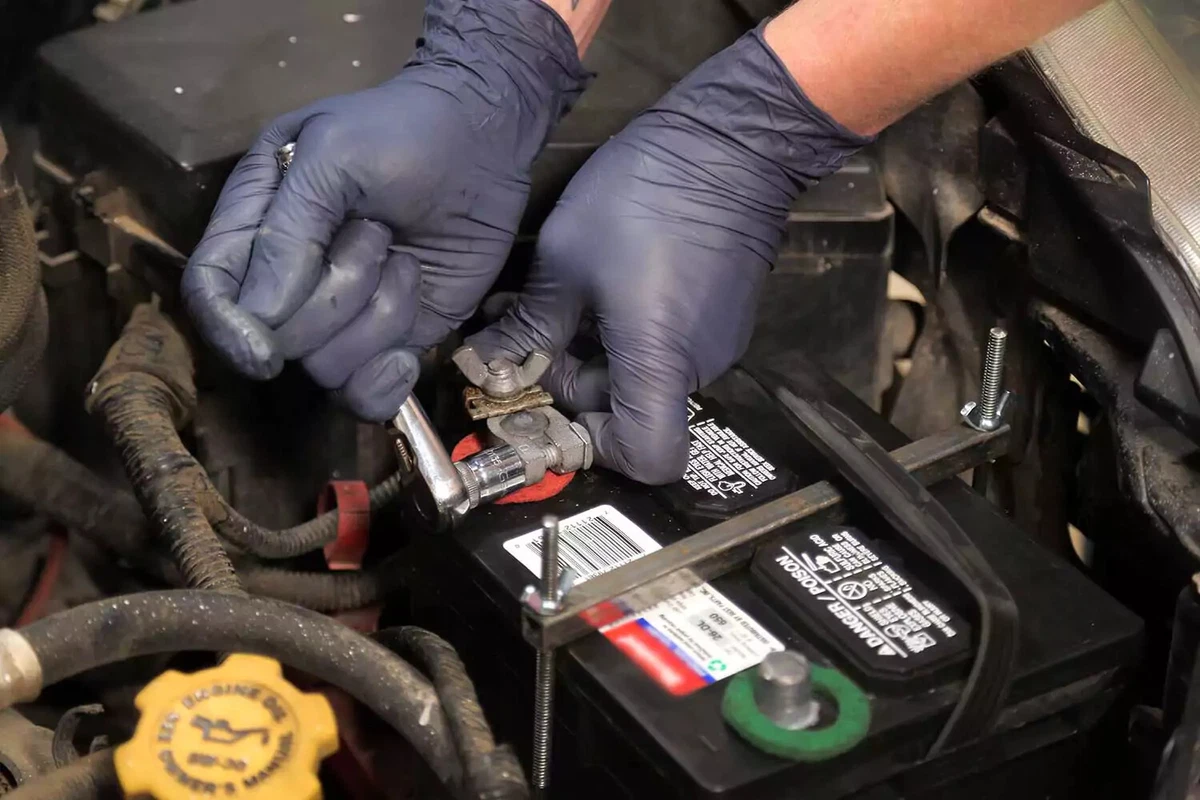
Reinstall the positive battery terminal first. Installing the negative terminal first could strike an arc from the wrench to a metal piece in the engine bay.
Ensure the terminal is fully engaged on the post. The entire terminal should cover the post. If your vehicle has side-post terminals, ensure the ring terminal is against the battery terminal flange and the insulator is not pinched between the two.
If the terminal is too tight to fit over the post, use a flat-head screwdriver to open it up. Never use a hammer or similar tool to drive the terminal onto the post, as this can break the case.
Tighten the terminal until the terminal can’t move or twist. A loose terminal will cause poor charging and result in a dead battery. Do not overtighten, which can break the terminal. Take extra care with side-post batteries because the lead threads easily strip.

Reinstall and tighten the negative battery terminal. Then, follow the process described in Step 9 for the positive terminal.
The battery should now be fully installed. The only thing left is to verify that the vehicle starts.
If your vehicle requires a learning procedure (sometimes called ”registration”), now is the time to get that done. This procedure alerts an intelligent battery system that a new battery has been installed. Your owner’s manual will indicate if this is necessary.
Don’t have access to a scan tool to do this yourself? You can safely drive the car to a repair shop to have the battery registered to the vehicle.
Reinstall the battery terminal covers and any items you removed to gain access to the battery. This completes the battery installation.
About the author

Share your feedback
This article is meant to provide general guidance only. Automotive maintenance, repair, upgrade, and installation may depend on vehicle-specifics such as make and model. Always consult your owner's manual, repair guide for specific information for your particular vehicle and consider a licensed auto-care professional's help as well, particularly for advance repairs.
Recommended for you
Find answers and inspiration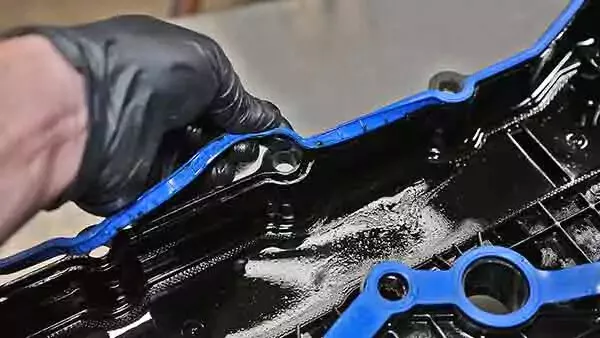
A Quick Guide to Valve Cover Gaskets
6 min read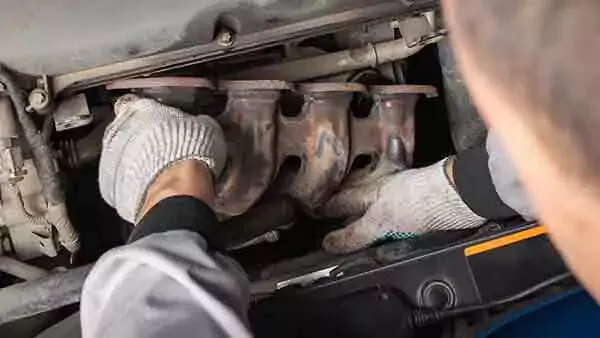
When to Replace Your Exhaust Manifold Gasket
6 min read
How to Replace an Ignition Coil
6 min read
How to Buy the Right EGR Valve and Gasket
6 min read
Your Complete Idler Pulley Buying Guide
5 min read
How to Buy the Right Throttle Body
5 min read
Buying the Right Distributor Cap and Rotor
4 min read
How to Replace a Drive Belt
5 min read
How to Replace an Intake Manifold Gasket
7 min read
How to Buy the Right Car Starter
5 min read
How to Replace a Valve Cover Gasket
7 min read
Diagnosing Your Serpentine Belt and Tensioner
6 min read
How to Change a Timing Belt
12 min read
Changing Your Oil: 5 Things to Know
6 min read
How to Clean Fuel Injectors
8 min read
How to Change a Car Battery
6 min read
How to Replace a Mass Air Flow (MAF) Sensor
7 min read
Distributors 101
6 min read
How to Replace Spark Plugs
7 min read
Everything You Should Know About EGR Valves
5 min read
How to Test Your PCV Valve
6 min read
Buying the Best Portable Car Battery Jump Starter
6 min read
An Introduction to Cleaning Fuel Injectors
5 min read
A Deep-Dive Guide to Ignition Wires
7 min read
How to Replace Engine Mounts
4 min read
The Right Tools to Clean Your Fuel Injectors
6 min read
How Do Ignition Coils Work?
5 min read
What to Consider When Buying a Car Battery
6 min read
How to Jump Start a Car
9 min read
Spark Plugs 101
7 min read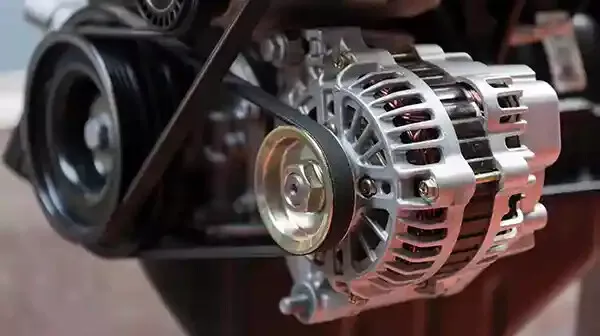
When to Replace Your Drive Belt
6 min read
Fuel Pumps and How They Work
8 min read
What to Know About Your Vehicle's Throttle Body
6 min read
Everything You Need to Know About Fuel Filters
6 min read
How to Buy the Right Ignition Coils
7 min read
How to Buy the Right O2 Sensor
5 min read
How to Replace a Serpentine Belt Tensioner
4 min read
When to Replace Your Engine Air Filter
5 min read
How to Replace an Oxygen Sensor
5 min read
How to Buy the Right Timing Belt and Related Tools
5 min read
How to Buy the Right Car Distributor
6 min read
An Intro to Jump-Starting Your Car Battery

Timing Belts 101
5 min read
How to Replace an Engine Air Filter
5 min read
How to Buy the Right Exhaust Manifold Gasket
6 min read
How to Choose the Best Spark Plugs
5 min readSBJ 1.2 Test Prod - Change a Car Battery Shari
6 min read
How to Replace a Car Starter
7 min read
What You Should Know About O2 Sensors
6 min read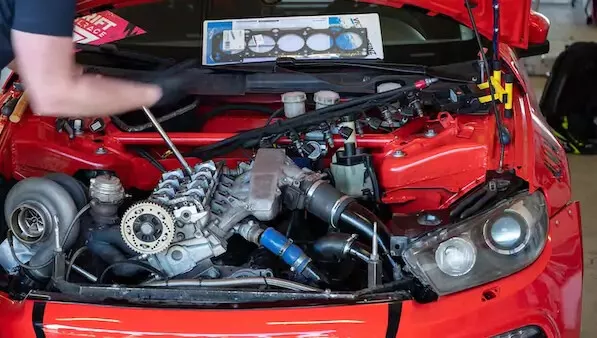
How to Buy the Right Valve Cover Gasket
4 min read
How to Replace a Distributor Cap and Rotor
5 min read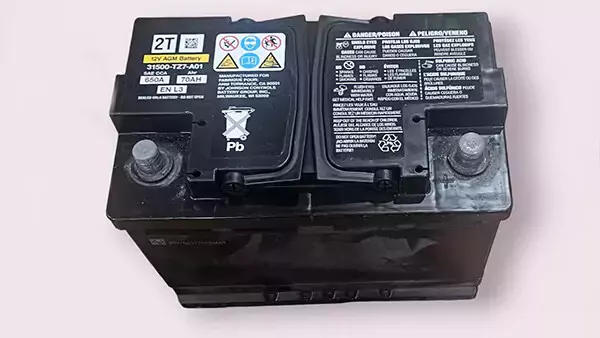
When to Replace Your Car’s Battery
5 min read
Understanding Your Car's Idler Pulley
4 min read
How to Replace a Fuel Filter
7 min read
How to Replace a PCV Valve
6 min read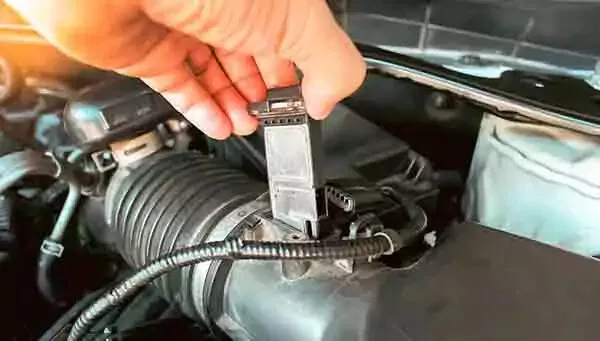
Do You Have a Faulty Mass Air Flow Sensor?
4 min read
Everything You Need to Know About Car Starters
7 min read
How to Replace an Exhaust Gasket
9 min read
Ignition Wire Buying Guide
6 min read
All About Your Distributor Cap and Rotor
7 min read
How to Replace a Throttle Body
6 min read
Spotting Intake Manifold Gasket Problems
7 min read
How to Change Oil in a Car
8 min read
How to Buy the Best MAF Sensor
4 min read
How to Replace an Alternator
11 min read
How to Replace an EGR Valve
5 min read
How to Change an In-Tank Fuel Pump
9 min read
Explore more projects

How to Repair a Chipped Windshield
1 to 2 hours
Beginner
7 min read

How to Replace Brake Fluid
1 to 2 hours
Beginner
10 min read
How to Replace an Ignition Coil
Less than 30 minutes
Beginner
6 min read

How to Replace a Radiator Hose
Less than 30 minutes
Beginner
5 min read

How to Replace Brake Rotors
1 to 2 hours
Beginner
7 min read
How to Replace a Serpentine Belt Tensioner
Less than 30 minutes
Beginner
4 min read
How to Replace a Drive Belt
Less than 30 minutes
Beginner
5 min read

How to Rotate Your Tires
30 to 60 minutes
Beginner
5 min read

How to Refill Windshield Washer Fluid
Less than 30 minutes
Beginner
4 min read
How to Replace an Oxygen Sensor
30 to 60 minutes
Beginner
5 min read

How To Replace Differential Fluid
Less than 30 minutes
Beginner
8 min read

How to Replace Sway Bar End Links and Bushings
30 to 60 minutes
Beginner
6 min read

How to Replace Transmission Fluid and Filter
1 to 2 hours
Beginner
11 min read

How to Change Disc Brake Pads
30 to 60 minutes
Beginner
8 min read

How to Replace a Cabin Air Filter
Less than 30 minutes
Beginner
5 min read
How to Replace a Valve Cover Gasket
Less than 30 minutes
Beginner
7 min read

How to Change Windshield Wipers
Less than 30 minutes
Beginner
3 min read
How to Replace an Engine Air Filter
Less than 30 minutes
Beginner
5 min read
How to Clean Fuel Injectors
1 to 2 hours
Beginner
8 min read

How to Replace Shock Absorbers
30 to 60 minutes
Beginner
8 min read
How to Change a Car Battery
Less than 30 minutes
Beginner
6 min read
How to Replace a Mass Air Flow (MAF) Sensor
Less than 30 minutes
Beginner
7 min read

How to Replace a Clutch Master Cylinder
1 to 2 hours
Beginner
11 min read

How to Flush and Change Engine Coolant
30 to 60 minutes
Beginner
6 min read
How to Replace a Distributor Cap and Rotor
30 to 60 minutes
Beginner
5 min read

How to Check Tire Pressure and Change a Tire
Less than 30 minutes
Beginner
9 min read
How to Replace a Fuel Filter
30 to 60 minutes
Beginner
7 min read
How to Replace a PCV Valve
30 to 60 minutes
Beginner
6 min read

How to Replace a Brake Caliper
1 to 2 hours
Beginner
7 min read

How to Replace an Idler Pulley
30 to 60 minutes
Beginner
4 min read

How to Change a Headlight Bulb
Less than 30 minutes
Beginner
6 min read
How to Replace an Exhaust Gasket
1 to 2 hours
Beginner
9 min read
How to Replace a Throttle Body
30 to 60 minutes
Beginner
6 min read
How to Change Oil in a Car
Less than 30 minutes
Beginner
8 min read
How to Replace an Alternator
1 to 2 hours
Beginner
11 min read
How to Replace an EGR Valve
30 to 60 minutes
Beginner
5 min read
How to Jump Start a Car
Less than 30 minutes
Beginner
9 min read