There is no denying the premium look, feel, and smell that leather brings to a car’s interior. Carmakers also offer vinyl pieces that mirror the look of leather, but at a lower cost. Either way, caring for leather and vinyl helps prolong your enjoyment of your car’s inner sanctum and maintain its value.
First things first. Confirm if your car has leather or vinyl. Each one requires a different cleaning and care regimen. Often, only the parts you frequently touch are leather, such as the steering wheel.
Leather absorbs body heat and is more flexible than vinyl. It creases and folds when you apply pressure. Most carmakers reserve leather for the steering wheel, car seats, and the center console. The rest of the interior might look like leather, but it is likely vinyl. Many owner manuals - opens in new window or tab. list which trim pieces come from real cowhides.
Leather Care
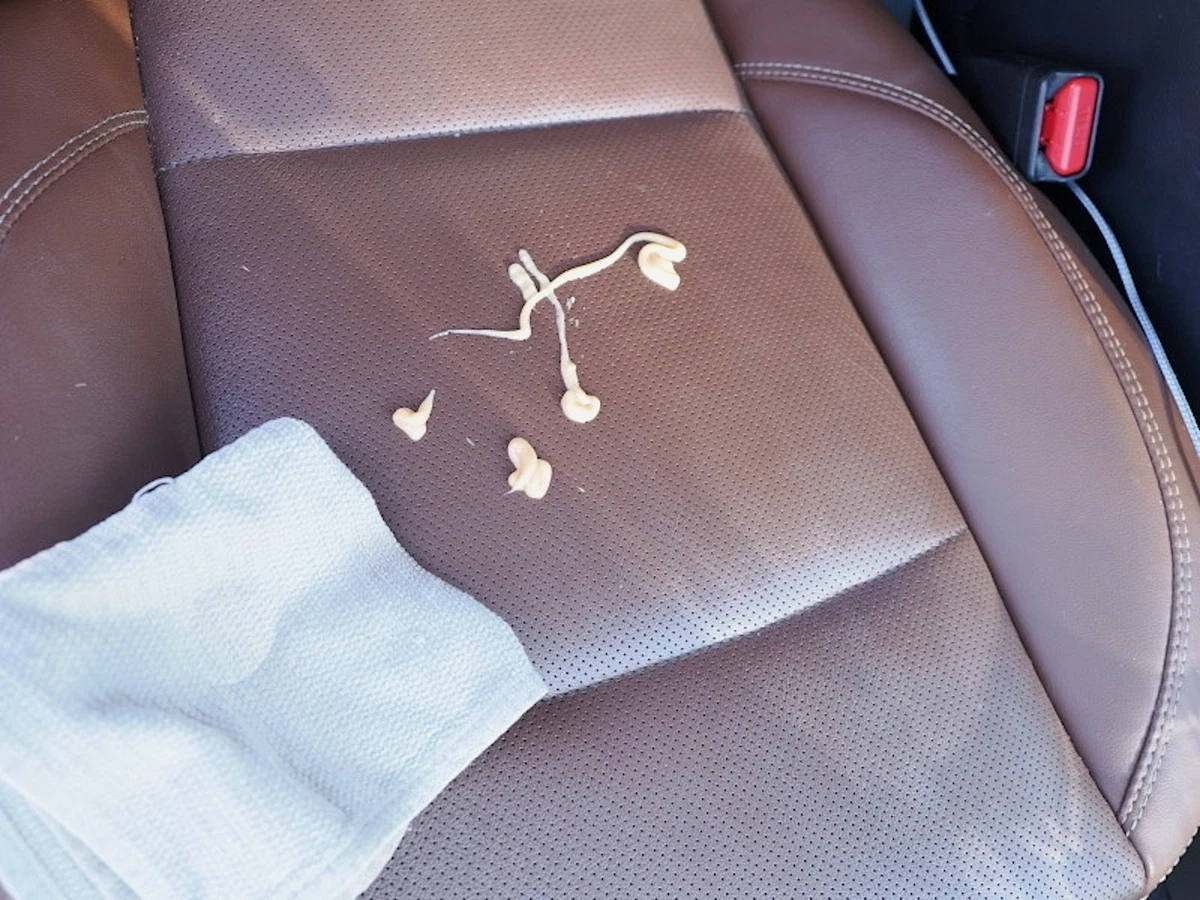
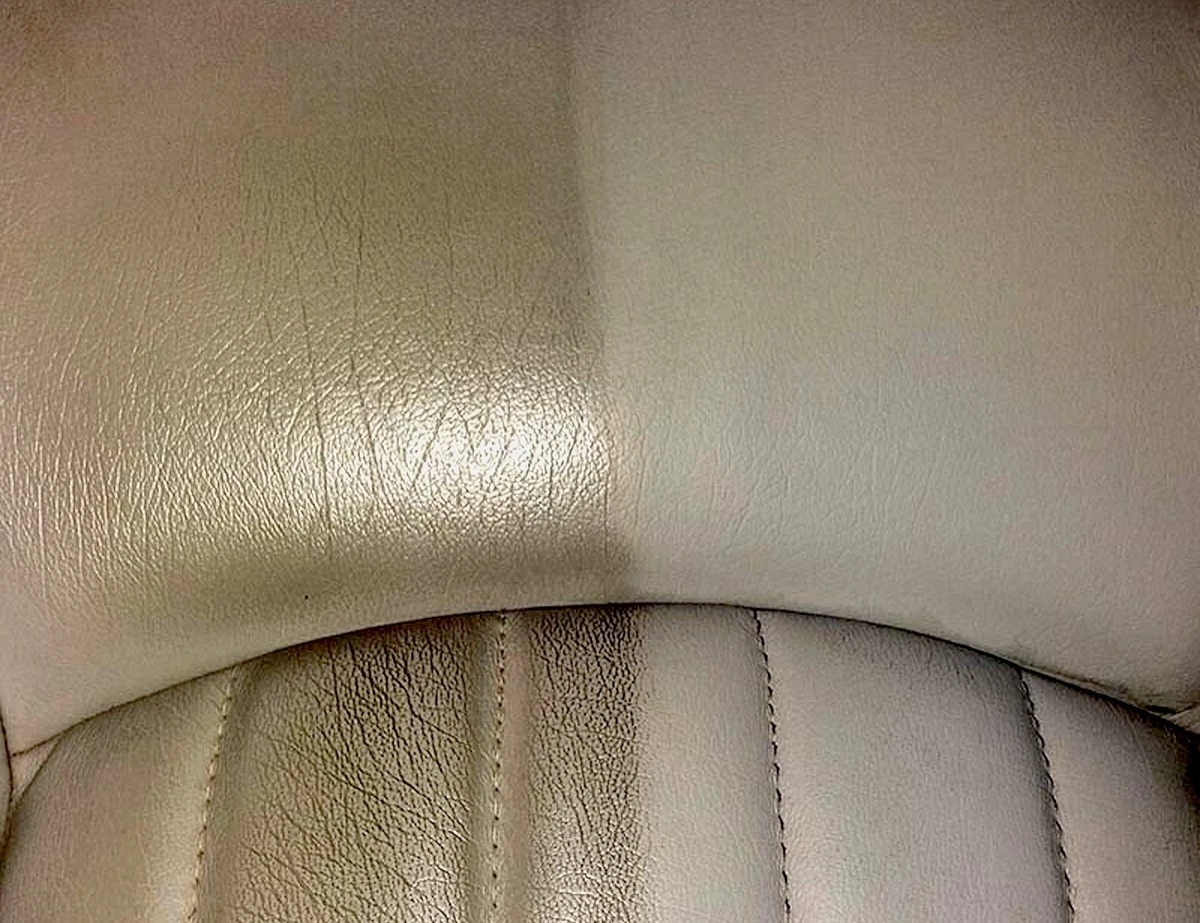
Leather is beautiful, but over time, it absorbs dirt and oils and shows stains. Clean your interior leather every three to six months to preserve its original pristine appearance. Clean it more often if you live in very hot weather or your car gets direct exposure to the sun’s rays, which can dry out leather faster.
Follow these steps:
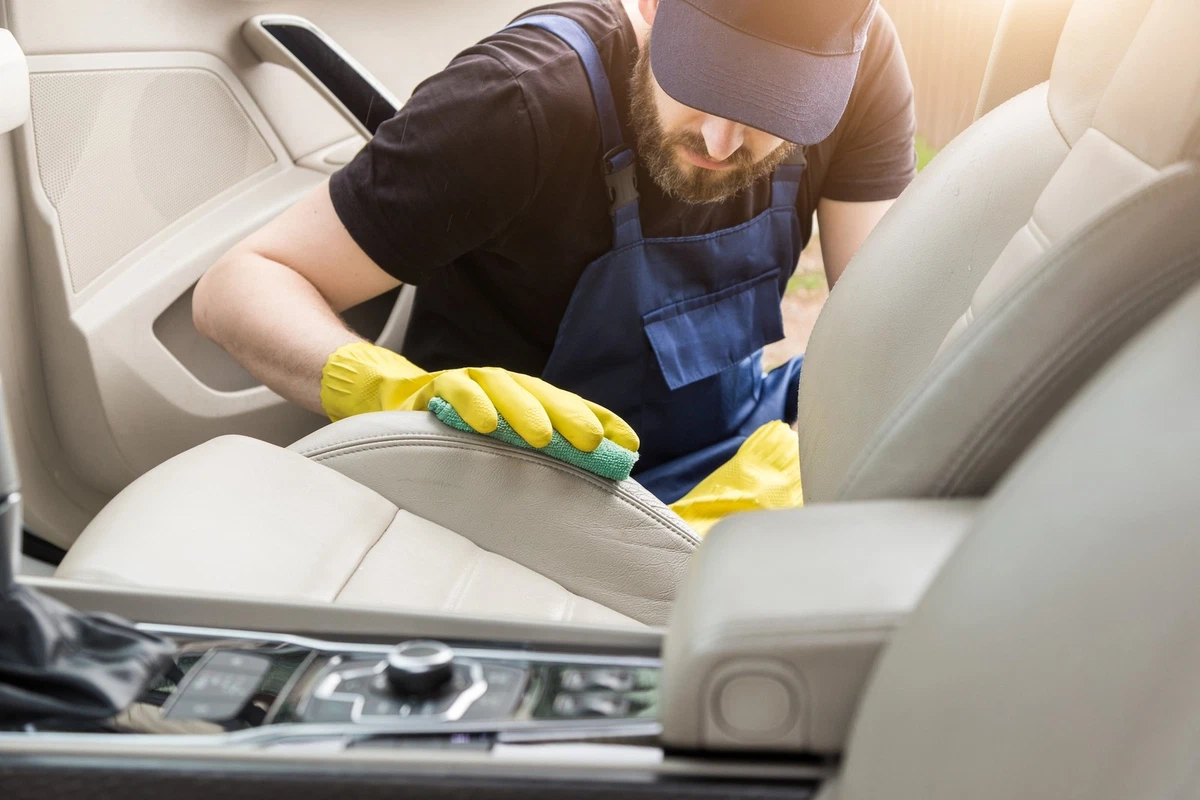
1 - Remove Debris
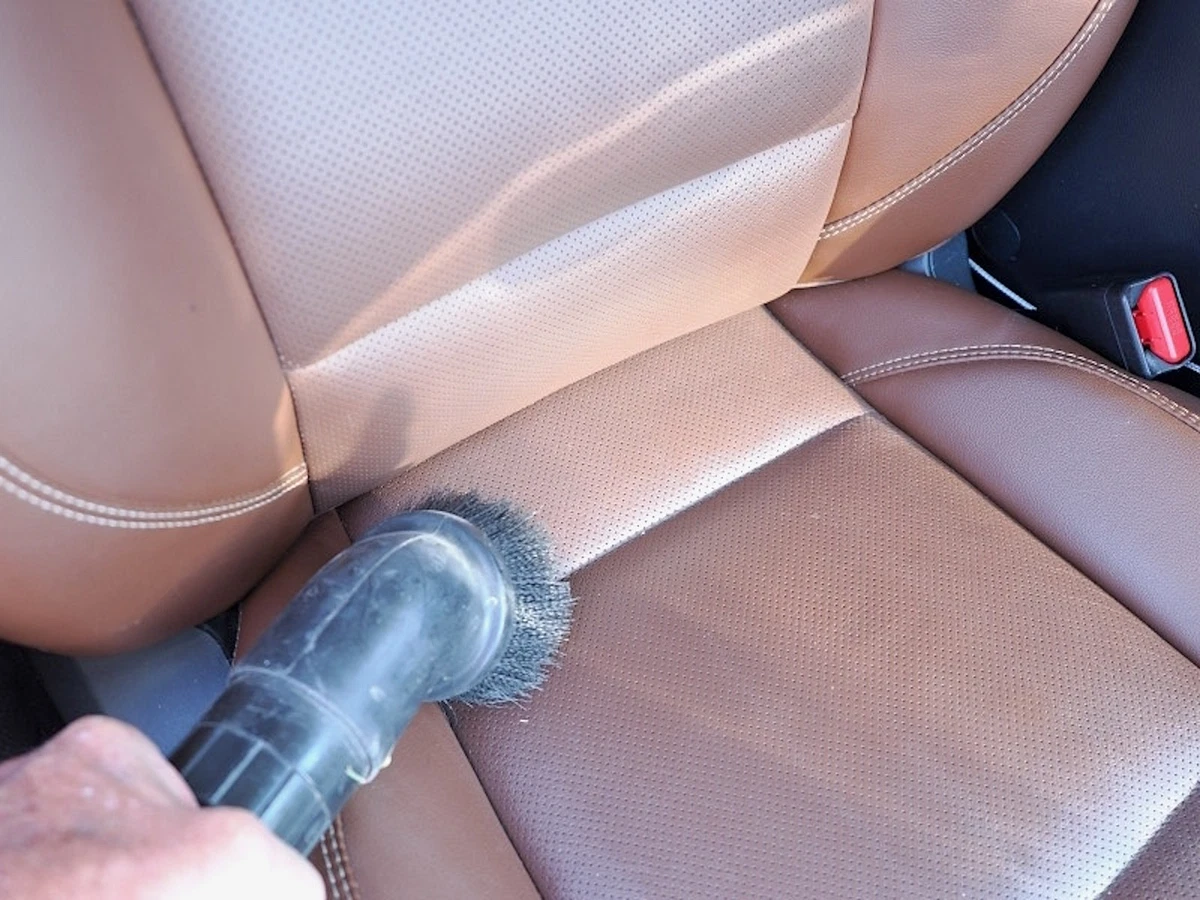
Vacuum to remove lingering dirt and debris, especially in leather seams. Spread the seams so the car vacuum - opens in new window or tab. reaches tight spots.
2 - Test First
Before using a leather cleaner, read and follow the manufacturer’s instructions. Then, test the cleaner on an inconspicuous spot to verify that it doesn’t discolor the material or cause the leather dyes to run. There’s no need to give the cleaner time to soak in or dry. If it harms the leather, you will see it right away.
3 - Apply Cleaner and Conditioner
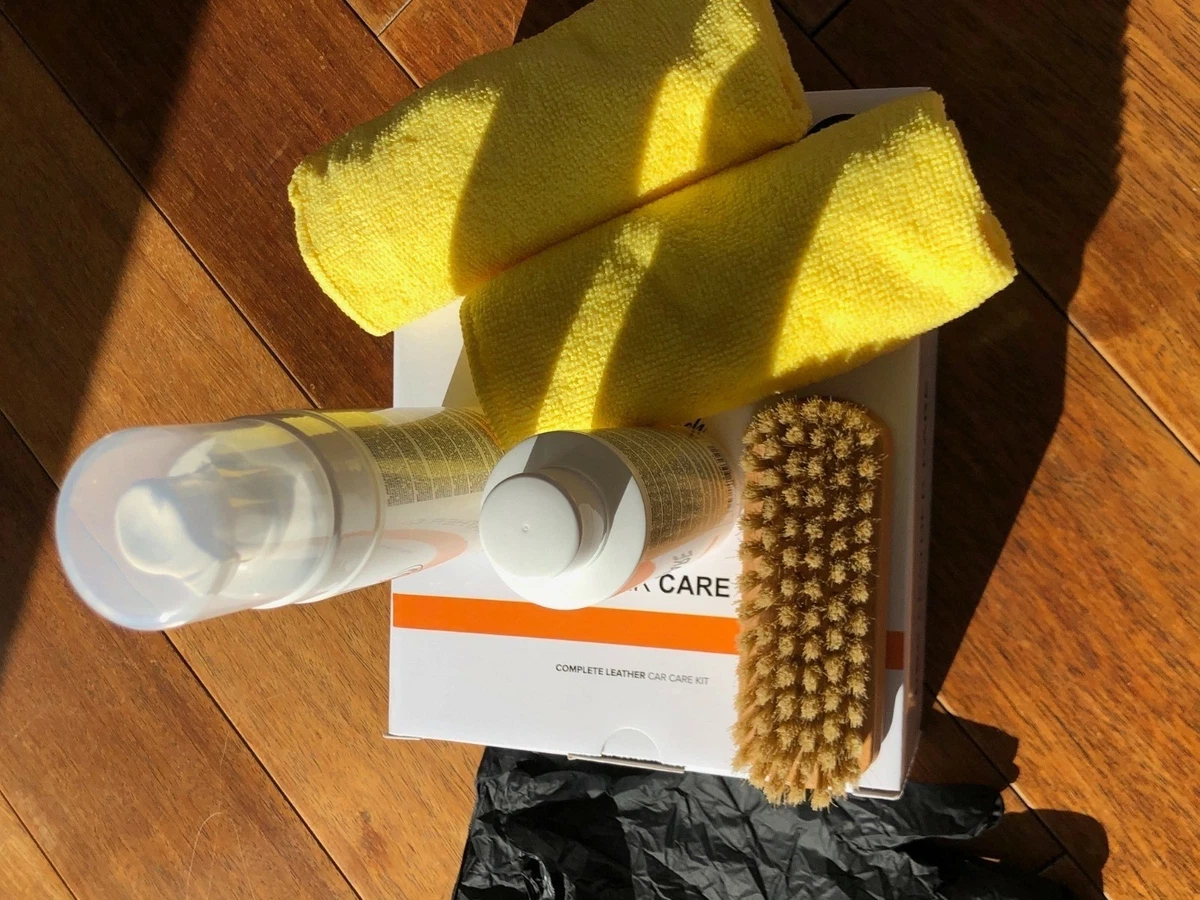
Some leather cleaners are water-based, while others are cream-based. Water-based cleaners are typically sprayed on the leather surface and rubbed in with a clean cloth. If the cleaner is cream, apply it to the leather with a microfiber cloth - opens in new window or tab..
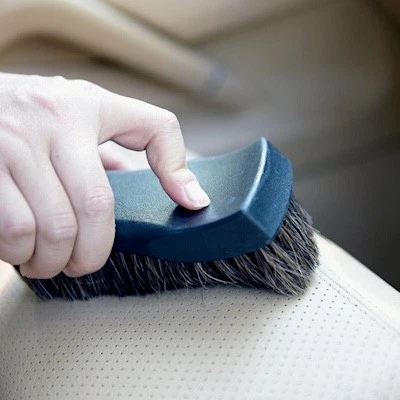
For a seat surface, start with four spots the size of a quarter. Use the cloth to cover the intended areas. Rub the cloth in a circular motion to remove common stains and dirt. For ground-in stains, use a stiff brush, like a horsehair interior brush - opens in new window or tab., to work the cleaner into the leather grain and pores.
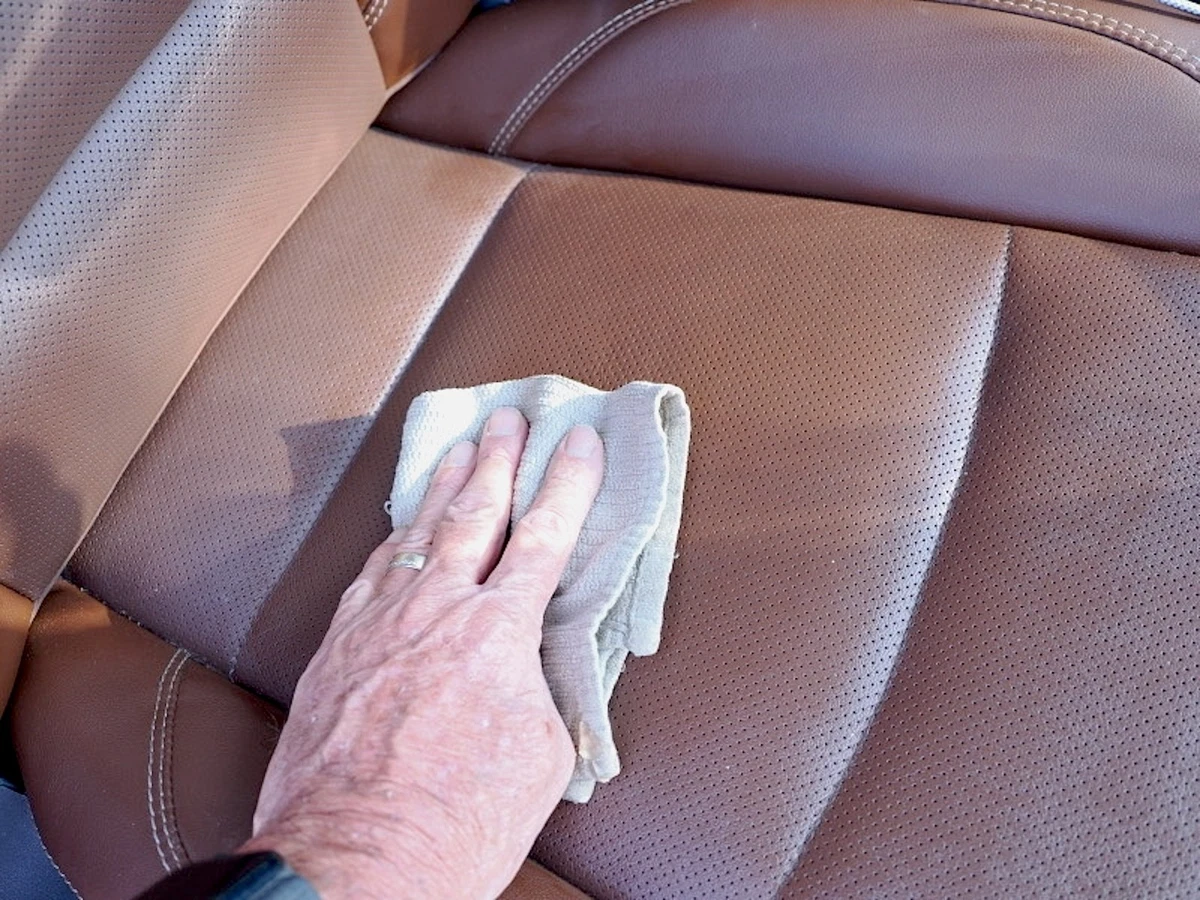
You might be tempted to use an all-in-one cleaner-conditioner. Often, these combo products are not as effective. We suggest using two distinct products: a separate cleaner and a conditioner. After applying and rubbing cleaner to all intended leather pieces, immediately remove the excess with a clean cloth.
4 - Let Conditioner Sink In
Now that the leather is clean, apply the conditioner. Liberally coat all the leather using a clean cloth to ensure complete coverage. Let the conditioner soak into the leather surface for at least 30 minutes. An hour or longer is good, but after 30 minutes, the leather should absorb most of the interior leather conditioner - opens in new window or tab..
While cleaners lift out dirt and contaminants, conditioners contain oils and compounds to keep the leather supple and smooth while preventing UV damage. They also prevent cracks, tears, and stains. We suggest applying the conditioner when the car is parked outside, where the sun can warm up the leather.
5 - Remove Excess Conditioner

After at least 30 minutes, use a clean microfiber towel to remove any conditioner residue.
6 - Plan Your Next Cleaning
Now that the leather is clean and supple, keeping it that way is easier. If you notice new dirt or marks, clean and condition the leather right away. Stains are easier to remove before they have settled in. Reacting fast to new stains and maintaining a cleaning schedule—every three months or so—keeps your leather pristine.
Vinyl Care
1 - Select Protectant (and Determine Where to Apply)
Many vinyl protectants - opens in new window or tab. are water-based silicone, which is preferred. Those work better and often offer UV protection. 303 Aerospace Protectant - opens in new window or tab. and Armor All - opens in new window or tab. have been on the market for years. 3M - opens in new window or tab., Chemical Guys - opens in new window or tab., and Meguiars - opens in new window or tab. are also trusted vinyl care brands.
Vinyl protectants come with varying levels of sheen, which is usually indicated on the packaging. You can decide between a shiny look or a matte finish. Avoid applying a super shiny protectant (or dressing) to the dashboard. That could create glare for the driver. Look for a protectant that offers UV protection.
2 - Remove Dirt
Set the protectant aside for now. It’s time to vacuum to remove dirt and debris, paying particular attention to seams. Use a cloth and an all-purpose cleaner, such as Formula 409 - opens in new window or tab. or Simple Green - opens in new window or tab., to remove lingering dirt from the vinyl.
Spray the cleaner on the vinyl. Use a clean cloth to spread the cleaner on the surface. Most dirt wipes away easily. Rub gently with more cleaner to remove stubborn debris. If needed, use a stiff-bristle brush to apply the cleaner to the vinyl’s grain. Remove any residue with a clean cloth.
3 - Apply Protectant
Apply vinyl protectant with a cloth, pad, or sponge. Start from the center of the car interior and work your way out. Do the rear passenger area first, especially if you have a two-door car.
If the protectant is in a spray bottle, spray it on the vinyl surface, then rub it in. Apply vinyl care products sparingly—a little goes a long way. Finally, use a clean cloth to remove any residue.
4 - Make a Plan
Consistent vinyl care maintains its appearance. It keeps vinyl-covered trim pieces feeling supple and prevents cracking, which preserves the value of your car or truck and makes for a more enjoyable ride. Plan to clean your vinyl interior at least twice a year, more often if passengers frequently pile in and out.
About the author

Share your feedback
This article is meant to provide general guidance only. Automotive maintenance, repair, upgrade, and installation may depend on vehicle-specifics such as make and model. Always consult your owner's manual, repair guide for specific information for your particular vehicle and consider a licensed auto-care professional's help as well, particularly for advance repairs.
Recommended for you
Find answers and inspiration

How to Repair Car Interior Scratches, Scrapes, and Blemishes

Modernize Your Car’s Audio System with a New Head Unit

Chill Out Your Ride with Cooled Seats

Car Speakers: Types, Problems, and Buying Guide
Car Radio Not Working? Try This!

10 Gas Pedals You Won’t Believe
8 Expert Tips for Spring Cleaning Your Car

How to Bring Your Car’s Interior Back to Life

A Guide to Power Window Conversions

Car Phone Mounts That Hold Up

Deciding to Buy Original or Aftermarket Auto Parts: Quality and Selection

Car Gauges 101: What You Need to Know

How to Safely Drive with Your Dog (or Any Pet) in the Car

A Guide to Brake Pedals

Seat Belt Solutions for Vintage and Collector Cars

How to Remove Mud From Your Car Interior
5 min read
How to Fix a Sagging Roof Liner
Classic Car Fans Also Love Vintage Car Audio

How to Clean Your Car Carpet Like a Pro

Cabin Air Filter vs. Engine Air Filter: What’s the Difference?

How to Stay Safe While Driving with a Dog
Follow Your Car’s Movements with a GPS Tracking Device

The Wonderful World of Car Detailing Brushes

Deciding to Buy Original or Aftermarket Auto Parts: The Basics

Cabin Air Filters and Sensors: What You Should Know

Better Ideas for a Tidy Trunk and Uncluttered Cabin

How to Warm Up Your Steering Wheel

Why Your Speedometer Isn’t Working

Gorgeous Car Photos in 5 Easy Steps

7 Steps for Successful Springtime Car Prep

Taking Your Car to the Track: The Ultimate Guide

Basic Car Maintenance Is Simpler Than You Think

How to Fix a Torn Car Seat
5 min read
Tips and Tricks for Cleaning Your Car Interior

Online Videos Are a Game-Changer for DIY Car Repair

Cabin Air Filter Replacement: Easy DIY

Toyota Pickup Accessories and Upgrades: A to Z

Top 5 Car-Cooling Hacks When Your Car Lacks AC

Preparing Your Classic Ride for a Car Show or Cruise Night

Hisses, Whines, and Rattles: What Your Car Is Trying to Tell You

12v Coffee Makers and In-Car Espresso Options

Car Smells Funky? Try These Air Fresheners

Cleaning Car Seats: Expert Tips and Tricks

How a LED Light Bar Brightens Road for 1963 International Truck

Add Lockable Storage To Your Car Interior

How Bluetooth Adapters Can Add Connectivity and Diagnostics to Your Car

Tax Refund Spending Ideas for Car Owners

How to Remove Mold and Mildew From Cars
5 min read
How to Choose the Right Car Vacuum

Expert Advice on Cleaning Your Car’s Interior

Sit Down and Read Our Guide to Seat Covers

Power Window Motor Repair: An Easy DIY Project

5 Must-Have Interior Car Accessories for Less than $25

Aftermarket Apple Head Units Add 5G and Apps to Your Car
How to Pick the Right “Parts Car”

OBD Port Uses for Amazing Digital Car Hacks

Many Cars Now Provide Wireless Phone Charging

Amazing Steering Wheels on eBay Motors

How To Buy New Old Stock (NOS) Parts on eBay

Fuzzy Dice: The Ultimate Rearview Mirror Accessory

Upgrading Your Vehicle’s Gas and Brake Pedals

Why Does My Car Smell Like Eggs, Crayons or Other Odd Things?

Aftermarket Steering Wheels: For Style and Control
How to Properly Fit Your New Dash Cam
4 min read
Heated Seat Kits and Other Seat-Warming Solutions

Is It Time for a New Shifter?

4 Reasons Why You Need An iPad in Your Car

How to Transform Your Work Truck for 21st Century Productivity

Muddy Love: Valentine’s Day Gifts for Your Favorite Jeep-Customizer

Game-Changing Car Interior Accessories for About $100

Why You Definitely Need Car Floor Mats

Deciding to Buy Original or Aftermarket Auto Parts: The Online Transaction

Racing Seats for Cars: Questions and Answers

How to Shop for a Steering Wheel Cover

Upgrade Your Cabin with a New (or Classic) Center Console

Buying a Car Dashboard Camera: 6 Things to Consider

Remote Car Starters Warm Up the Cabin Before You Get In

What Makes a Good Driving Shoe?

Treat Your Feet to New Floor Mats
Safety First: Seat Belts, Shoulder Harnesses, and Roll Bars for Racers

Eliminate Blind Spots With an Add-On Backup Camera

Easy DIY: Upgrade Your Car’s Interior Lighting