


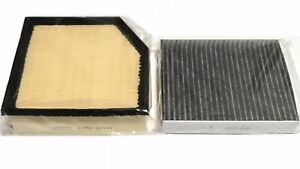


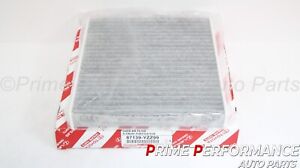


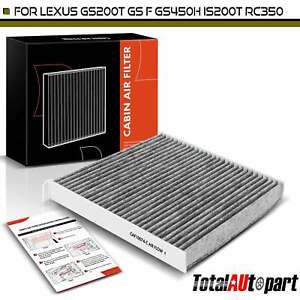


Lexus GS 350 Air Filters
The Lexus GS 350 is a luxury model sedan. Replacing your air filter is an easy way to keep your Lexus GS running properly for years to come.
Is it important to replace your GS 350’s air filter?The air filter works to clean air as it enters the interior of your car. The air filter of your GS 350 should be replaced yearly or every 20,000 miles, whichever occurs first. Individuals who drive in sandy or dusty areas may need to replace their air filter more often.
Driving with a dirty air filter may result in your Lexus GS 350 losing between one and three miles per gallon when it comes to fuel economy. Replacing the filter as directed could save you anywhere between 70 and 100 gallons of gas in one year alone. Keeping up with this maintenance item will also help you put less strain on the engine, which means your Lexus will run optimally.
How do you replace your Lexus GS 350’s air filter?Replacing the air filter in your Lexus is a straightforward process.
- Start by parking your Lexus on an even, level area and ensuring you have placed the gear shift into the park position.
- Next, you will locate the hood release lever inside the cabin of your GS 350 and pull it. The hood should pop up slightly. Go around to the front of your vehicle and feel along the middle underside of the hood to find the safety catch. Release the safety catch, raise the hood, and secure it to avoid it falling down.
- The housing of your car’s air filter is found to the lower left of the engine. You will use a flathead screwdriver to press down on the center of the rivets that hold the housing in place. Remove the rivets and place them somewhere safe. Pry the panel up and remove it as well.
- Remove the fasteners from the air filter assembly. These metal strips hold the housing of the air filter down and release easily by hand. You will now be able to lift the housing and remove the air filter.
- Insert your replacement air filter into the assembly. Take care to be certain that its edges are flush and even with the assembly. Reattach the housing. Make sure it fits securely.
- Next, you will reattach the metal fasteners to secure the housing. Check the housing to be certain it is tight and secure. Align the panel with the body before you secure it. Replace the rivets and press down on the center of each one to lock into place. Do one last check to ascertain if the panel is tightly secured. Close the hood to complete the replacement of your air filter.